Meilleures ventes
-
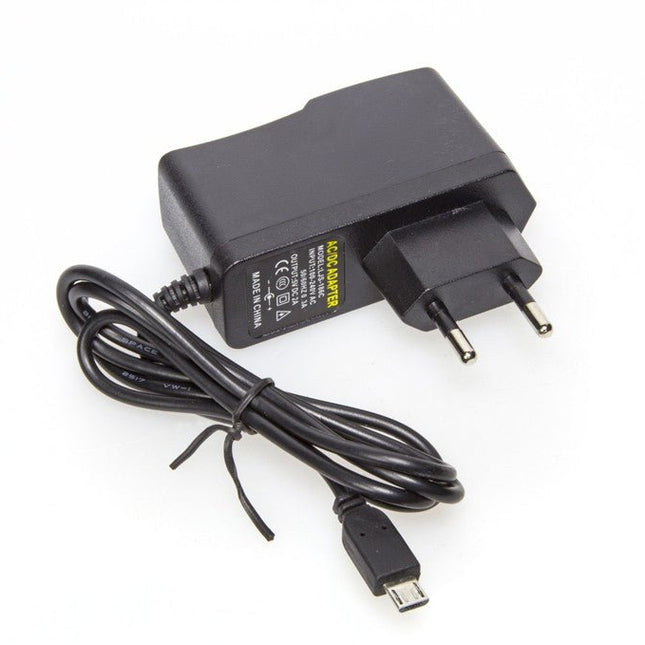
Kuongshun 5 V/2 A Alimentation Micro-USB (EU)
5 V/2 A Alimentation Micro-USB (EU)
€ 7,95€ 3,95
Membres identique
-

The Pi Hut ZeroDock – Prototyping Dock for Raspberry Pi Zero
La configuration par défaut contient une mini plaque d'essais (breadboard) incluse, un adaptateur de carte SD, 2 cartes micro SD, 2 périphériques USB, une cale micro-USB et bien sûr le Raspberry Pi Zero lui-même. Les utilisateurs peuvent décider d'utiliser l'emplacement de cale micro-USB pour contenir un adaptateur micro-HDMI, ou vous pouvez souhaiter conserver une carte de référence Portsplus ou similaire GPIO dans l'emplacement pour adaptateur SD. Vous pouvez choisir de stocker votre lecteur de carte micro-SD USB ou même d'autres périphériques USB plus gros comme l'USBDoctor. Utilisez-le de la manière qui vous convient le mieux. Tous les ports Raspberry Pi Zero sont accessibles depuis le ZeroDock, y compris le port de la caméra et l'en-tête de broche de réinitialisation/composite. Les pHAT ne sont pas non plus obstrués, vous êtes donc libre de réaliser des prototypes avec vos cartes d'extension préférées. Le boîtier est un mélange élégant de couches d'acrylique transparentes et noires, de fixations noires et d'une planche à pain transparente, s'adaptant bien à la plupart des PC/moniteurs de bureau. Guide de montage disponible ici . Le kit comprend Boîtier en acrylique découpé au laser à 4 couches Fixations boitier et Raspberry Pi Mini-planche à pain
€ 14,95€ 7,50
Membres identique
-

Elektor Publishing Vintage Radio Equipment
Resonances From Aether Days A Pictorial and Technical Analysis from WWII to the Internet Age From the birth of radio to the late 1980s, much of real life unfolded through shortwave communication. World War II demonstrated—beyond a shadow of a doubt—that effective communications equipment was a vital prerequisite for military success. In the postwar years, shortwave became the backbone on which many of the world's most critical services depended every day. All the radio equipment—through whose cathodes, grids, plates, and transistors so much of human history has flowed—is an exceptional subject of study and enjoyment for those of us who are passionate about vintage electronics. In this book, which begins in the aftermath of World War II, you’ll find a rich collection of information: descriptions, tips, technical notes, photos, and schematics that will be valuable for anyone interested in restoring—or simply learning about—these extraordinary witnesses to one of the most remarkable eras in technological history. My hope is that these pages will help preserve this vast treasure of knowledge, innovation, and history—a heritage that far transcends the purely technical.
€ 79,95
Membres € 71,96
-
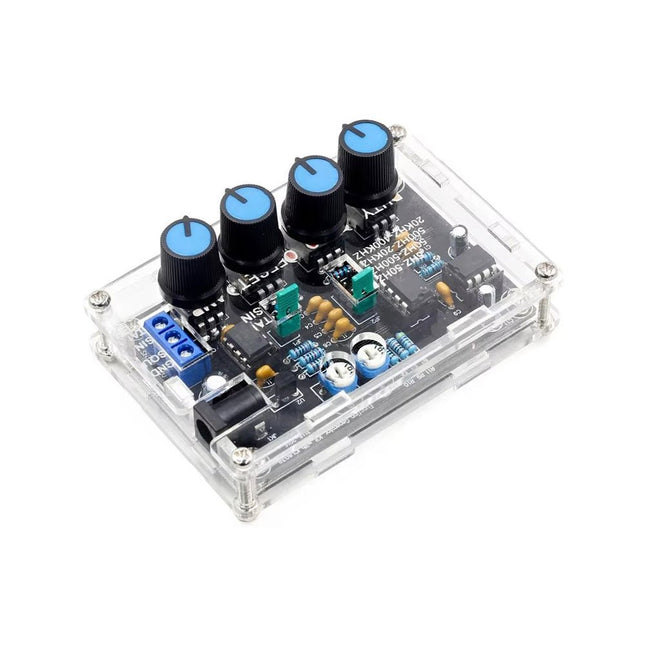
Generic ICL8038 Kit de générateur de signaux DIY (5 Hz – 400 kHz)
Le générateur de signaux ICL8038 fournit des formes d'onde polyvalentes, notamment sinusoïdales, triangulaires, carrées et en dents de scie avant/arrière, ce qui le rend adapté à une large gamme d'applications. Alimenté par la puce ICL8038 et des amplificateurs opérationnels à grande vitesse, il garantit une précision et une stabilité du signal exceptionnelles. Avec une plage de fréquences de 5 Hz à 400 kHz, il prend en charge les applications allant de l'audio aux fréquences radio. Son cycle de service réglable, allant de 2% à 95%, permet une personnalisation précise de la forme d'onde pour répondre à divers besoins. Le kit DIY est adapté aux débutants et comprend des composants traversants pour un assemblage facile. Il comprend toutes les pièces nécessaires, une coque en acrylique et un manuel détaillé, fournissant tout le nécessaire pour construire et utiliser efficacement le générateur de signaux. Spécifications Plage de fréquence 5 Hz~400 KHz (réglable) Tension d'alimentation 12 V~15 V Plage de cycles de service 2%~95% (réglable) Onde sinusoïdale à faible distorsion 1% Dérive à basse température 50 ppm/°C Linéarité de l'onde triangulaire de sortie 0,1% Plage de polarisation CC −7,5 V~7,5 V Plage d'amplitude de sortie 0,1 V~11 VPP (tension de fonctionnement 12 V) Dimensions 89 x 60 x 35 mm Poids 81 g Inclus PCB inclus. tous les composants nécessaires Boîtier en acrylique Manuel
€ 14,95€ 7,50
Membres identique
-
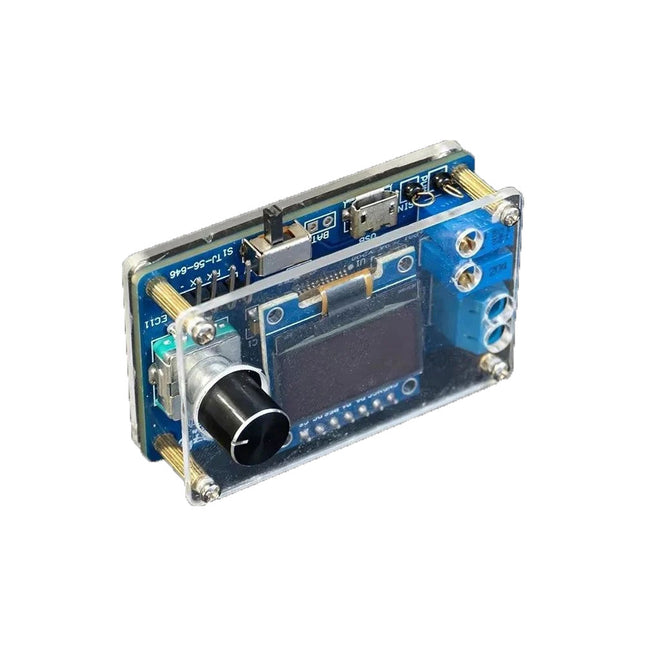
Generic Kit mini oscilloscope numérique DIY
Le kit DIY Mini Digital Oscilloscope (avec boîtier) est un kit facile à construire pour un minuscule oscilloscope numérique. Outre l'interrupteur d'alimentation, il ne comporte qu'une seule autre commande, un encodeur rotatif avec bouton-poussoir intégré. Le microcontrôleur du kit est préprogrammé. L'écran OLED de 0,96 pouces a une résolution de 128 x 64 pixels. L'oscilloscope dispose d'une voie qui peut mesurer des signaux jusqu'à 100 kHz. La tension d'entrée maximale est de 30 V, la tension minimale de 0 V. Le kit se compose de composants à trous traversants (THT) et de dispositifs de montage en surface (SMD). Par conséquent, l'assemblage du kit implique de souder des pièces SMD, ce qui nécessite une certaine expérience en matière de soudure. Spécifications Plage verticale : 0 à 30 V Plage horizontale : 100 µs à 500 ms Type de déclencheur : automatique, normal et unique Front de déclenchement : montant et descendant Niveau de déclenchement : 0 à 30 V Mode Exécution/Arrêt Mesure automatique de la fréquence Alimentation : micro-USB 5 V Sortie sinusoïdale 10 Hz, 5 V Sortie d'onde carrée de 9 kHz, 0 à 4,8 V Affichage : écran OLED de 0,96 pouce Dimensions : 57 x 38 x 26 mm Téléchargements Documentation
€ 19,95€ 9,95
Membres identique
-
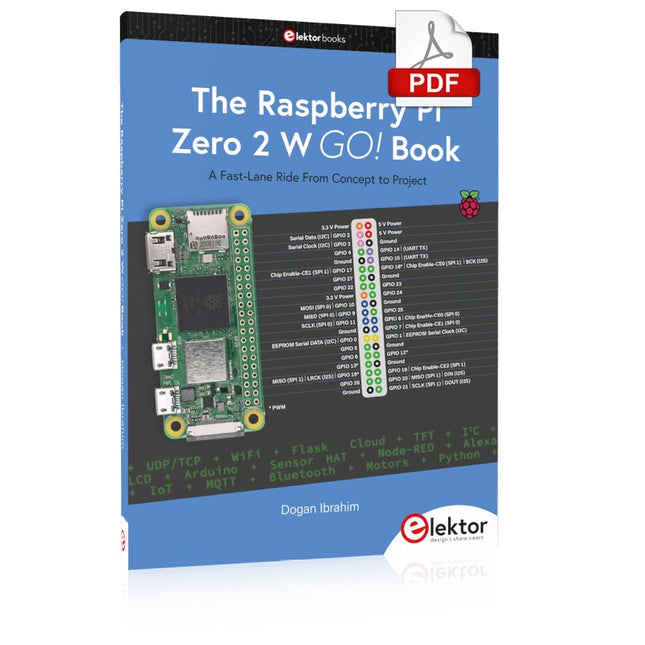
Elektor Digital The Raspberry Pi Zero 2 W GO! Book (PDF)
A Fast-Lane Ride From Concept to Project The core of the book explains the use of the Raspberry Pi Zero 2 W running the Python programming language, always in simple terms and backed by many tested and working example projects. On part of the reader, familiarity with the Python programming language and some experience with one of the Raspberry Pi computers will prove helpful. Although previous electronics experience is not required, some knowledge of basic electronics is beneficial, especially when venturing out to modify the projects for your own applications. Over 30 tested and working hardware-based projects are given in the book, covering the use of Wi-Fi, communication with smartphones and with a Raspberry Pi Pico W computer. Additionally, there are Bluetooth projects including elementary communication with smartphones and with the popular Arduino Uno. Both Wi-Fi and Bluetooth are key features of the Raspberry Pi Zero 2 W. Some of the topics covered in the book are: Raspberry Pi OS installation on an SD card Python program creation and execution on the Raspberry Pi Zero 2 W Software-only examples of Python running on the Raspberry Pi Zero 2 W Hardware-based projects including LCD and Sense HAT interfacing UDP and TCP Wi-Fi based projects for smartphone communication UDP-based project for Raspberry Pi Pico W communication Flask-based webserver project Cloud storage of captured temperature, humidity, and pressure data TFT projects Node-RED projects Interfacing to Alexa MQTT projects Bluetooth-based projects for smartphone and Arduino Uno communications
€ 32,95
Membres € 26,36
-
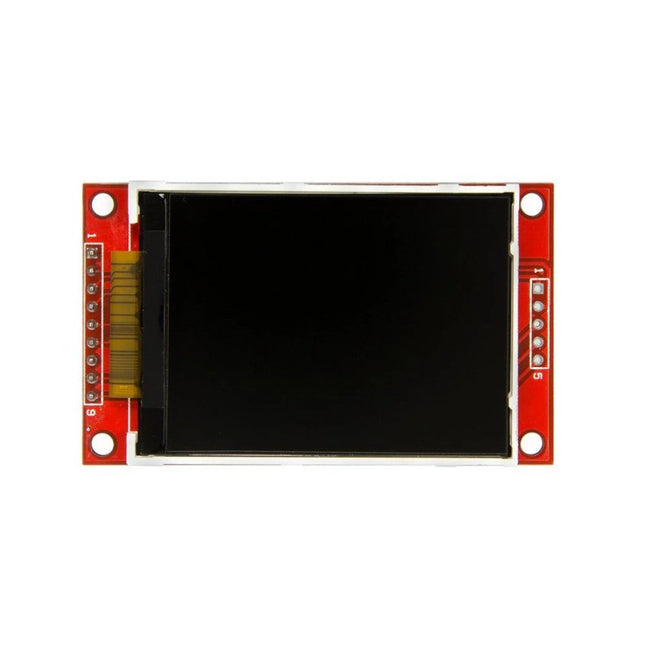
Kuongshun Module d'affichage SPI TFT 2,2" ILI9341 (240x320)
ILI9341 est un pilote SOC monopuce de 262 144 couleurs pour un écran à cristaux liquides TFT avec une résolution de 240 x 320 points (RVB), comprenant un pilote source de 720 canaux, un pilote de porte de 320 canaux, 172 800 octets de GRAM pour des données d'affichage graphique de 240 x 320. points (RVB) et circuit d'alimentation. ILI9341 prend en charge l'interface MCU de bus de données parallèle 8-/9-/16-/18 bits, l'interface RVB de bus de données 6-/16-/18 bits et l'interface périphérique série 3-/4 lignes (SPI). La zone d'image animée peut être spécifiée dans le GRAM interne par la fonction d'adresse de fenêtre. La zone de fenêtre spécifiée peut être mise à jour de manière sélective, de sorte que l'image animée puisse être affichée simultanément indépendamment de la zone d'image fixe. L'ILI9341 peut fonctionner avec une tension d'interface 1,65 V ~ 3,3 VI/O et un circuit suiveur de tension intégré pour générer des niveaux de tension pour piloter un écran LCD. L'ILI9341 prend en charge le mode d'affichage couleur, 8 couleurs et le mode veille pour un contrôle précis de l'alimentation par logiciel. Ces fonctionnalités font de l'ILI9341 un pilote LCD idéal pour les produits portables de taille moyenne ou petite tels que les téléphones cellulaires numériques, les téléphones intelligents, les MP3 et les PMP pendant de longues périodes. la durée de vie de la batterie est une préoccupation majeure. Caractéristiques Résolution d'affichage : 240 x 320 (RVB) Sortie : 720 sorties sources | 320 sorties de porte | Sortie d'électrode commune (VCOM) Pilote LCD a-TFT avec affichage complet sur puce RAM : 172 800 octets Interface système Interface 8 bits, 9 bits, 16 bits, 18 bits avec MCU série 8080-Ⅰ/8080-Ⅱ Interface RVB 6 bits, 16 bits, 18 bits avec contrôleur graphique Interface série 3 lignes/4 lignes Mode d'affichage: Mode couleur (mode veille désactivé) : 262 000 couleurs Mode couleur réduit (mode veille activé) : 8 couleurs Modes d'économie d'énergie : Mode veille Mode veille profonde Fonctions sur puce : Générateur et réglage VCOM Générateur de chronométrage Oscillateur Convertisseur DC/DC Inversion ligne/trame 1 courbe Gamma prédéfinie avec correction Gamma RVB séparée Contrôle adaptatif de la luminosité du contenu MTP (3 fois) : 8 bits pour ID1, ID2, ID3 7 bits pour le réglage VCOM Architecture à faible consommation d'énergie Alimentations à faible fonctionnement : VDDI = 1,65 V ~ 3,3 V (logique) VCI = 2,5 V ~ 3,3 V (analogique) Commande de tension LCD : Tension d'alimentation source/VCOM AVDD-GND = 4,5 V ~ 5,5 V VCL-GND = -2,0 V ~ -3,0 V Tension de sortie du pilote de grille VGH-GND = 10,0 V ~ 20,0 V VGL-GND = -5,0 V ~ -15,0 V VGH-VGL 3 ≦ 2V Tension de sortie du pilote VCOM VCOMH = 3,0 V ~ (AVDD – 0,5) V VCOML = (VCL+0,5)V ~ 0V VCOMH-VCOML ≦ 6,0 V Plage de température de fonctionnement : -40 ℃ à 85 ℃
€ 22,95
Membres € 20,66
-

Elektor Digital Inside an Open-Source Processor (E-book)
An Introduction to RISC-V RISC-V is an Instruction Set Architecture (ISA) that is both free and open. This means that the RISC-V ISA itself does not require a licensing fee, although individual implementations may do so. The RISC-V ISA is curated by a non-profit foundation with no commercial interest in products or services that use it, and it is possible for anyone to submit contributions to the RISC-V specifications. The RISC-V ISA is suitable for applications ranging from embedded microcontrollers to supercomputers. This book will first describe the 32-bit RISC-V ISA, including both the base instruction set as well as the majority of the currently-defined extensions. The book will then describe, in detail, an open-source implementation of the ISA that is intended for embedded control applications. This implementation includes the base instruction set as well as a number of standard extensions. After the description of the CPU design is complete the design is expanded to include memory and some simple I/O. The resulting microcontroller will then be implemented in an affordable FPGA development board (available from Elektor) along with a simple software application so that the reader can investigate the finished design.
€ 32,95
Membres € 26,36
-
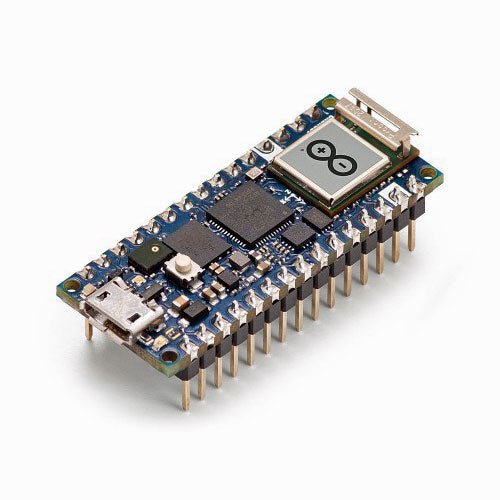
Arduino Arduino Nano RP2040 (avec connecteurs)
L'Arduino Nano RP2040 Connect est une carte Arduino basée sur RP2040 et équipée de wifi (802,11b/g/n) et du Bluetooth 4,2. En plus de la connectivité sans fil, la carte est livrée avec un microphone pour le son et l'activation vocale et un capteur de mouvement intelligent à six axes avec des capacités d'IA. Une LED RVB est également disponible. 22 ports GPIO (20 avec prise en charge du PWM et huit entrées analogiques) permettent à l'utilisateur de commander, par exemple, des relais, des moteurs et des LED et de lire des interrupteurs et d'autres capteurs. Elle offre une grande quantité de mémoire de programme avec 16 Mo de mémoire flash, une capacité plus que suffisante pour stocker de nombreuses pages Web ou d'autres données. Spécifications Microcontrôleur Raspberry Pi RP2040 Connecteur USB Micro USB Pins Broches de LED intégrées 13 20 20 Broche d'entrée analogique 8 Broche PWM 20 (sauf A6, A7) Interruptions externes 20 (Sauf A6, A7) Connectivité Wi-Fi Nina W102 module uBlox Bluetooth Nina W102 module uBlox Élément de sécurité ATECC608A-MAHDA-T Crypto IC Capteurs IMU LSM6DSOXTR (6 axes) Microphone MP34DT05 Communication UART Oui I²C Oui SPI Oui Puissance Tension de fonctionnement du circuit 3.3 V Tension d'entrée (VIN) 5-21 V Courant continu par broche d'entrée/sortie 4 mA Fréquence d'horloge Processeur 133 MHz Mémoire AT25SF128A-MHB-T Circuit Flash 16 Mo Nina W102 module uBlox 448 Ko de ROM, 520 Ko de SRAM, 16 Mo de Flash Dimensions 45 x 18 mm Poids 6 g Téléchargements Schémas Brochage Fiche technique
€ 29,95€ 14,95
Membres identique
-

OWON OWON HDS160 (2-en-1) Multimètre True RMS & Oscilloscope
L'OWON HDS160 est un multimètre True RMS à 4½ chiffres (60000 points), idéal pour les professionnels, les makers et les étudiants. Il intègre des sondes intelligentes et permet des mesures automatiques de formes d'ondes (Vmax, Vmin, Vp-p, Vavg, Vrms et fréquence). En plus, il fonctionne comme un un oscilloscope portatif complet (1 MHz). Caractéristiques Instrument de mesure multifonctionnel : multimètre à 4½ chiffres + oscilloscope Mesures automatiques de forme d'onde : y compris Vmax, Vmin, Vp-p, Vavg, Vrms et fréquence. Conception conviviale : touches clairement étiquetées pour une utilisation facile et une durée de vie accrue de l'appareil. Détection de sonde intelligente : commute automatiquement les fonctions de mesure en fonction de l'insertion de la sonde, évitant ainsi efficacement les dommages causés à l'instrument par une mauvaise utilisation. Gestion efficace de l'énergie : alimenté par des piles au lithium 18650, garantissant une durée de fonctionnement plus longue et une fiabilité améliorée pour les tâches de mesure prolongées. Mesure haute tension sûre : conforme aux normes CAT Ⅲ 1000 V, permettant une mesure sûre et directe des formes d'onde haute tension jusqu'à 1000 V, élargissant les possibilités d'application. Affichage haute définition : doté d'un écran IPS de 2,8 pouces avec un grand angle de vision, garantissant une lisibilité claire sous n'importe quelle perspective. Affichage environnemental adaptatif : les modes d'affichage à double thème à haute luminosité et à contraste élevé offrent une visibilité optimale dans des conditions de forte et de faible luminosité, améliorant ainsi la convivialité globale. Spécifications du multimètre Plage de mesure Précision Tension continue (V) 60.000mV / 600.00mV / 6.0000V / 60.000V / 600.00V / 1000.0V ±(0.05%+5 dig) Tension alternative (V) 60.000mV / 600.00mV / 6.0000V / 60.000V / 600.00V / 750.00V ±(0.1%+30dig) Courant continu (A) 600.00uA / 6000.0uA / 60.000mA / 600.00mA / 6.0000A / 10.000A ±(0.15%+10dig) Courant alternatif (A) 600.00uA / 6000.0uA / 60.000mA / 600.00mA / 6.0000A / 10.000A ±(0.5%+20dig) Résistance (Ω) 600.00Ω / 6.0000kΩ / 60.000kΩ / 600.00KΩ / 6.0000MΩ / 60.000MΩ ±(0.15%+10dig) Capacité (F) 6.000nF / 60.00nF / 600.0nF / 6.000μF / 60.00μF / 600.0μF / 6.000mF / 60.00mF ±(2.0%+20dig) Fréquence (Hz) 60.00Hz / 600.00Hz / 6.0000kHz / 60.000kHz / 600.00kHz / 6.0000MHz / 60.000MHz ±(0.2%+10dig) Cycle de service 0.1%~99.9% (valeur typique : Vrms=1V, f=100Hz) ±(1.2%+3dig) 0.1%~99.9% (≥1kHz) ±(2.5%+10dig) Diode 3.0000V ±(1.0%+10dig) On-Off 1000.0Ω Écran 60000 Spécifications de l'oscilloscope Bande passante analogique 1 MHz (échelle ACV uniquement) Canal 1 Plage de base de temps 2,5 µs à 10 s/grille Plage de sensibilité verticale de tension 30 mV à 500 V/grille Précision d'amplitude verticale ±(5% + 0,2 div) Limite de tension maximale 1000 V CC + CA de crête valeur Mode de déclenchement Auto/Normal/Single Réglage automatique Base de temps/Amplitude verticale/Valeur de déclenchement Échantillon maximal 5,0 MSa/s Impédance d'entrée ≈10 MΩ Précision de la base de temps ±(0,01% + 0,1div) Plage de sensibilité verticale actuelle 100 μA~5 A/grid Fonction de mesure Vmax, Vmin, Vp-p, Vavg, Vrms, Hz Limite de courant maximale 15 A DC+AC Valeur de crête Trigger edge Rise edge/Fall edge Spécifications générales Écran LCD 2,8" (320 x 240) Indication de batterie faible Oui Rétroéclairage Oui Mode veille Oui Protection d'entrée Oui Mesure relative Oui Impédance d'entrée ≥10 MΩ Batterie 18650 Lithium Conformité de sécurité CAT III 1000 V Dimensions 93 x 41,5 x 188 mm Poids 0,35 kg Inclus 1x OWON HDS160 multimètre & oscilloscope 2x Câbles multimètre 1x Câble USB 1x Sac de rangement 1x Manuel Téléchargements Datasheet Manual
€ 84,30
-
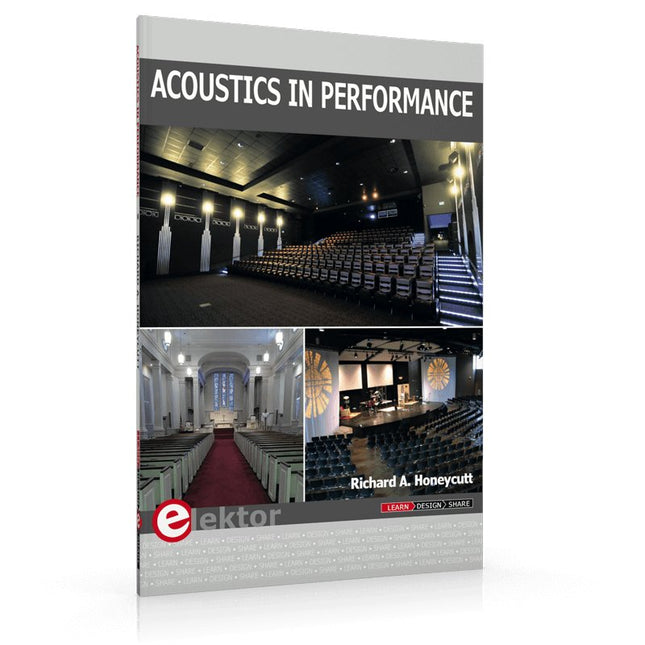
Elektor Publishing Acoustics in Performance
All you need to know about good acoustics and sound systems in performance and worship spaces! Everyone knows that the ability to hear music in balance and to understand speech is essential in any space used for performance or worship. Unfortunately, in the early 21st century, we find that buildings with good acoustics are the exception rather than the rule. Much of the fault leading to this result can be traced to the widespread perception that acoustics is a black art. In fact, scientific acoustics as developed in the last century is a well-defined engineering practice that can lead to predictable excellent results. A basic, non-engineering understanding of acoustics will help building owners, theater managers, ministers and teachers of music, performers, and other professionals to achieve their goals of excellent acoustics in venues with which they work. Performers having a basic understanding of acoustics will be able to make the most of the acoustics of the venue in which they perform. This book helps those responsible for providing good acoustics in performance and worship spaces to understand the variables and choices entailed in proper acoustic design for performance and worship. Practicing acoustical consultants will find the book a useful reference as well. The level of presentation is comfortable and straightforward without being simplistic. If correct acoustical principles are incorporated into the design, renovation, and maintenance of performance and worship venues, good acoustics will be the result.
€ 29,95
Membres € 26,96
-
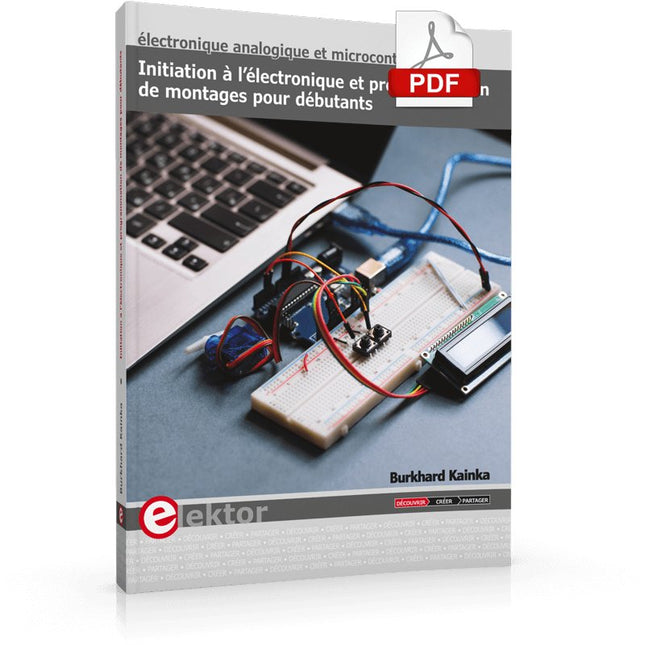
Elektor Digital Initiation à l’électronique et programmation de montages pour débutants (E-book)
L'électronique est passionnée. C'est un plaisir amusant et instructif. Elle permet d'acquérir de nouvelles compétences, souvent utiles, à la maison et même au travail. Une expérience électronique avec ces circuits appropriés. Il donne vie à ses projets. Avant que le jour n'arrive, vous avez hâte de le voir ! Il est nécessaire de rassembler les articles pour la publication des articles du magazine d'électronique Elektor. Il sera le compagnon de vos progrès dans le monde de l'électronique. Plus que commencer par l'électronique analogique. Vous pourrez découvrir les compositions et les circuits ainsi que les simples pour comprendre les fonctions, les interactions et les problèmes éventuels. La meilleure façon de progresser, c'est de faire des expériences réelles, car la théorie ne suffit pas. Un guide en direct pour un excellent guide de montages pratiques, notamment pour les débutants. Et pour en savoir plus, acquérir la meilleure expérience et connaissance. La deuxième partie de la vie du monde du numérique électronique. En savoir plus sur l’utilisation des microcontrôles. Les effets des composants sont discrets grâce aux circuits intégrés des principaux composants des microcontrôleurs. La programmation à long terme de BASCOM, basée sur les pré-requis à la mise en œuvre d'Arduino, BBC micro:bit et d'autres, facilite la prise en compte de l'apprentissage. Voici une description détaillée des nombreuses applications des microcontrôleurs, abordables pour les néophytes. Ici, programmation et soudage font bon ménage !
€ 32,95
Membres € 26,36
-
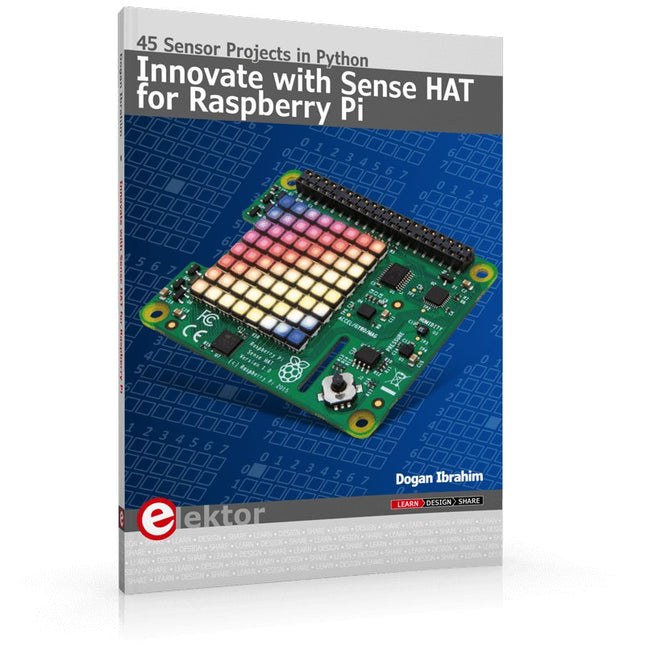
Elektor Publishing Innovate with Sense HAT for Raspberry Pi
Ready to explore the world around you? By attaching the Sense HAT to your Raspberry Pi, you can quickly and easily develop a variety of creative applications, useful experiments, and exciting games. The Sense HAT contains several helpful environmental sensors: temperature, humidity, pressure, accelerometer, magnetometer, and gyroscope. Additionally, an 8x8 LED matrix is provided with RGB LEDs, which can be used to display multi-color scrolling or fixed information, such as the sensor data. Use the small onboard joystick for games or applications that require user input. In Innovate with Sense HAT for Raspberry Pi, Dr. Dogan Ibrahim explains how to use the Sense HAT in Raspberry Pi Zero W-based projects. Using simple terms, he details how to incorporate the Sense HAT board in interesting visual and sensor-based projects. You can complete all the projects with other Raspberry Pi models without any modifications. Exploring with Sense HAT for Raspberry Pi includes projects featuring external hardware components in addition to the Sense HAT board. You will learn to connect the Sense HAT board to the Raspberry Pi using jumper wires so that some of the GPIO ports are free to be interfaced to external components, such as to buzzers, relays, LEDs, LCDs, motors, and other sensors. The book includes full program listings and detailed project descriptions. Complete circuit diagrams of the projects using external components are given where necessary. All the projects were developed using the latest version of the Python 3 programming language. You can easily download projects from the book’s web page. Let’s start exploring with Sense HAT.
€ 34,95
Membres € 31,46
-

Elektor Publishing Renewable Energy at Home
A Hands-on Guide to Crafting Your Own Power Plant The book you are about to read provides a step-by-step guide for building a renewable energy power plant at home. Our goal was to make the book as practical as possible. The material is intended for immediate application with a small amount of theory. Yet, the theory is important as a foundation that saves time and effort by disabusing the readers of potential misconceptions. Specifically, upon having a firm understanding of photovoltaic physics, you will not be inclined to fruitlessly search for 90% efficient solar panels! We want our readers to be the “doers”. If the book gets covered in grime and some pages become torn while you are building your power plant – this is the best compliment to us. The book covers solar and wind energy. Also, a curious power source based on manure is discussed as well, giving the doers an opportunity to further develop the manure fuel cell. It is important to note that there are many companies offering installation of complete solar solutions. Upon installing the panels, the system is not owned by the customer. Therefore, there is no freedom for experimentation and optimization. Also, none can beat the cost of a DIY solution as well as the ultimate satisfaction. All that is written here is a result of us building a renewable energy solution in Southern California. As the book was completed, the energy began flowing!
€ 29,95
Membres € 26,96
-

Zhongdi Set d'embouts de dessoudage pour modèles ZD
Cet ensemble contient 3 pointes de dessoudage pour les stations de dessoudage numériques telles que ZD-915 ou ZD-8965. Inclus 1x Panne à dessouder N5-1 (0,8 mm) 1x Panne à dessouder N5-2 (1,0 mm) 1x Panne à dessouder N5-3 (1,3 mm)
€ 9,95
Membres € 8,96
-
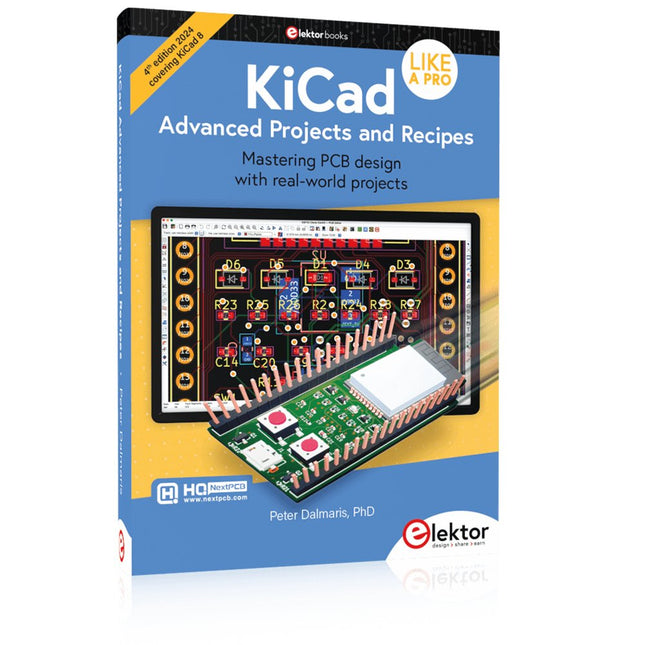
Elektor Publishing KiCad Like A Pro – Advanced Projects and Recipes
Mastering PCB design with real-world projects This book builts on KiCad Like a Pro – Fundamentals and Projects and aims to help you practice your new KiCad skills by challenging you in a series of real-world projects. The projects are supported by a comprehensive set of recipes with detailed instructions on how to achieve a variety of simple and complex tasks. Design the PCBs for a solar power supply, an LED matrix array, an Arduino-powered datalogger, and a custom ESP32 board. Understand the finer details of the interactive router, how to manage KiCad project teams with Git, how to use an autorouter on 2 and 4-layer PCBs, and much more. KiCad 8 is a modern, cross-platform application suite built around schematic and design editors. This stable and mature PCB tool is a perfect fit for electronic engineers and makers. With KiCad 8, you can create PCBs of any complexity and size without the constraints associated with the commercial packages. Here are the most significant improvements and features in KiCad 8, both over and under the hood: Modern user interface, completely redesigned from earlier versions Improved and customizable electrical and design rule checkers Theme editor allowing you to fully customize the look of KiCad on your screen Ability to import projects from Eagle, CADSTART, and more An improved and tightly integrated SPICE circuit simulator Autorouting with the Freerouting plugin Filters define which elements of a layout are selectable Enhanced interactive router helps you draw single tracks and differential pairs with precision New or enhanced tools to draw tracks, measure distances, tune track lengths, etc. Enhanced tool for creating filled zones A customizable coordinate system facilitates data exchange with other CAD applications Realistic ray-tracing capable 3D viewer Differential pair routing Rich repositories of symbol, footprint, and 3D shape libraries Python scripting API for programmatic customization and extensions Improved footprint wizard for fast custom footprints
€ 49,95
Membres € 44,96
-
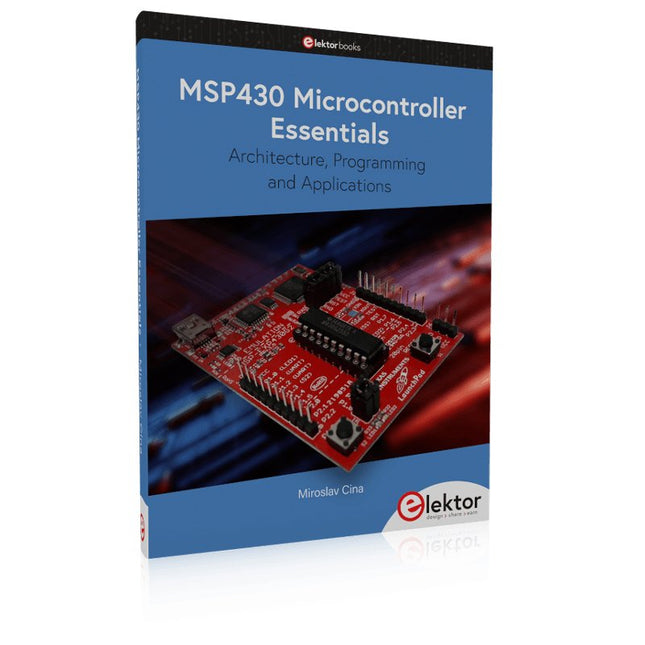
Elektor Publishing MSP430 Microcontroller Essentials
Architecture, Programming and Applications The MSP430 is a popular family of microcontrollers from Texas Instruments. In this book we will work with the smallest type, which is the powerful MSP430G2553. We will look at the capabilities of this microcontroller in detail, as it is well-suited for self-made projects because it is available in a P-DIP20 package. We will take a closer look at the microcontroller and then build, step by step, some interesting applications, including a 'Hello World' blinking LED and a nice clock application, which can calculate the day of the week based on the date. You also will learn how to create code for the MSP microcontroller in assembler. In addition to that, we will work with the MSP-Arduino IDE, which makes it quite easy to create fast applications without special in-depth knowledge of the microcontrollers. All the code used in the book is available for download from the Elektor website.
€ 39,95
Membres € 35,96
-
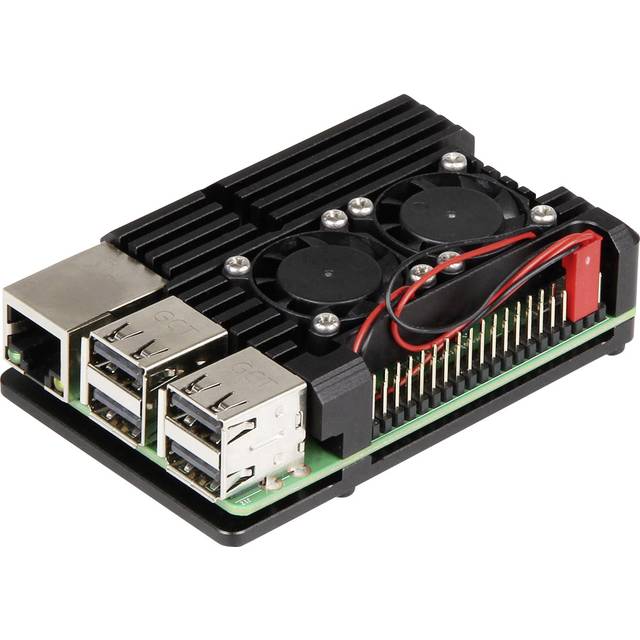
JOY-iT Boîtier de dissipateur thermique en aluminium JOY-iT Armor avec double ventilateur pour Raspberry Pi 4
Cet Armor Case à base d'aluminium est parfait pour votre Raspberry Pi 4 s'il fait chaud, car il le protège également des chocs et de la chaleur. Le fraisage des canaux combiné à deux ventilateurs offre les meilleures performances de refroidissement. C'est pourquoi il convient aux environnements extrêmes. Un autre avantage est que ce boîtier ne nécessite pas plus d'espace que le Raspberry Pi lui-même et peut être intégré dans des projets existants. Caractéristiques Matériau : alliage d'aluminium fraisé CNC. Compatible avec le Raspberry Pi 4B Assemblage : 4 vis fournies relient le boîtier au Raspberry Pi Particularités : Grand dissipateur thermique et double ventilateur Ø24 mm chacun, protection massive contre la chaleur et les chocs, aucun espace supplémentaire nécessaire Câblage : ventilateur 5 V (rouge) - 5 V (Pin4), ventilateur GND (noir) - GND (Pin6) Contenu de la livraison : Valise blindée « BLOCK ACTIVE », vis, ruban thermique Dimensions face supérieure : 69 x 56 x 15,5 mm Dimensions côté inférieur : 87 x 56 x 7,5 mm Téléchargements Manuel
€ 17,95€ 8,95
Membres identique
-

FTDI Câble USB série TTL RS232 FTDI
Ce câble série FTDI USB vers TTL (3.3 VI/O) (FTDI TTL-232R-3V3 OEM) est un appareil professionnel, de haute qualité et haute vitesse qui permet de connecter simplement et facilement des périphériques d'interface TTL à l'aide d'un port USB de rechange. Caractéristiques TTL-232R-3V3 Câble série FTDI USB vers TTL 3,3 V Câble FTDI TTL-232R-3V3 6 voies Le FTDI USB vers TTL 3,3 V est doté d'un dispositif FTDI FT232R intégré au câble Câble adaptateur FTDI USB vers TTL série 3,3 V, 6 broches, prise femelle 0,1' Puce UART IC FT232RL Compatible avec Windows 7/8/10 et Linux
€ 19,95
Membres € 17,96
-

Elektor Publishing Control Engineering with Fuzzy Logic
Practical Applications and Project with Arduino, ESP32, and RP2040 Immerse yourself in the fascinating world of control engineering with Arduino and ESP32! This book offers you a practical introduction to classic and modern control methods, including PID controllers, fuzzy logic, and sliding-mode controllers. In the first part, you will learn the basics of the popular Arduino controllers, such as the Arduino Uno and the ESP32, as well as the integration of sensors for temperature and pH measurement (NTC, PT100, PT1000, and pH sensor). You will learn how to use these sensors in various projects and how to visualize data on a Nextion TFT display. The course continues with an introduction to actuators such as MOSFET switches, H-bridges, and solid-state relays, which are used to control motors and actuators. You will learn to analyze and model controlled systems, including PT1 and PT2 control. The book focuses on the implementation of fuzzy and PID controllers for controlling temperature and DC motors. Both the Arduino Uno and the ESP32 are used. The sliding-mode controller is also introduced. In the second-to-last chapter, you will explore the basics of neural networks and learn how machine learning can be used on an Arduino. In the last chapter, there is a practical example of a fuzzy controller for feeding electricity into the household grid. This book is the perfect choice for engineers, students, and electronics engineers who want to expand their projects with innovative control techniques.
€ 44,95
Membres € 40,46
-
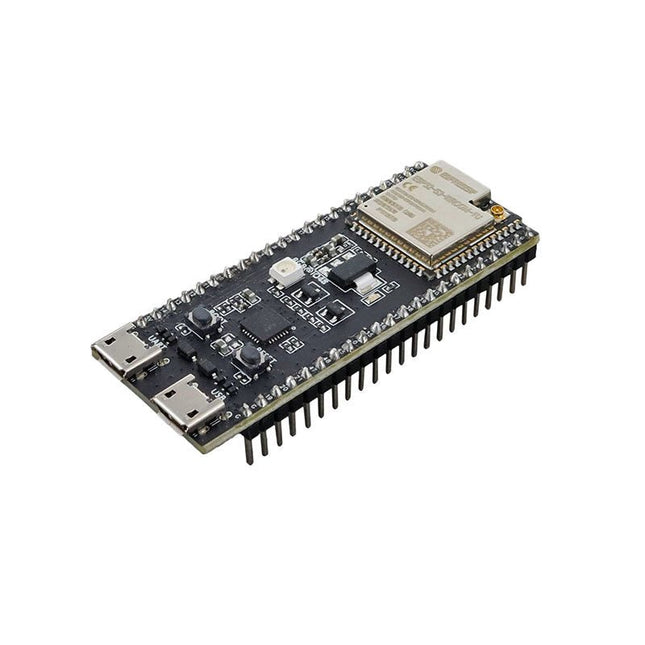
Espressif ESP32-S3-DevKitC-1U-N8R8
Le kit ESP32-S3-DevKitC-1 est une carte de développement d’entrée de gamme, équipée d’un microcontrôleur LE (Low Energy – à faible consommation) générique ESP32-S3-WROOM-1U, intégrant un ensemble complet de fonctions Wi-Fi et Bluetooth à consommation réduite. La plupart des connexions d’entrées/sorties du module sont disponibles sur les connecteurs situés sur les deux faces de la carte facilitant son interfaçage. Les développeurs peuvent relier leurs périphériques à l’aide de fils de pontage, ou installer la carte ESP32-S3-DevKitC-1 sur une plaque de prototypage. Caractéristiques Module intégré : ESP32-S3-WROOM-1U-N8R8 Mémoire Flash : 8 Mo QD Mémoire pseudo statique PSRAM : 8 Mo OT Tension SPI : 3,3 V Spécifications ESP32-S3-WROOM-1U L’ESP32-S3-WROOM-1U est un puissant module générique MCU LE Wi-Fi + Bluetooth à consommation réduite, muni d’un ensemble complet de périphériques. Il intègre une accélération pour les calculs relatifs aux réseaux neuronaux et le traitement du signal. L’ESP32-S3-WROOM-1U est muni d’un connecteur pour antenne extérieure. 5 V to 3.3 V LDO (à faible chute de tension) Régulateur de tension qui convertit l’alimentation de 5 V en 3,3 V. Connecteurs externes Toutes les broches GPIO (à l’exception de celles destinées à l’interfaçage de la mémoire Flash SPI) sont disponibles sur les connecteurs de la carte pour simplifier l’interfaçage et la programmation. Port convertisseur USB-vers-UART Un connecteur Micro-USB est utilisé pour alimenter la carte, pour le téléversement du code des applications dans le chip, ainsi que pour les communications avec le microcontrôleur via le convertisseur USB-vers-UART. Bouton de chargement En maintenant appuyé le poussoir Boot, puis en appuyant sur le bouton Reset, le téléversement du microcode via le port série intervient. Poussoir Reset Appuyez sur ce bouton pour réinitialiser le système. USB Port L’interface USB OTG rapide de l’ ESP32-S3 est conforme aux spécifications USB 1.1. Cette interface est utilisée pour alimenter la carte, pour téléverser le code des applications et pour les communications avec le module, en utilisant le protocole USB 1.1, ainsi que pour le débogage à l’aide des fonctions JTAG. Pont USB-vers-UART Le chip du pont USB-vers-UART permet d’obtenir des vitesses de transfert atteignant 3 Mbps. RGB LED Pilotage des LED RGB adressables par le port GPIO38. Témoin d’alimentation 3,3 V à LED Cette LED s’illumine quand le câble d’alimentation USB est relié à la carte. Téléchargements Pinout
€ 29,95€ 14,95
Membres identique
-

Elektor Digital Consumer Electronics Repair, Reuse and Recycling (E-book)
A Combat Guide against E-waste and Throwawayism This book is for anyone who enjoys tinkering with analog and digital hardware electronics. Regardless of the sophistication of your workspace, only basic tools are required to achieve truly satisfying results. It is intended as a reference guide among other hardware repair publications you may have in your library. However, the book goes a step further than most other repair guides in addressing issues in the modern era of discarded electronics called e-waste. E-waste should be put to good use. Producing anything new requires not just precious resources and labor, but also energy to make and deliver it to global retail shelves. Your talents and love of electronics can be put to good use by rescuing and resurrecting at least selected units from this endless stream of e-waste. Examples include either restoring through repair, or salvaging reusable electronic and mechanical components for your next project. Smart tips are provided throughout the book, and much information is tabulated for easy reference. The book expands age-old repair and hacking techniques applied for repair on the workbench into clever methods and applications to achieve effective results with discarded or “non-servicable” electronic consumer products. The final chapter provides real-life examples using all of the previously discussed content in a summarized form for each example repair type.
€ 32,95
Membres € 26,36
-

Elektor Digital Control Engineering with Fuzzy Logic (E-book)
Practical Applications and Project with Arduino, ESP32, and RP2040 Immerse yourself in the fascinating world of control engineering with Arduino and ESP32! This book offers you a practical introduction to classic and modern control methods, including PID controllers, fuzzy logic, and sliding-mode controllers. In the first part, you will learn the basics of the popular Arduino controllers, such as the Arduino Uno and the ESP32, as well as the integration of sensors for temperature and pH measurement (NTC, PT100, PT1000, and pH sensor). You will learn how to use these sensors in various projects and how to visualize data on a Nextion TFT display. The course continues with an introduction to actuators such as MOSFET switches, H-bridges, and solid-state relays, which are used to control motors and actuators. You will learn to analyze and model controlled systems, including PT1 and PT2 control. The book focuses on the implementation of fuzzy and PID controllers for controlling temperature and DC motors. Both the Arduino Uno and the ESP32 are used. The sliding-mode controller is also introduced. In the second-to-last chapter, you will explore the basics of neural networks and learn how machine learning can be used on an Arduino. In the last chapter, there is a practical example of a fuzzy controller for feeding electricity into the household grid. This book is the perfect choice for engineers, students, and electronics engineers who want to expand their projects with innovative control techniques.
€ 34,95
Membres € 27,96
-
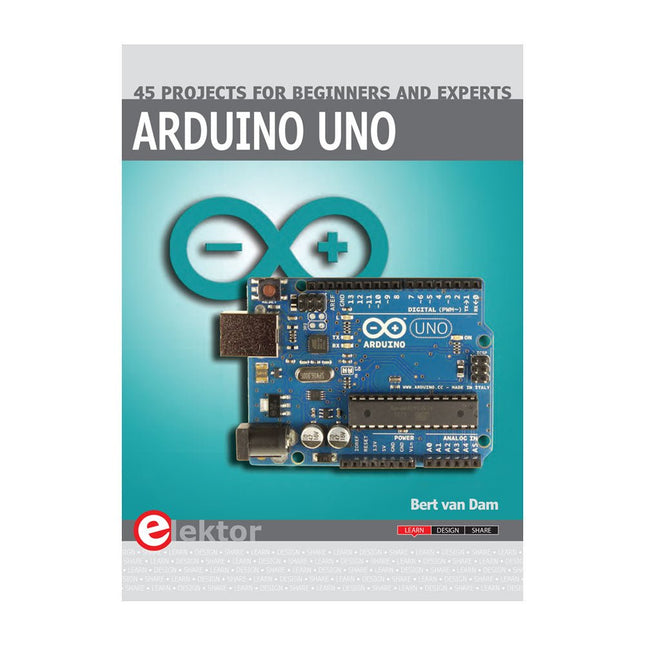
Elektor Publishing Arduino Uno – 45 Projects for Beginners and Experts
This book covers a series of exciting and fun projects for the Arduino, such as a silent alarm, people sensor, light sensor, motor control, internet and wireless control (using a radio link). Contrary to many free projects on the internet all projects in this book have been extensively tested and are guaranteed to work! You can use it as a projects book and build more than 45 projects for your own use. The clear explanations, schematics, and pictures of each project make this a fun activity. The pictures are taken of a working project, so you know for sure that they are correct. You can combine the projects in this book to make your own projects. To facilitate this, clear explanations are provided on how the project works and why it has been designed the way it has That way you will learn a lot about the project and the parts used, knowledge that you can use in your own projects. Apart from that, the book can be used as a reference guide. Using the index, you can easily locate projects that serve as examples for the C++ commands and Arduino functionality. Even after you’ve built all the projects in this book, it will still be a valuable reference guide to keep next to your PC.
€ 39,95
Membres € 35,96


