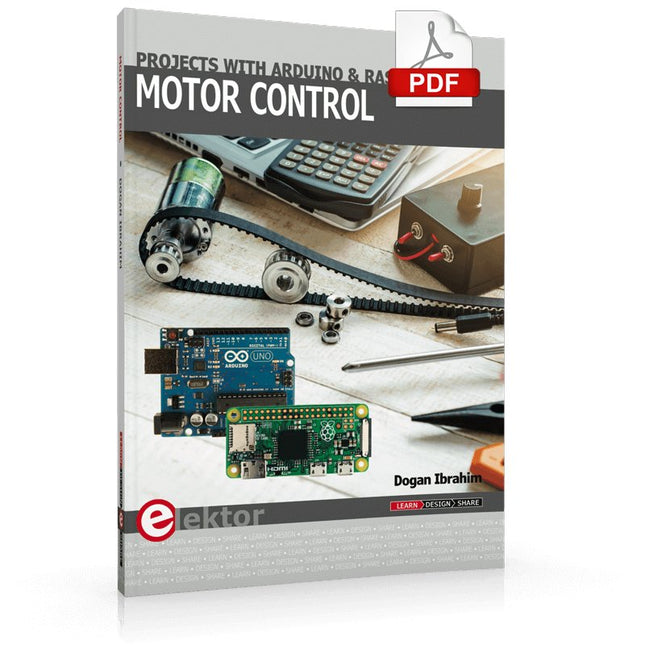
This book is about DC electric motors and their use in Arduino and Raspberry Pi Zero W based projects. The book includes many tested and working projects where each project has the following sub-headings:
Title of the project
Description of the project
Block diagram
Circuit diagram
Project assembly
Complete program listing of the project
Full description of the program
The projects in the book cover the standard DC motors, stepper motors, servo motors, and mobile robots. The book is aimed at students, hobbyists, and anyone else interested in developing microcontroller based projects using the Arduino Uno or the Raspberry Pi Zero W.
One of the nice features of this book is that it gives complete projects for remote control of a mobile robot from a mobile phone, using the Arduino Uno as well as the Raspberry Pi Zero W development boards. These projects are developed using Wi-Fi as well as the Bluetooth connectivity with the mobile phone. Readers should be able to move a robot forward, reverse, turn left, or turn right by sending simple commands from a mobile phone. Full program listings of all the projects as well as the detailed program descriptions are given in the book. Users should be able to use the projects as they are presented, or modify them to suit to their own needs.
Plot, Cut, Drill, Mill and Laser with the Z99
This book covers the construction, hardware, software, and operation of the Z99 – CNC machine. This is a multifunctional 4-axis machine for home construction.
The capabilities of the Z99 machine include:
large-format schematic plotting
PCB plotting with etch-resist pens
schematic plotting with conductive-ink pens
letter cutting out of vinyl
paper cutting
PCB/substrate drilling
PCB/substrate milling
text milling
laser engraving
laser cutting of solder paste masks
By making the support software available as freeware, readers of the book are challenged and encouraged to develop new applications for the Z99.
The machine would not be of much use if the user has no option to create suitable files for the designs in mind. A large part of this book is dedicated to creating source files in a variety of freeware software packages, including Inkscape, DesignSpark PCB, KiCad, and FlatCAM.
The book is also useful for readers keen to comprehend and then master the basic structure of HPGL, Gerber, Drill, and G-code files, as well as to have a go at deciphering them using software.
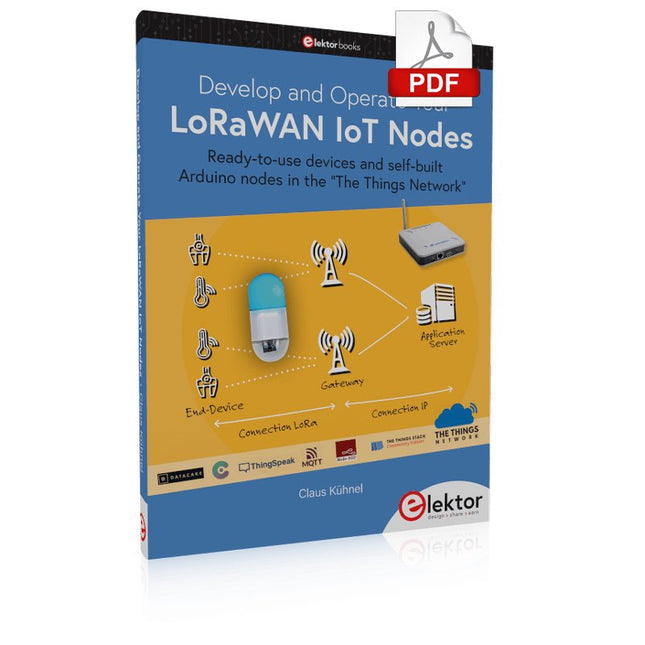
Ready-to-use devices and self-built Arduino nodes in the 'The Things Network'
LoRaWAN has developed excellently as a communication solution in the IoT. The Things Network (TTN) has contributed to this. The Things Network was upgraded to The Things Stack Community Edition (TTS (CE)). The TTN V2 clusters were closed towards the end of 2021.
This book shows you the necessary steps to operate LoRaWAN nodes using TTS (CE) and maybe extend the network of gateways with an own gateway. Meanwhile, there are even LoRaWAN gateways suitable for mobile use with which you can connect to the TTN server via your cell phone.
The author presents several commercial LoRaWAN nodes and new, low-cost and battery-powered hardware for building autonomous LoRaWAN nodes. Registering LoRaWAN nodes and gateways in the TTS (CE), providing the collected data via MQTT and visualization via Node-RED, Cayenne, Thingspeak, and Datacake enable complex IoT projects and completely new applications at very low cost.
This book will enable you to provide and visualize data collected with battery-powered sensors (LoRaWAN nodes) wirelessly on the Internet. You will learn the basics for smart city and IoT applications that enable, for example, the measurement of air quality, water levels, snow depths, the determination of free parking spaces (smart parking), and the intelligent control of street lighting (smart lighting), among others.
For Speed, Area, Power, and Reliability
This book teaches the fundamentals of FPGA operation, covering basic CMOS transistor theory to designing digital FPGA chips using LUTs, flip-flops, and embedded memories. Ideal for electrical engineers aiming to design large digital chips using FPGA technology.
Discover:
The inner workings of FPGA architecture and functionality.
Hardware Description Languages (HDL) like Verilog and VHDL.
The EDA tool flow for converting HDL source into a functional FPGA chip design.
Insider tips for reliable, low power, and high performance FPGA designs.
Example designs include:
Computer-to-FPGA UART serial communication.
An open-source Sump3 logic analyzer implementation.
A fully functional graphics controller.
What you need:
Digilent BASYS3 or similar FPGA eval board with an AMD/Xilinx FPGA.
Vivado EDA tool suite (available for download from AMD website free of charge).
Project source files available from author’s GitHub site.
Program and Build Raspberry Pi 5 Based Ham Station Utilities with the RTL-SDR
The RTL-SDR devices (V3 and V4) have gained popularity among radio amateurs because of their very low cost and rich features. A basic system may consist of a USB based RTL-SDR device (dongle) with a suitable antenna, a Raspberry Pi 5 computer, a USB based external audio input-output adapter, and software installed on the Raspberry Pi 5 computer. With such a modest setup, it is possible to receive signals from around 24 MHz to over 1.7 GHz.
This book is aimed at amateur radio enthusiasts and electronic engineering students, as well as at anyone interested in learning to use the Raspberry Pi 5 to build electronic projects. The book is suitable for both beginners through experienced readers. Some knowledge of the Python programming language is required to understand and eventually modify the projects given in the book. A block diagram, a circuit diagram, and a complete Python program listing is given for each project, alongside a comprehensive description.
The following popular RTL-SDR programs are discussed in detail, aided by step-by-step installation guides for practical use on a Raspberry Pi 5:
SimpleFM
GQRX
SDR++
CubicSDR
RTL-SDR Server
Dump1090
FLDIGI
Quick
RTL_433
aldo
xcwcp
GPredict
TWCLOCK
CQRLOG
klog
Morse2Ascii
PyQSO
Welle.io
Ham Clock
CHIRP
xastir
qsstv
flrig
XyGrib
FreeDV
Qtel (EchoLink)
XDX (DX-Cluster)
WSJT-X
The application of the Python programming language on the latest Raspberry Pi 5 platform precludes the use of the programs in the book from working on older versions of Raspberry Pi computers.
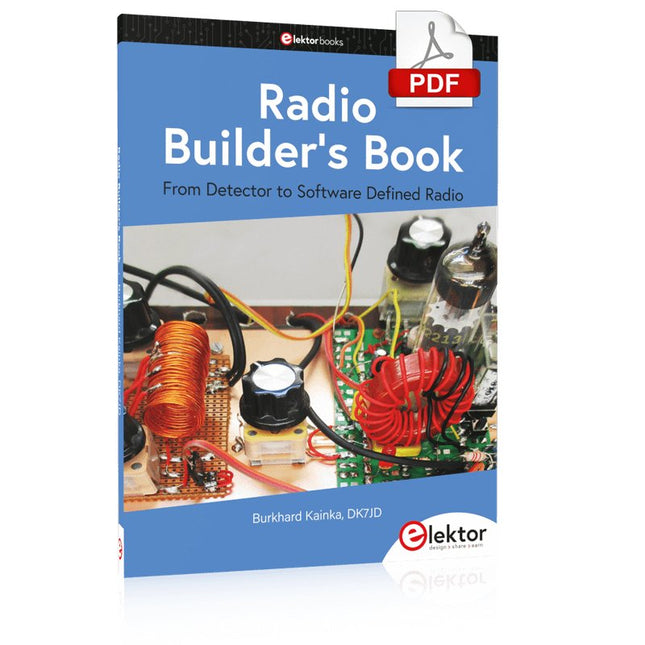
Du détecteur à la radio définie par logiciel
La technologie des radiofréquences (RF) est l'un des domaines qui permet encore de mettre en pratique ses propres idées. D'innombrables variantes de circuits avec des objectifs particuliers laissent place à des expériences et des projets significatifs. Beaucoup de choses ne sont tout simplement pas disponibles dans le commerce. Des radios à détecteur de cristal sans source d'alimentation propre, de simples récepteurs à tube avec une touche de nostalgie, les premières tentatives de réception de Software Defined Radio, des récepteurs spéciaux pour radioamateur, tout cela peut être réalisé avec peu d'effort et comme une parfaite introduction à l'électronique RF. Pendant longtemps, la construction radio a été le premier pas vers l’électronique. Il existe cependant d’autres moyens, notamment via les ordinateurs, les microcontrôleurs et le numérique. Cependant, les racines analogiques de l’électronique sont souvent négligées. La technologie radio élémentaire et les expériences faciles à réaliser sont particulièrement adaptées comme domaine d'apprentissage de l'électronique, car vous pouvez ici commencer par les bases les plus simples.
Mais le lien avec la technologie numérique moderne est également évident, par exemple lorsqu'il s'agit de méthodes de réglage modernes telles que PLL et DDS ou de radios DSP modernes.
Ce livre vise à donner un aperçu et à présenter une collection de projets RF simples. L'auteur souhaite vous aider à développer vos propres idées, à concevoir vos propres récepteurs et à les tester.
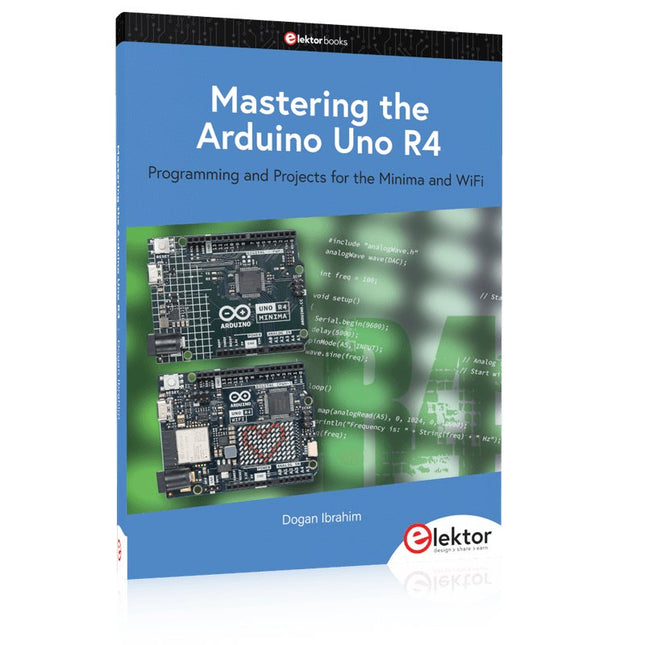
Programming and Projects for the Minima and WiFi
Based on the low-cost 8-bit ATmega328P processor, the Arduino Uno R3 board is likely to score as the most popular Arduino family member, and this workhorse has been with us for many years. Eleven years later, the long-overdue successor, the Arduino Uno R4, was released. It is built around a 48 MHz, 32-bit Arm Cortex-M4 microcontroller and provides significantly expanded SRAM and Flash memory. Additionally, a higher-precision ADC and a new DAC are added to the design. The Uno R4 board also supports the CAN Bus with an interface.
Two versions of the board are available: Uno R4 Minima, and Uno R4 WiFi. This book is about using these new boards to develop many different and interesting projects with just a handful of parts and external modules. All projects described in the book have been fully tested on the Uno R4 Minima or the Uno R4 WiFi board, as appropriate.
The project topics include the reading, control, and driving of many components and modules in the kit as well as on the relevant Uno R4 board, including
LEDs
7-segment displays (using timer interrupts)
LCDs
Sensors
RFID Reader
4x4 Keypad
Real-time clock (RTC)
Joystick
8×8 LED matrix
Motors
DAC (Digital-to-analog converter)
LED matrix
WiFi connectivity
Serial UART
CAN bus
Infrared controller and receiver
Simulators
… all in creative and educational ways with the project operation and associated software explained in great detail.
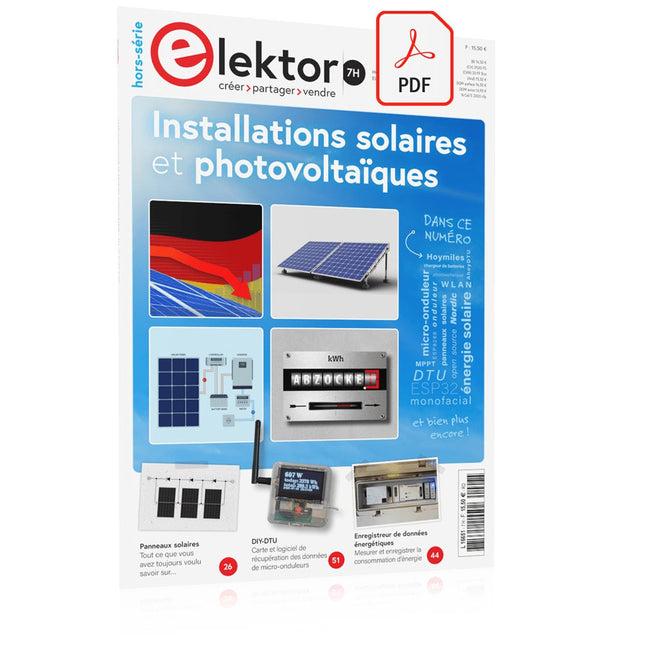
Comme la demande pour la pose de panneaux solaires a fortement augmenté, surtout pour les installations plus vastes que les centrales de balcon, les carnets de commandes des entreprises dans le domaine du solaire sont pleins. Si vous demandez aujourd’hui un devis, vous risquez d’attendre un moment, si votre demande n’est pas tout simplement renvoyée à une date indéterminée. Une autre conséquence de cette explosion du solaire est que certaines entreprises pratiquent des prix très élevés pour réaliser des installations.
Il y a pourtant une solution évidente et radicale contre les prix excessifs : Do it yourself comme le disent les Anglais. Le prix du matériel est actuellement abordable, c’est la période idéale pour ceux qui font le travail eux-mêmes. Ils ne pourraient pas réaliser davantage d’économies. À cela s’ajoutent la satisfaction de faire quelque chose d’utile, tant sur le plan économique qu’écologique, et le plaisir de construire soi-même.
Dans ce numéro spécial, vous trouverez une large sélection de montages d’Elektor, du régulateur pour panneaux solaires à celui pour chauffe-eau solaire, en passant par le système d’orientation pour panneaux solaires. Ce numéro contient également des informations pratiques sur l’installation des panneaux solaires ainsi que la technologie qu’ils renferment. Enfin plusieurs articles abordent le sujet des centrales de balcon, par exemple comment les installer, comment les connecter à l’internet…
Sommaire
LES BASES
Calculs et principes de mise en oeuvre de panneaux photovoltaïques
Analyse sensorielle de la lumière Des LED pour la mesure de la lumière diurne
Hélio-courant, un jeu d’enfant Charger en solaire avec/sans régulateur
Sections de câbles et pertes dans les câbles pour les installations solaires
Panneaux solaires Tout ce que vous avez toujours voulu savoir sur les panneaux solaires...
Contrôleur de diode idéale Circuits à diodes à faible dissipation de puissance
TRUCS ET ASTUCES
Chargeur solaire à haut η
Détecteur d’humidité solaire
Régulateur shunt pour panneau solaire
Système d’orientation simple
Chargeur et régulateur à cellules solaires
zBot : alimentation piles/solaire
Témoin de tension pour panneau solaire
Veilleuse solaire
Chargeur solaire vert
PROJETS
Enregistreur de données énergétiquesMesurer et enregistrer la consommation d’énergie
Petite alimentation solaireLumière du soleil en entrée, 3,3 V en sortie
Unité de transfert de données (DTU) de fabrication maisonLecture des données de petits onduleurs avec une carte à microcontrôleur
Chargeur solaire portableÀ accumulateur lithium-ion
Régulation solaire thermiqueÀ la recherche du point de puissance maximale
Chargeur 2 A avec régulateur MPPPresse le soleil jusqu’au dernier rayon
Héliostat piloté par PCÀ la poursuite des étoiles
Lampe solaireMême l’éclairage de jardin se met au sans fil
Convertisseur de tension de panneau solairePour éclairage intérieur et IdO
Chargeur en voyageÉnergie gratuite sur les cimes
Chargeur solaire/moniteur
Chargeur de batteries à panneaux solaires
Convertisseurs de tension pour panneaux photovoltaïques
Régulateur de charge solairePour panneaux solaires de ≤53 W
Cure de soleil pour batterieChargeur de batterie solaire
Bus CAN + Arduino pour la surveillance des cellules solairesDétecter et localiser les panneaux défectueux dans les grands réseaux photovoltaïques
Getting started with the world’s best open-source PCB tool
The latest iteration of KiCad, the world’s best free-to-use Printed Circuit Board tool, is packed with features usually found only in expensive commercial CAD tools. This modern, cross-platform application suite built around schematic and design editors, with auxiliary applications is a stable and mature PCB tool. KiCad 8 is a perfect fit for electronic engineers and makers.
Here are the most significant improvements and features in KiCad 8, both over and under the hood:
Modern user interface, completely redesigned from earlier versions
Improved and customizable electrical and design rule checkers
Theme editor allowing you to customize KiCad on your screen
Ability to import projects from Eagle, CADSTART, and more
Python scripting API
Improved integrated SPICE circuit simulator
Multi-sheet schematics
Filters define selectable elements
Enhanced interactive router helps you draw single tracks and differential pairs with precision
New or enhanced tools to draw tracks, measure distances, tune track lengths, etc.
Advanced interactive router
Built-in bill of materials generator
Realistic ray-tracing capable 3D viewer
Customizable teardrops
Plug-in manager for quick installation of themes, libraries and functionalities such as autorouters and BOM generators
This book will teach you to use KiCad through a practical approach. It will help you become productive quickly and start designing your own boards. Example projects illustrate the basic features of KiCad, even if you have no prior knowledge of PCB design.
The author describes the entire workflow from schematic entry to the intricacies of finalizing the files for PCB production and offers sound guidance on the process. Further full-fledged projects, of incremental difficulty, will be presented in a second book, together with a variety of advanced recipes.
Practical Guide to Modular RF Design
Build Your Own Software-Defined Radio combines RF circuitry with hardware programming and PC-based signal processing. The e-book presents a modular approach to building a complete SDR system using RF Bricks – from the mechanical framework and RF modules to measurement tools, PC software, and FPGA implementations. Practical explanations guide readers through real signal paths, construction steps, and measurement routines, linking hardware and software into a flexible SDR platform.
Key topics include:
Mechanical setup: RF Brick template, chassis, and 19-inch module carrier
Bridges: USB isolator, I²C level shifter, I²C power switch, and practical examples
Signal-chain design with RF Bricks: antennas, band filters, NanoVNA work, preamplifiers, PLLs, demodulators, direct-conversion chains, multiband options, and narrowband bricks
RF measurement Bricks: single- and dual-tone sources, NPR methods, noise generators, notch filters, broadband amplifiers, and impedance bridges
Useful accessories: ATU-100 tuner, X-Phase QRM eliminator, and firmware notes
PC host software: SoapyAudio adjustments, GQRX, SDR++, and added functionality
GnuRadio elements: control blocks, SSB demodulation, GUI components, messaging, and filter handling
FPGA-based SDR: VHDL, toolchains, ADC/DAC blocks, oversampling, and a complete SSB/CW signal chain
With its modular structure and detailed working examples, this e-book offers a practical path to building and extending modern SDR systems.
Downloads
Software
Program and build RPi Pico-based ham station utilities, tools, and instruments
Although much classical HF and mobile equipment is still in use by large numbers of amateurs, the use of computers and digital techniques has now become very popular among amateur radio operators. Nowadays, anyone can purchase a €5 Raspberry Pi Pico microcontroller board and develop many amateur radio projects using the “Pico” and some external components. This book is aimed at amateur radio enthusiasts, Electronic Engineering students, and anyone interested in learning to use the Raspberry Pi Pico to shape their electronic projects. The book is suitable for beginners in electronics as well as for those with wide experience.
Step-by-step installation of the MicroPython programming environment is described. Some knowledge of the Python programming language is helpful to be able to comprehend and modify the projects given in the book. The book introduces the Raspberry Pi Pico and gives examples of many general-purpose, software-only projects that familiarize the reader with the Python programming language. In addition to the software-only projects tailored to the amateur radio operator, Chapter 6 in particular presents over 36 hardware-based projects for “hams”, including:
Station mains power on/off control
Radio station clock
GPS based station geographical coordinates
Radio station temperature and humidity
Various waveform generation methods using software and hardware (DDS)
Frequency counter
Voltmeter / ammeter / ohmmeter / capacitance meter
RF meter and RF attenuators
Morse code exercisers
RadioStation Click board
Raspberry Pi Pico based FM radio
Using Bluetooth and Wi-Fi with Raspberry Pi Pico
Radio station security with RFID
Audio amplifier module with rotary encoder volume control
Morse decoder
Using the FS1000A TX-RX modules to communicate with Arduino
Cet analyseur logique USB est un analyseur logique à 8 voies avec chaque entrée à double usage pour l'enregistrement de données analogiques. Idéal pour le débogage et l'analyse de signaux tels que I²C, UART, SPI, CAN et 1-Wire. Il fonctionne en échantillonnant une entrée numérique connectée à un dispositif en test (DUT) à une fréquence d'échantillonnage élevée. La connexion au PC se fait via USB. Spécifications Voies 8 voies numériques Fréquence d'échantillonnage maximale 24 MHz Tension d'entrée maximale 0 V ~ 5 V Température de fonctionnement 0°C ~ 70°C Impédance d'entrée 1 MΩ || 10 pF Protocoles pris en charge I²C, SPI, UART, CAN, 1-Wire, etc. Connexion au PC USB Dimensions 55 x 28 x 14 mm Inclus Analyseur logique USB (8 voies, 24 MHz) Câble USB Nappe de fils de liaison Téléchargements Logiciel
Projects Using Arduino IDE and the LVGL Graphics Library
The ESP32 is probably one of the most popular microcontrollers used by many people, including students, hobbyists, and professional engineers. Its low cost, coupled with rich features makes it a popular device to use in many projects. Recently, a board called the ESP32 Cheap Yellow Display (CYD for short) is available from its manufacturers. The board includes a standard ESP32 microcontroller together with a 320x240 pixel TFT display. Additionally, the board provides several connectors for interfaces such as GPIO, serial port (TX/RX), power and Ground. The inclusion of a TFT display is a real advantage as it enables users to design complex graphics-based projects without resorting to an external LCD or graphics displays.
The book describes the basic hardware of the ESP32 CYD board and provides details of its on-board connectors. Many basic, simple, and intermediate-level projects are given in the book based on the ESP32 CYD, using the highly popular Arduino IDE 2.0 integrated development environment. The use of both the basic graphics functions and the use of the popular LVGL graphics library are discussed in the book and projects are given that use both types of approaches.
All the projects given in the book have been tested and are working. The block diagram, circuit diagram, and the complete program listings and program descriptions of all the projects are given with explanations. Readers can use the LVGL graphics library to design highly popular eye-catching full-color graphics projects using widgets such as buttons, labels, calendars, keypads, keyboards, message boxes, spinboxes, sliders, charts, tables, menus, bars, switches, drop-down lists, animations, and many more widgets.
From basics to flows for sensors, automation, motors, MQTT, and cloud services
This book is a learning guide and a reference. Use it to learn Node-RED, Raspberry Pi Pico W, and MicroPython, and add these state-of-the-art tools to your technology toolkit. It will introduce you to virtual machines, Docker, and MySQL in support of IoT projects based on Node-RED and the Raspberry Pi Pico W.
This book combines several elements into a platform that powers the development of modern Internet of Things applications. These elements are a flow-based server, a WiFi-enabled microcontroller, a high-level programming language, and a deployment technology. Combining these elements gives you the tools you need to create automation systems at any scale. From home automation to industrial automation, this book will help you get started.
Node-RED is an open-source flow-based development tool that makes it easy to wire together devices, APIs, and online services. Drag and drop nodes to create a flowchart that turns on your lights at sunset or sends you an email when a sensor detects movement. Raspberry Pi Pico W is a version of the Raspberry Pi Pico with added 802.11n Wi-Fi capability. It is an ideal device for physical computing tasks and an excellent match to the Node-RED.
Quick book facts
Project-based learning approach.
Assumes no prior knowledge of flow-based programming tools.
Learn to use essential infrastructure tools in your projects, such as virtual machines, Docker, MySQL and useful web APIs such as Google Sheets and OpenWeatherMap.
Dozens of mini-projects supported by photographs, wiring schematics, and source code. Get these from the book GitHub repository.
Step-by-step instructions on everything.
All experiments are based on the Raspberry Pi Pico W. A Wi-Fi network is required for all projects.
Hardware (including the Raspberry Pi Pico W) is available as a kit.
Downloads
GitHub
TINA Design Suite is a professional, powerful and affordable circuit simulator. It is a circuit designer and PCB design software package for analysing, designing, and real-time testing of analogue, digital, IBIS, VHDL, Verilog, Verilog AMS, SystemC, MCU, and mixed electronic circuits and their PCB layouts.
In this book, top-selling Elektor author, Prof. Dr. Dogan Ibrahim aims to teach the design and analysis of electrical and electronic circuits and develop PCB boards using both TINA and TINACloud. The book is aimed at electrical/electronic engineers, undergraduate electronic/electrical engineering students at technical colleges and universities, postgraduate and research students, teachers, and hobbyists. Many tested and working simulation examples are provided covering most fields of analogue and digital electrical/electronic engineering. These include AC and DC circuits, diodes, zener diodes, transistor circuits, operational amplifiers, ladder diagrams, 3-phase circuits, mutual inductance, rectifier circuits, oscillators, active and passive filter circuits, digital logic, VHDL, MCUs, switch-mode power supplies, PCB design, Fourier series, and spectrum. Readers do not need to have any programming experience unless they wish to simulate complex MCU circuits.
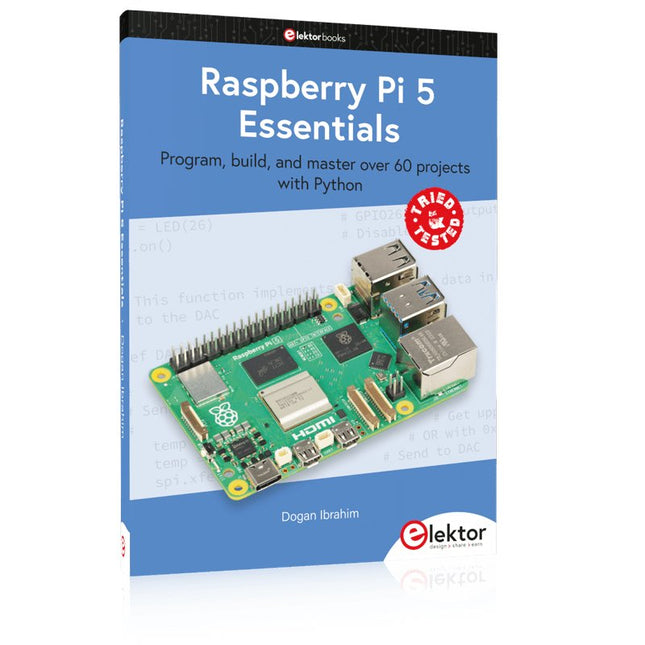
Program, build, and master over 60 projects with Python
The Raspberry Pi 5 is the latest single-board computer from the Raspberry Pi Foundation. It can be used in many applications, such as in audio and video media centers, as a desktop computer, in industrial controllers, robotics, and in many domestic and commercial applications. In addition to the well-established features found in other Raspberry Pi computers, the Raspberry Pi 5 offers Wi-Fi and Bluetooth (classic and BLE), which makes it a perfect match for IoT as well as in remote and Internet-based control and monitoring applications. It is now possible to develop many real-time projects such as audio digital signal processing, real-time digital filtering, real-time digital control and monitoring, and many other real-time operations using this tiny powerhouse.
The book starts with an introduction to the Raspberry Pi 5 computer and covers the important topics of accessing the computer locally and remotely. Use of the console language commands as well as accessing and using the desktop GUI are described with working examples. The remaining parts of the book cover many Raspberry Pi 5-based hardware projects using components and devices such as
LEDs and buzzers
LCDs
Ultrasonic sensors
Temperature and atmospheric pressure sensors
The Sense HAT
Camera modules
Example projects are given using Wi-Fi and Bluetooth modules to send and receive data from smartphones and PCs, and sending real-time temperature and atmospheric pressure data to the cloud.
All projects given in the book have been fully tested for correct operation. Only basic programming and electronics experience are required to follow the projects. Brief descriptions, block diagrams, detailed circuit diagrams, and full Python program listings are given for all projects described.
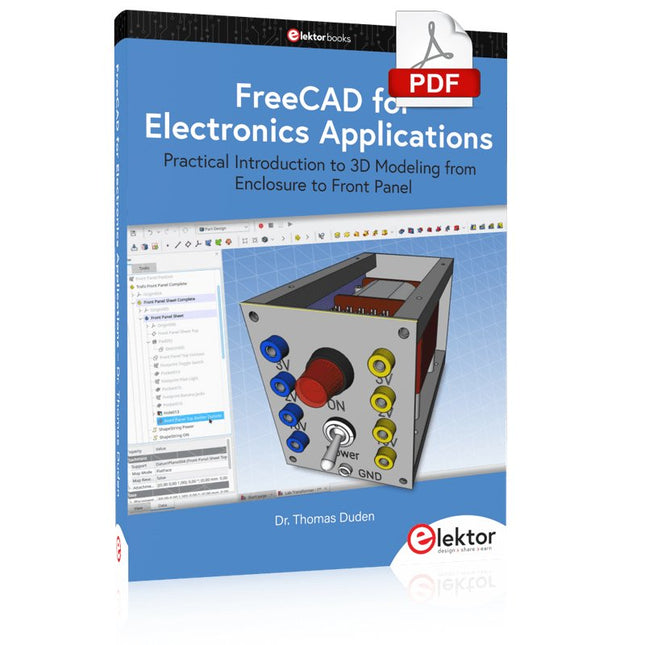
Practical Introduction to 3D Modeling from Enclosure to Front Panel
Embedding a vintage component, creating a professional looking home for a circuit board, or even designing a complex apparatus complete with a chassis – these and many other challenges turn into a stimulating pleasure with FreeCAD. Once you have internalized the basic processes, there are virtually no limits to your imagination.
Starting to use a new software is never straightforward – especially with a tool as versatile as FreeCAD. Manageable, but at the same time easily usable individual components provide the starting point in this book. Putting these components together later results in assemblies.
In the FreeCAD universe, a workable trajectory is demonstrated. The described procedure is illustrative so the examples are easily applied to custom tasks. The devices were made by the author and illustrated with photos.
Creating a 3D design is requiring some effort but the initial investment pays off soon. Besides the impressive spatial representation of the projects, the extracted drawings yield a solid base for documentation and production. Extended FreeCAD capabilities like the unfolding of sheet metal parts enormously add to efficiency and pushes models forward into practical assembly.
Soon you will definitely not want to do without FreeCAD!
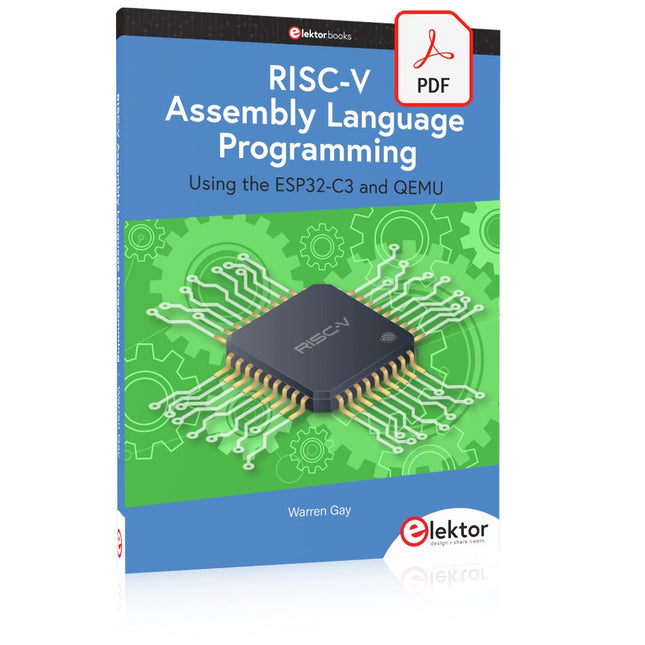
With the availability of free and open source C/C++ compilers today, you might wonder why someone would be interested in assembler language. What is so compelling about the RISC-V Instruction Set Architecture (ISA)? How does RISC-V differ from existing architectures? And most importantly, how do we gain experience with the RISC-V without a major investment? Is there affordable hardware available?
The availability of the Espressif ESP32-C3 chip provides a way to get hands-on experience with RISC-V. The open sourced QEMU emulator adds a 64-bit experience in RISC-V under Linux. These are just two ways for the student and enthusiast alike to explore RISC-V in this book.
The projects in this book are boiled down to the barest essentials to keep the assembly language concepts clear and simple. In this manner you will have “aha!” moments rather than puzzling about something difficult. The focus in this book is about learning how to write RISC-V assembly language code without getting bogged down. As you work your way through this tutorial, you’ll build up small demonstration programs to be run and tested. Often the result is some simple printed messages to prove a concept. Once you’ve mastered these basic concepts, you will be well equipped to apply assembly language in larger projects.
Practical Low-Cost Methods for Reliable PCB Production
This book explains how to carry out reliable SMD assembly using affordable tools and small-scale equipment. It follows the complete workflow step by step, including tool selection, solder paste handling, stencil use, component placement, reflow methods, inspection, and rework.
The focus is on bench-level and small-lab production rather than industrial assembly lines. It shows practical methods for building single and double-sided SMD boards with repeatable results.
Topics include solder paste and flux, temperature profiles, hot air and hotplate techniques, small reflow ovens, inspection methods, and defect correction. Checklists and example workflows are included to help reduce errors and improve consistency.
Key features:
Tools and supplies for SMD assembly and rework
Solder paste types, storage, and handling
Stencils and paste application methods
Pick and place workflow and component orientation
Temperature profiles and reflow methods
Hot air, hotplate, and reflow oven processes
Inspection and quality control
Common defects such as tombstoning and solder bridges
Practical rework and component replacement
Bench-level professional workflows and checklists
This book is designed as a practical bench reference for anyone who wants to assemble and troubleshoot their own SMD boards with reliable results.
Mastering Surface Mount Technology takes you on a crash course in techniques, tips and know-how to successfully introduce surface mount technology in your workflow. Even if you are on a budget you too can jumpstart your designs with advanced fine pitch parts.
Besides explaining methodology and equipment, attention is given to SMT parts technologies and soldering methods. In a step by step way, several projects introduce you to handling surface mount parts and the required skills to successfully build SMT assemblies. Many practical tips and tricks are disclosed that bring surface mount technology into everyone's reach without breaking the bank.
From SRPP and Mu-Follower to OTL Designs
Tube amplifiers suffer from distortion. Fortunately, circuits such as the SRPP amplifier, mu-follower, and beta-follower produce minimal distortion even at output voltages of 50 to 100 Vpeak.
These designs are often published with errors. Without a sound understanding of the theory, it is easy to arrive at a flawed design.
In the first section of this book, we investigate the origin of distortion, while in the second we investigate the design of and SRPP and a mu-follower.
On the internet we can find the most exotic designs. Evaluating them teaches us that these designs often make matters worse rather than better. In the chapter on incorrect SRPPs and mu-followers, we sometimes see bizarre and misguided designs where using a simple single-triode amplifier would perform much better.
Push-pull output stages also exist. A great number of them are examined, and their similarity to the SRPP is discussed. This is done especially with the help of the theory behind the OTL based on the ‘mother’ of all OTLs, the Philips HF303.
Finally, attention is given to frequency characteristics and technical matters such as the supply voltage and the filament power supply.
To illustrate these points, there are a few designs covering the subjects discussed.
This book presents much new theory that has not been published before. It is often an eye-opener, showing that many things have a beautiful and unexpected simplicity.
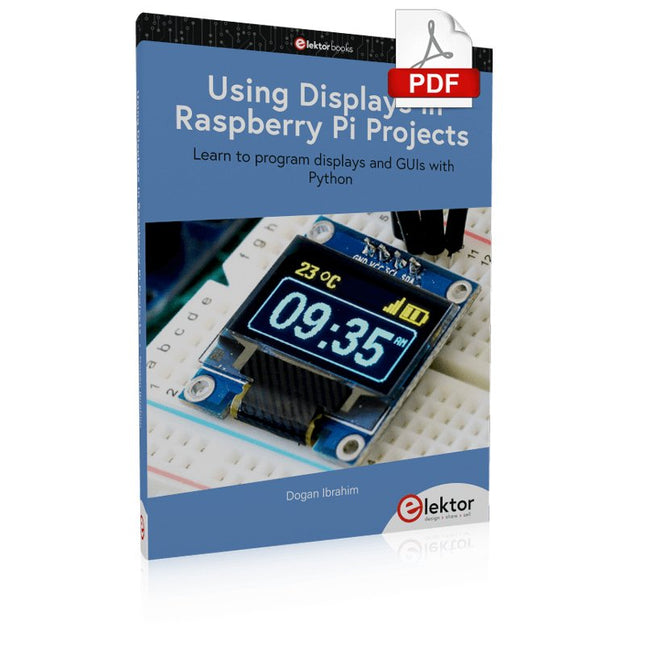
Learn to program displays and GUIs with Python
This book is about Raspberry Pi 4 display projects. The book starts by explaining how to install the latest Raspbian operating system on an SD card, and how to configure and use the GPIO ports.
The core of the book explains the following topics in simple terms with fully tested and working example projects:
Simple LED projects
Bar graph LED projects
Matrix LED projects
Bitmap LED projects
LED strips
LCDs
OLED displays
E-paper displays
TFT displays
7-inch touch screen
GUI Programming with Tkinder
One unique feature of this book is that it covers almost all types of display that readers will need to use in their Raspberry Pi based projects. The operation of each project is fully given, including block diagrams, circuit diagrams, and commented full program listings. It is therefore an easy task to convert the given projects to run on other popular platforms, such as Arduino or PIC microcontrollers.
Python program listings of all Raspberry Pi projects developed in this book are available for download at Elektor.com. Readers can use these programs in their projects. Alternatively, they can modify the programs to suit their applications.
La plupart des gens sont de plus en plus confrontés aux applications de l’intelligence artificielle (IA). Les classements de musique ou de vidéo, les systèmes de navigation, les conseils d'achat, etc. reposent sur des méthodes qui peuvent être attribuées à ce domaine.
Le terme intelligence artificielle a été inventé en 1956 lors d’une conférence internationale connue sous le nom de Dartmouth Summer Research Project. Une approche fondamentale consistait à modéliser le fonctionnement du cerveau humain et à construire des systèmes informatiques avancés sur cette base. Bientôt, le fonctionnement de l’esprit humain devrait être clair. Le transférer sur une machine n’était considéré qu’une petite étape. Cette notion s'est avérée un peu trop optimiste. Néanmoins, les progrès de l’IA moderne, ou plutôt de sa sous-spécialité appelée Machine Learning (ML), ne peuvent plus être niés.
Dans ce livre, plusieurs systèmes différents seront utilisés pour connaître plus en détail les méthodes d’apprentissage automatique. En plus du PC, le Raspberry Pi et le Maixduino démontreront leurs capacités dans les différents projets. Outre des applications telles que la reconnaissance d'objets et de visages, des systèmes pratiques tels que des détecteurs de bouteilles, des compteurs de personnes ou un « œil qui parle » seront également créés.
Ce dernier est capable de décrire acoustiquement des objets ou des visages détectés automatiquement. Par exemple, si un véhicule se trouve dans le champ de vision de la caméra connectée, l'information « Je vois une voiture ! est émis via une parole générée électroniquement. De tels appareils sont des exemples très intéressants de la manière dont, par exemple, les personnes aveugles ou gravement malvoyantes peuvent également bénéficier des systèmes d’IA.
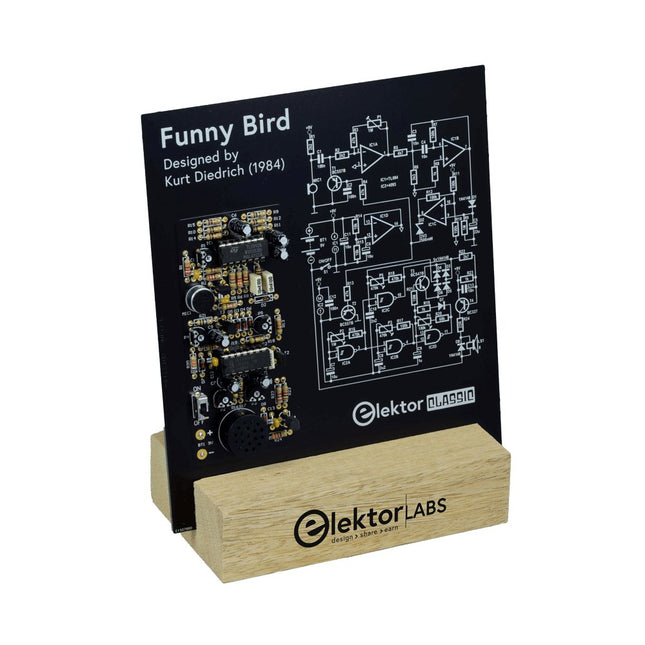
Sifflez et il vous répondra en gazouillant ! Même si de nombreuses personnes possèdent et observent avec amour des oiseaux de toutes sortes, malheureusement la plupart d'entre eux n'ont pas encore appris à communiquer avec nous. Cet oiseau entièrement électronique fait un pas dans la bonne direction : lorsque vous sifflez, il vous répond en gazouillant ! Caractéristiques Réagit au Sifflement Sons d'Oiseaux Réglables (Ton et Durée) Symboles de Circuit Patrimoine d'Elektor Testé et Approuvé par les Laboratoires Elektor Projet Éducatif et Geek Pièces Montage Traditionnel Seulement Inclus Carte de Circuit Imprimé Tous les Composants Socle en Bois Liste des Composants Résistances R1,R2 = 2.2kΩ R3,R4,R13 = 47kΩ R5 = 4.7kΩ R6 = 3.3kΩ R7,R10,R11,R12,R17 = 100kΩ R8,R19,R23 = 1kΩ R9 = 1MΩ R14,R15 = 10kΩ R16,R18 = 470kΩ R20 = 68kΩ R21 = 10MΩ R22 = 2.7kΩ R24 = 22Ω P1,P2 = 1MΩ P3,P5 = 470kΩ P4 = 100kΩ Condensateurs C1,C2,C12 = 100nF C3,C4 = 10nF C5 = 22μF, 16V C6,C7,C11 = 10μF, 16V C8 = 2.2μF, 100V C9 = 1μF, 50V C10 = 2.2nF C13 = 10nF Semi-conducteurs D1,D3,D4,D5,D6,D7,D8 = 1N4148 D2 = Diode zener 3V3 T1,T2 = BC557B T3 = BC547B T4 = BC327-40 IC1 = TL084CN IC2 = 4093 Divers BT1 = Pince de batterie câblée pour 6LR61/PP3 LS1 = Haut-parleur miniature, 8Ω, 0.5W S1 = Interrupteur, glissière, SPDT MIC1 = Microphone électret PCB 230153-1 v1.1