Résultats de la recherche pour "the OR 741se OR discrete OR 741 OR op OR amp"
-
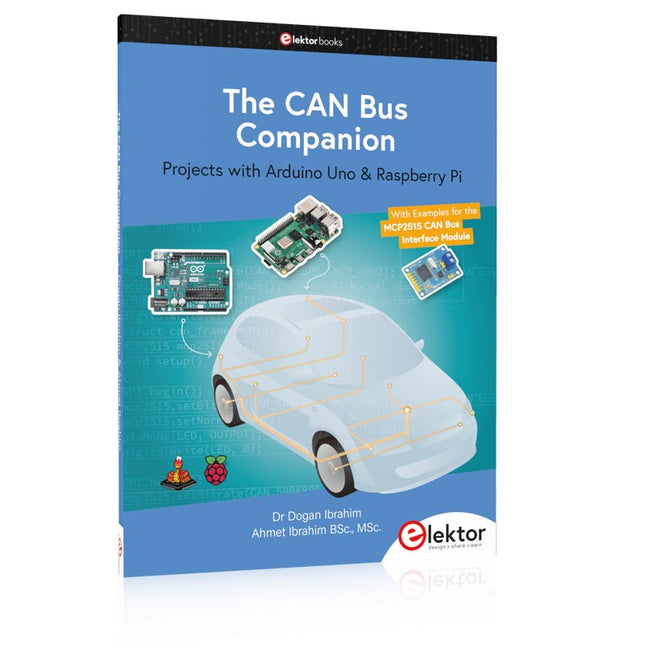
Elektor Publishing The CAN Bus Companion
This book details the use of the Arduino Uno and the Raspberry Pi 4 in practical CAN bus based projects. Using either the Arduino Uno or the Raspberry Pi with off-the-shelf CAN bus interface modules considerably ease developing, debugging, and testing CAN bus based projects. This book is written for students, practicing engineers, enthusiasts, and for everyone else wanting to learn more about the CAN bus and its applications. The book assumes that the reader has some knowledge of basic electronics. Knowledge of the C and Python programming languages and programming the Arduino Uno using its IDE and Raspberry Pi will be useful, especially if the reader intends to develop microcontroller-based projects using the CAN bus. The book should be a useful source of reference material for anyone interested in finding answers to questions such as: What bus systems are available for the automotive industry? What are the principles of the CAN bus? How can I create a physical CAN bus? What types of frames (or data packets) are available in a CAN bus system? How can errors be detected in a CAN bus system and how dependable is a CAN bus system? What types of CAN bus controllers exist? How do I use the MCP2515 CAN bus controller? How do I create 2-node Arduino Uno-based CAN bus projects? How do I create 3-node Arduino Uno-based CAN bus projects? How do I set the acceptance masks and acceptance filters? How do I analyze data on the CAN bus? How do I create 2-node Raspberry Pi-based CAN bus projects? How do I create 3-node Raspberry Pi-based CAN bus projects?
€ 34,95
Membres : € 31,46
-
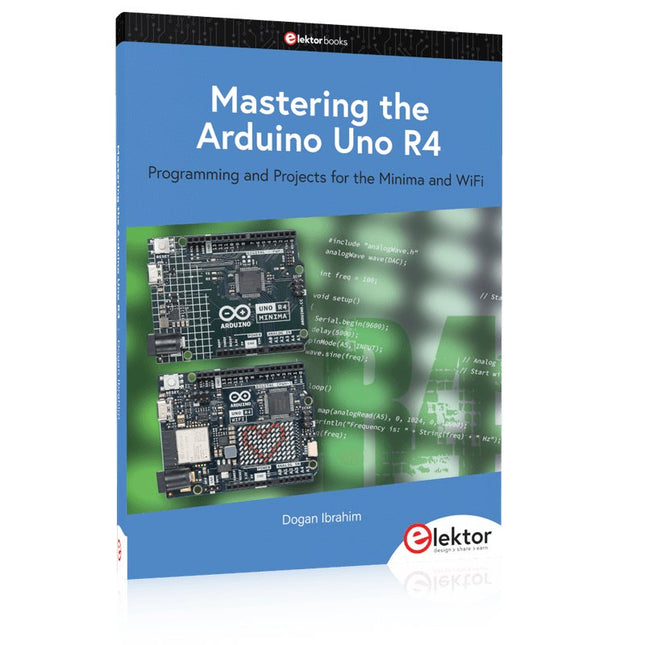
Elektor Publishing Mastering the Arduino Uno R4
Programming and Projects for the Minima and WiFi Based on the low-cost 8-bit ATmega328P processor, the Arduino Uno R3 board is likely to score as the most popular Arduino family member, and this workhorse has been with us for many years. Eleven years later, the long-overdue successor, the Arduino Uno R4, was released. It is built around a 48 MHz, 32-bit Arm Cortex-M4 microcontroller and provides significantly expanded SRAM and Flash memory. Additionally, a higher-precision ADC and a new DAC are added to the design. The Uno R4 board also supports the CAN Bus with an interface. Two versions of the board are available: Uno R4 Minima, and Uno R4 WiFi. This book is about using these new boards to develop many different and interesting projects with just a handful of parts and external modules. All projects described in the book have been fully tested on the Uno R4 Minima or the Uno R4 WiFi board, as appropriate. The project topics include the reading, control, and driving of many components and modules in the kit as well as on the relevant Uno R4 board, including LEDs 7-segment displays (using timer interrupts) LCDs Sensors RFID Reader 4x4 Keypad Real-time clock (RTC) Joystick 8×8 LED matrix Motors DAC (Digital-to-analog converter) LED matrix WiFi connectivity Serial UART CAN bus Infrared controller and receiver Simulators … all in creative and educational ways with the project operation and associated software explained in great detail.
€ 39,95
Membres : € 35,96
-
Elektor Classics The Elektor Arduino Collection (clé USB)
Cette clé USB contient une sélection de plus de 300 articles liés à Arduino publiés dans le magazine Elektor. Le contenu comprend à la fois des articles de fond et des projets sur les sujets suivants : Développement logiciel et matériel : tutoriels sur le développement logiciel avec l’IDE Arduino, Atmel Studio, les shield, et les concepts essentiels de programmation. Apprentissage : le Microcontroller Bootcamp propose une approche structurée pour programmer des systèmes embarqués. Acquisition et mesure de données : projets comme un enregistreur de données 16 bits, un tachymètre pour tour, et un analyseur de réseau électrique pour capturer et analyser des signaux en temps réel. Communication sans fil : apprenez à mettre en œuvre des réseaux sans fil, créer une interface Android, et communiquer efficacement avec des microcontrôleurs. Robotique et automatisation : le Arduino Nano Robot Controller, des cartes de support pour l'automatisation, et l'exploration de divers shield Arduino pour enrichir les fonctionnalités. Projets à construire soi-même : Des projets uniques tels qu’un projecteur laser, une horloge et un thermomètre Numitron, un récepteur TBF, Theremino, et des interfaces LED tactiles mettent en valeur des applications créatives. Que vous soyez débutant ou expérimenté, cette collection est une ressource précieuse pour apprendre, expérimenter et repousser les limites de la technologie Arduino.
€ 49,95€ 34,95
Meilleur prix
-

Elektor Publishing The BeagleY-AI Handbook
A Practical Guide to AI, Python, and Hardware Projects Welcome to your BeagleY-AI journey! This compact, powerful, and affordable single-board computer is perfect for developers and hobbyists. With its dedicated 4 TOPS AI co-processor and a 1.4 GHz Quad-core Cortex-A53 CPU, the BeagleY-AI is equipped to handle both AI applications and real-time I/O tasks. Powered by the Texas Instruments AM67A processor, it offers DSPs, a 3D graphics unit, and video accelerators. Inside this handbook, you‘ll find over 50 hands-on projects that cover a wide range of topics—from basic circuits with LEDs and sensors to an AI-driven project. Each project is written in Python 3 and includes detailed explanations and full program listings to guide you. Whether you‘re a beginner or more advanced, you can follow these projects as they are or modify them to fit your own creative ideas. Here’s a glimpse of some exciting projects included in this handbook: Morse Code Exerciser with LED or BuzzerType a message and watch it come to life as an LED or buzzer translates your text into Morse code. Ultrasonic Distance MeasurementUse an ultrasonic sensor to measure distances and display the result in real time. Environmental Data Display & VisualizationCollect temperature, pressure, and humidity readings from the BME280 sensor, and display or plot them on a graphical interface. SPI – Voltmeter with ADCLearn how to measure voltage using an external ADC and display the results on your BeagleY-AI. GPS Coordinates DisplayTrack your location with a GPS module and view geographic coordinates on your screen. BeagleY-AI and Raspberry Pi 4 CommunicationDiscover how to make your BeagleY-AI and Raspberry Pi communicate over a serial link and exchange data. AI-Driven Object Detection with TensorFlow LiteSet up and run an object detection model using TensorFlow Lite on the BeagleY-AI platform, with complete hardware and software details provided.
€ 44,95
Membres : € 40,46
-
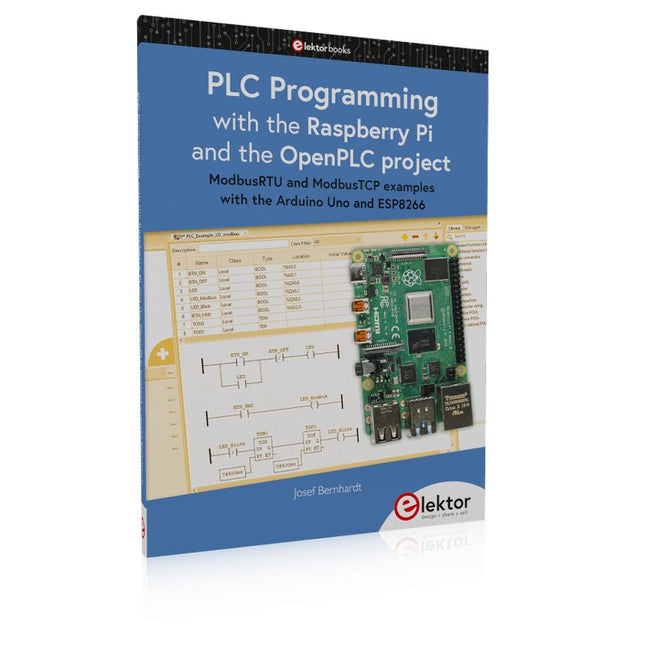
Elektor Publishing PLC Programming with the Raspberry Pi and the OpenPLC Project
ModbusRTU and ModbusTCP examples with the Arduino Uno and ESP8266 Introduction to PLC programming with OpenPLC, the first fully open source Programmable Logic Controller on the Raspberry Pi, and Modbus examples with Arduino Uno and ESP8266 PLC programming is very common in industry and home automation. This book describes how the Raspberry Pi 4 can be used as a Programmable Logic Controller. Before taking you into the programming, the author starts with the software installation on the Raspberry Pi and the PLC editor on the PC, followed by a description of the hardware. You'll then find interesting examples in the different programming languages complying with the IEC 61131-3 standard. This manual also explains in detail how to use the PLC editor and how to load and execute the programs on the Raspberry Pi. All IEC languages are explained with examples, starting with LD (Ladder Diagram) over ST (Structured Control Language) to SFC (Special Function Chart). All examples can be downloaded from the author's website. Networking gets thorough attention too. The Arduino Uno and the ESP8266 are programmed as ModbusRTU or ModbusTCP modules to get access to external peripherals, reading sensors and switching electrical loads. I/O circuits complying with the 24 V industry standard may also be of interest for the reader. The book ends with an overview of commands for ST and LD. After reading the book, the reader will be able to create his own controllers with the Raspberry Pi.
€ 39,95
Membres : € 35,96
-

Elektor Publishing The Book of 555 Timer Projects
Over 45 Builds for the Legendary 555 Chip (and the 556, 558) The 555 timer IC, originally introduced by the Signetics Corporation around 1971, is sure to rank high among the most popular analog integrated circuits ever produced. Originally called the IC Time Machine, this chip has been used in many timer-related projects by countless people over decades. This book is all about designing projects based on the 555 timer IC. Over 45 fully tested and documented projects are presented. All projects have been fully tested by the author by constructing them individually on a breadboard. You are not expected to have any programming experiences for constructing or using the projects given in the book. However, it’s definitely useful to have some knowledge of basic electronics and the use of a breadboard for constructing and testing electronic circuits. Some of the projects in the book are: Alternately Flashing Two LEDs Changing LED Flashing Rate Touch Sensor On/Off Switch Switch On/Off Delay Light-Dependent Sound Dark/Light Switch Tone Burst Generator Long Duration Timer Chasing LEDs LED Roulette Game Traffic Lights Continuity Tester Electronic Lock Switch Contact Debouncing Toy Electronic Organ Multiple Sensor Alarm System Metronome Voltage Multipliers Electronic Dice 7-Segment Display Counter Motor Control 7-Segment Display Dice Electronic Siren Various Other Projects The projects given in the book can be modified or expanded by you for your very own applications. Electronic engineering students, people engaged in designing small electronic circuits, and electronic hobbyists should find the projects in the book instructive, fun, interesting, and useful.
€ 34,95
Membres : € 31,46
-
Elektor Publishing Nucleo Boards Programming with the STM32CubeIDE
Hands-on in more than 50 projects STM32 Nucleo family of processors are manufactured by STMicroelectronics. These are low-cost ARM microcontroller development boards. This book is about developing projects using the popular STM32CubeIDE software with the Nucleo-L476RG development board. In the early Chapters of the book the architecture of the Nucleo family is briefly described. The book covers many projects using most features of the Nucleo-L476RG development board where the full software listings for the STM32CubeIDE are given for each project together with extensive descriptions. The projects range from simple flashing LEDs to more complex projects using modules, devices, and libraries such as GPIO, ADC, DAC, I²C, SPI, LCD, DMA, analogue inputs, power management, X-CUBE-MEMS1 library, DEBUGGING, and others. In addition, several projects are given using the popular Nucleo Expansion Boards. These Expansion Boards plug on top of the Nucleo development boards and provide sensors, relays, accelerometers, gyroscopes, Wi-Fi, and many others. Using an expansion board together with the X-CUBE-MEMS1 library simplifies the task of project development considerably. All the projects in the book have been tested and are working. The following sub-headings are given for each project: Project Title, Description, Aim, Block Diagram, Circuit Diagram, and Program Listing for the STM32CubeIDE. In this book you will learn about STM32 microcontroller architecture; the Nucleo-L476RG development board in projects using the STM32CubeIDE integrated software development tool; external and internal interrupts and DMA; DEBUG, a program developed using the STM32CubeIDE; the MCU in Sleep, Stop, and in Standby modes; Nucleo Expansion Boards with the Nucleo development boards. What you need a PC with Internet connection and a USB port; STM32CubeIDE software (available at STMicroelectronics website free of charge) the project source files, available from the book’s webpage hosted by Elektor; Nucleo-L476RG development board; simple electronic devices such as LEDs, temperature sensor, I²C and SPI chips, and a few more; Nucleo Expansion Boards (optional).
€ 49,95
Membres : € 44,96
-

Würth The LTspice XVII Simulator (E-book)
Commands and Applications With more than 20 million users worldwide, LTspice XVII is the industry’s definitive electronic simulation software. The pure power, speed and accuracy of its simulations and its robustness make it an irreplaceable tool. This book is both an exhaustive operating manual for the latest version and an invaluable collection of examples and procedures with nearly 700 illustrations, covering everything from initially getting to grips with LTspice XVII to its exact application and extensive use. It will probably answer every question that’s likely to arise during training. All commands and definitions are detailed and classified by topic to make referencing the LTSpice XVII knowledge fast and easy.
€ 44,99
Membres : € 35,99
-

Elektor Bundles The ESP32 Cheap Yellow Display (offre groupée)
Plus de 40 projets ESP32 entièrement testés utilisant l'IDE Arduino et la bibliothèque graphique LVGL Cette offre groupée comprend l'ESP32 Cheap Yellow Display (CYD), une carte de développement compacte combinant un microcontrôleur ESP32 standard et un écran couleur TFT de 320 x 240 pixels. La carte dispose également de plusieurs connecteurs pour les GPIO, la communication série (TX/RX), l'alimentation et la masse. L'écran intégré est un atout majeur : il permet aux utilisateurs de créer des projets graphiques complexes sans écran LCD ni écran externe. Le livre d'accompagnement présente en détail le matériel et les connecteurs intégrés de la carte CYD. Il propose une gamme de projets de niveau débutant à intermédiaire, développés avec l'IDE Arduino 2.0. Les fonctions graphiques de base et la puissante bibliothèque graphique LVGL sont abordées, avec des projets pratiques illustrant chaque approche. Tous les projets inclus ont été entièrement testés et sont prêts à l'emploi. Le livre fournit des schémas fonctionnels, des schémas de circuits, des listes de codes complètes et des explications étape par étape. Avec la bibliothèque LVGL, les lecteurs peuvent créer des interfaces graphiques modernes et en couleur à l'aide de widgets tels que des boutons, des étiquettes, des curseurs, des calendriers, des claviers, des graphiques, des tableaux, des menus, des animations, etc. ESP32 Cheap Yellow Display Board Cette carte de développement (également connue sous le nom de « Cheap Yellow Display ») est alimentée par l'ESP-WROOM-32, un MCU double cœur avec des capacités Wi-Fi et Bluetooth intégrées. Il fonctionne à une fréquence principale allant jusqu'à 240 MHz, avec 520 Ko de SRAM, 448 Ko de ROM et une mémoire Flash de 4 Mo. La carte dispose d'un écran de 2,8 pouces avec une résolution de 240 x 320 et un toucher résistif. De plus, la carte comprend un circuit de contrôle du rétroéclairage, un circuit de contrôle tactile, un circuit de commande de haut-parleur, un circuit photosensible et un circuit de contrôle LED RVB. Il fournit également un emplacement pour carte TF, une interface série, une interface de capteur de température et d'humidité DHT11 et des ports IO supplémentaires. Le module prend en charge le développement dans Arduino IDE, ESP-IDE, MicroPython et Mixly. Applications Transmission d'images pour les appareils Smart Home Surveillance sans fil Agriculture intelligente Reconnaissance sans fil QR Signal du système de positionnement sans fil Et d'autres applications IoT Spécifications Microcontrôleur ESP-WROOM-32 (MCU double cœur avec Wi-Fi et Bluetooth intégrés) Fréquence Jusqu'à 240 MHz (la puissance de calcul peut atteindre 600 DMIPS) SRAM 520 Ko ROM 448 Ko Flash 4 Mo Tension de fonctionnement 5 V Consommation électrique env. 115 mA Écran Écran TFT couleur de 2,8 pouces (240 x 320) Toucher Toucher résistif Puce du pilote ILI9341 Dimensions 50 x 86 mm Poids 50 g Téléchargements GitHub Cette offre groupée contient : The ESP32 Cheap Yellow Display Book (prix normal : 35 €) ESP32 Cheap Yellow Display Board (prix normal : 25 €) 1x Carte de développement ESP32 avec écran de 2,8 pouces et boîtier en acrylique 1x Stylet tactile 1x Câble de connexion 1x Câble USB
€ 59,95€ 49,95
Meilleur prix
-

Elektor Classics The Elektor Audio Collection 2026 (clé USB)
Plus de 475 circuits audio issus de 30 ans d'Elektor Cette clé USB contient plus de 475 circuits audio extraits des numéros d'Elektor de 1995 à 2025. La fonction de recherche d'articles vous permet d'effectuer des recherches en texte intégral. Les résultats sont toujours affichés sous forme de documents PDF préformatés. Quelques points forts Décodeur Surround Ampli 50 W compact Convertisseur de taux d’échantillonnage Préamplificateur alimenté par piles Ampli Titan 2000 Crescendo-Millennium amplificateur Audio-DAC/ADC Émetteur/récepteur IR-S/PDIF Amplificateur Perfection Casque sans fil haute fidélité Commande de tonalité paraphase et plus… Sur la clé, vous trouverez également un dossier avec un contenu supplémentaire tel que des schémas de circuits imprimés, des fichiers Gerber et des logiciels. Spécifications Mémoire 16 Go Connecteurs 1x USB-A1x USB-C Matériel et logiciel requis Ordinateur avec Adobe Reader version 7 ou sup. Navigateur Internet Vous pourrez, par le biais du Reader d’Adobe, faire apparaître et rechercher les différents articles sur votre écran et imprimer les textes, schémas et dessins de platine.
€ 49,95€ 39,95
Meilleur prix
-

Elektor Digital PLC Programming with the Raspberry Pi and the OpenPLC Project (E-book)
ModbusRTU and ModbusTCP examples with the Arduino Uno and ESP8266 Introduction to PLC programming with OpenPLC, the first fully open source Programmable Logic Controller on the Raspberry Pi, and Modbus examples with Arduino Uno and ESP8266 PLC programming is very common in industry and home automation. This book describes how the Raspberry Pi 4 can be used as a Programmable Logic Controller. Before taking you into the programming, the author starts with the software installation on the Raspberry Pi and the PLC editor on the PC, followed by a description of the hardware. You'll then find interesting examples in the different programming languages complying with the IEC 61131-3 standard. This manual also explains in detail how to use the PLC editor and how to load and execute the programs on the Raspberry Pi. All IEC languages are explained with examples, starting with LD (Ladder Diagram) over ST (Structured Control Language) to SFC (Special Function Chart). All examples can be downloaded from the author's website. Networking gets thorough attention too. The Arduino Uno and the ESP8266 are programmed as ModbusRTU or ModbusTCP modules to get access to external peripherals, reading sensors and switching electrical loads. I/O circuits complying with the 24 V industry standard may also be of interest for the reader. The book ends with an overview of commands for ST and LD. After reading the book, the reader will be able to create his own controllers with the Raspberry Pi.
€ 32,95
Membres : € 26,36
-

Elektor Classics The Complete Linear Audio Library (clé USB)
Jan Didden a créé Linear Audio en 2010 et a publié 14 volumes entre 2010 et 2017. Chaque volume de 200 pages contient en moyenne 10 articles rédigés par des auteurs experts dans le domaine de l'audio, de l'acoustique et de l'instrumentation. Que vous vous intéressiez aux amplificateurs à tubes, aux équipements à semi-conducteurs, à la conception de haut-parleurs, à la distorsion des condensateurs et des résistances ou à la mesure de la distorsion, vous y trouverez certainement des conseils utiles et des réflexions intéressantes. Du niveau débutant au niveau avancé, pour le professionnel de l'audio ou l'amateur sérieux, cette collection d'experts vous permettra d'améliorer votre compréhension et vous offrira de nouvelles perspectives sur des problématiques courantes. Le contenu bonus inclus dans cette collection est constitué d'une série YouTube en 5 parties sur le feedback négatif appliqué à l'audio par l'auteur renommé Jan Didden, en plus de neuf articles et présentations audio de référence. Si vous vous intéressez sérieusement à l'audio, à l'acoustique et à l'instrumentation, ne manquez pas cette collection ! Le contenu publié est indexé et entièrement consultable et constituera une ressource presque illimitée pour l'avenir. Vous pouvez en savoir plus sur les auteurs deLinear Audio et la table des matières de chaque volume à linearaudio.net.
€ 149,95€ 74,95
Meilleur prix


