Cette offre groupée pratique vous permet de créer de véritables applications d’IA en périphérie avec le Raspberry Pi
Raspberry Pi AI HAT+ (13 TOPS)
Le Raspberry Pi AI HAT+ est une carte d'extension conçue pour le Raspberry Pi 5, dotée d'un accélérateur Hailo AI intégré. Ce module complémentaire offre une approche rentable, efficace et accessible pour intégrer des capacités d'IA hautes performances, avec des applications couvrant le contrôle des processus, la sécurité, la domotique et la robotique.
L'AI HAT+ se connecte via l'interface PCIe Gen3 du Raspberry Pi 5. Lorsque le Raspberry Pi 5 exécute une version actuelle du système d'exploitation Raspberry Pi, il détecte automatiquement l'accélérateur Hailo intégré, rendant l'unité de traitement neuronal (NPU) disponible pour les tâches d'IA. De plus, les applications de caméra rpicam-apps incluses dans Raspberry Pi OS prennent en charge de manière transparente le module AI, en utilisant automatiquement le NPU pour les fonctions de post-traitement compatibles.
Raspberry Pi Camera Module 3
Le module Caméra Raspberry Pi 3 est un appareil photo compact de Raspberry Pi. Il est doté d'un capteur IMX708 de 12 mégapixels avec HDR et d'un autofocus à détection de phase. Le Camera Module 3 est disponible en version standard et en version grand angle, toutes deux avec ou sans filtre infrarouge.
Le Camera Module 3 peut être utilisé pour prendre des vidéos full HD ainsi que des photos, et dispose d'un mode HDR jusqu'à 3 mégapixels. Son fonctionnement est entièrement pris en charge par la bibliothèque libcamera, y compris la fonction d'autofocus rapide de Camera Module 3 : cela le rend facile à utiliser pour les débutants, tout en offrant beaucoup pour les utilisateurs avancés. Camera Module 3 est compatible avec tous les ordinateurs Raspberry Pi.
Livre : Edge AI Made Practical – AI Projects for the Raspberry Pi with the AI HAT+
L'intelligence artificielle embarquée (Edge AI) transforme les appareils du quotidien en intégrant l'intelligence là où elle est la plus utile : directement au cœur du matériel. Grâce à l'inférence embarquée, une caméra peut reconnaître instantanément un visiteur, un téléphone peut traduire la parole sans envoyer l'audio vers le cloud et un objet connecté peut détecter les anomalies en temps réel – rapidement, en toute confidentialité et de manière fiable, même en cas de perte de réseau.
Ce livre est votre guide pratique pour construire précisément ce type de systèmes avec le Raspberry Pi AI HAT+ et l'accélérateur Hailo-8L. Vous commencerez par des bases solides : les concepts fondamentaux de l'IA et de l'apprentissage automatique, le fonctionnement des réseaux neuronaux et ce qui distingue véritablement l'Edge AI de l'IA cloud – ainsi qu'une analyse franche des considérations éthiques et des impacts futurs.
Cette offre groupée contient :
Livre : Edge AI Made Practical
Raspberry Pi AI HAT+ (13 TOPS)
Raspberry Pi Camera Module 3
Refroidisseur actif pour Raspberry Pi 5
Câble d'écran FPC pour Raspberry Pi 5 (300 mm)
Kit de composants Elektor
Connecteur GPIO 40 broches
Module de feux de signalisation
LED rouge 5 V avec résistance intégrée
LED jaune 5 V avec résistance intégrée
LED verte 5 V avec résistance intégrée
LED bleue 5 V avec résistance intégrée
Plaque d'essai (400 points de connexion)
10 connecteurs Dupont Câbles (mâle-femelle)
Module de capteur DHT22
Servomoteur
Requis
Raspberry Pi 5
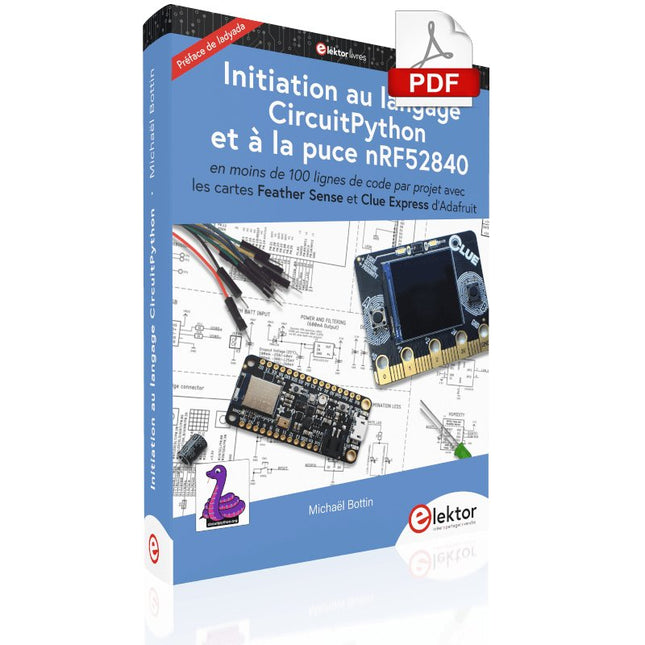
En moins de 100 lignes de code par projet avec les cartes Feather Sense et Clue Express d'Adafruit
Le langage de programmation Python est apprécié par les pédagogues parce que sa syntaxe le rend facile à comprendre. Il s'est également imposé chez les informaticiens expérimentés. La société Adafruit a développé une version spéciale de Python pour l'embarquer sur les microcontrôleurs à 32 bits : CircuitPython.
Ce livre permettra au lecteur de s'initier à la programmation en CircuitPython sur deux cartes : Feather BlueFruit Sense (également appelée Feather nRF52840 Sense) et CLUE nRF52840 Express. Chacune est animée par le SoC nRF52840 de NORDIC avec une architecture à 32 bits.
Pour ce voyage dans le monde de la programmation embarquée, l'auteur sort du chemin classique, à savoir un cours complet sur la programmation orientée objet appliquée à ce langage. Il préfère emmener le lecteur directement sur le terrain avec des projets qui mettent en oeuvre les cartes et différents périphériques. Plus d'une quarantaine d'exemples et de montages permettent de découvrir la richesse de CircuitPython. Toutefois l'auteur s'est imposé une limite pour ne pas décourager les novices : le code de chaque projet ne dépasse jamais la centaine de lignes. Pour ce qui est du matériel, là aussi la simplicité domine : aucun programmateur, un simple PC suffit ; aucun soudage grâce au câblage sur platine d'essai. Les cartes d'extension FeatherWing à enficher sur la Feather nRF52840 Sense permettent de démultiplier ses fonctions : matrice de LED, enregistreur de données, écran à encre électronique, écran OLED, écran TFT, commande de moteurs, audio, relais…
Toutes les étapes (assemblage des différents composants, installation des bibliothèques requises, programmation, tests…) sont expliquées en détail. Le code des différents exemples et projets est disponible sur Github. Le résultat de chaque projet est même présenté sur de courtes vidéos disponibles sur YouTube.
À la fin de sa lecture, le nouveau Pythonien pourra facilement approfondir les notions abordées et donner vie à ses propres projets grâce aux outils qu'il aura essayés.
Ce livre s'adresse aux lycéens et étudiants ainsi qu'à toute la communauté des makers.
Chaîne YouTube de l'auteur :
YouTube (Michaël Bottin)
Praxisnahe Projekte, Profi-Tricks und eigene Anwendungen
Dieses Buch führt Sie Schritt für Schritt in die faszinierende Welt der State Machines ein und zeigt, wie Sie Hardware direkt und effizient ansteuern können – jenseits klassischer CPU-gesteuerter Ansätze.
In diesem Buch lernen Sie:
LEDs und NeoPixel kreativ steuern: Blinken, Dimmen, Farbwechsel und komplexe Animationen
Taster und Encoder zuverlässig auslesen und in Echtzeit in Ihre Projekte integrieren
Analoge Eingänge (ADC) nutzen und Signale digital steuern
Servos präzise ansteuern und Bewegungsabläufe automatisieren
SPI mit PIO umsetzen, um Displays, Sensoren und Module anzusteuern
Menüsysteme und Submenüs auf SPI-Displays realisieren, inklusive Navigation über mehrere Taster
PWM, Signalgenerierung und Frequenzsteuerung für akustische oder visuelle Effekte
Debugging-Strategien und Tipps, um Ihre PIO-Programme effizient zu entwickeln
Alle Beispiele sind praxisnah, sofort umsetzbar und zuverlässig. Mit klaren Anleitungen, Hintergrundwissen und fertigen Codebeispielen lernen Sie, die PIO-Fähigkeiten des Pico maximal zu nutzen – egal ob für Maker-Projekte, Prototypen oder professionelle Anwendungen.
Erleben Sie, wie Sie komplexe Hardwaresteuerung elegant mit dem Pico realisieren können – schneller, flexibler und leistungsfähiger als je zuvor.
Practical Projects and Programs
With Experimenting with Red Pitaya STEMlab Gen 2, Red Pitaya goes beyond a versatile board. It becomes a powerful laboratory instrument for precision measurement, analysis, and control.
From the fundamentals of electronic project development, monitoring, control, and design to testing, this book walks you step-by-step through everything you need to know to harness the full potential of Red Pitaya hardware and software.
The book presents real-time, FPGA-based projects that are developed on a PC using the Vivado environment, then transferred to the Red Pitaya for execution and testing.
You will learn about enhanced performance, expanded I/O capabilities, improved FPGA features, and advanced connectivity options that open up new frontiers for precision measurement, monitoring, and control in your embedded applications.
Inside the book you will discover:
A deep dive into Red Pitaya architecture and hardware design
Electronic experiments using Red Pitaya for measurement and monitoring
Hands-on projects using the Python programming language
Practical guidance for FPGA programming using Red Pitaya
Red Pitaya FPGA projects using the Verilog HDL under Vivado IDE
Practical design of electronic projects including measurement and testing
Step-by-step examples that bridge theory and real-world implementation
Whether you are designing your own electronic circuits, developing signal analysis tools, or creating real-time control or monitoring systems, this book provides you the knowledge and confidence you need to fully learn and customize the Red Pitaya platform.
With Examples for Arduino UNO, Raspberry Pi Pico and ESP32
Programming small electronic systems has never been more accessible. Tasks that once demanded expensive tools, specialized hardware, and deep electrical engineering expertise can now be tackled with low-cost development boards and approachable software. At the centre of this shift is the Arduino environment, which provides a unified and familiar way to program a wide range of microcontroller platforms—from classic AVR boards like the Arduino UNO to modern ARM-based boards such as the Raspberry Pi Pico, and powerful Wi-Fi-enabled devices like the ESP32.
This book introduces embedded programming through the core idea that defines all microcontrollers: reading inputs, processing information, and controlling outputs in a predictable loop. The Arduino environment abstracts much of the hardware complexity, allowing you to focus on behaviour rather than implementation details. With just a few lines of code, you can blink LEDs, read sensors, control motors, and communicate with other devices.
While the Arduino UNO, Raspberry Pi Pico, and ESP32 boards differ greatly in performance and features, they share the same fundamental building blocks: digital and analog I/O, timers, serial communication, PWM, interrupts, and power management. Learning these concepts within the Arduino framework builds skills that transfer easily across platforms and scale toward more advanced applications.
By exploring multiple boards while maintaining a consistent programming approach, this book helps you progress from simple experiments to confidently produce well-structured designs—showing that embedded development can be both practical and enjoyable.
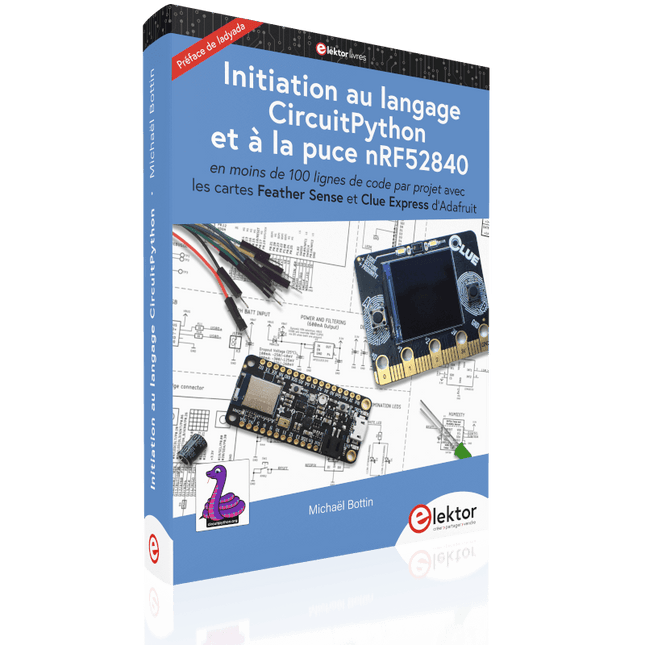
En moins de 100 lignes de code par projet avec les cartes Feather Sense et Clue Express d'Adafruit
Le langage de programmation Python est apprécié par les pédagogues parce que sa syntaxe le rend facile à comprendre. Il s'est également imposé chez les informaticiens expérimentés. La société Adafruit a développé une version spéciale de Python pour l'embarquer sur les microcontrôleurs à 32 bits : CircuitPython.
Ce livre permettra au lecteur de s'initier à la programmation en CircuitPython sur deux cartes : Feather BlueFruit Sense (également appelée Feather nRF52840 Sense) et CLUE nRF52840 Express. Chacune est animée par le SoC nRF52840 de NORDIC avec une architecture à 32 bits.
Pour ce voyage dans le monde de la programmation embarquée, l'auteur sort du chemin classique, à savoir un cours complet sur la programmation orientée objet appliquée à ce langage. Il préfère emmener le lecteur directement sur le terrain avec des projets qui mettent en oeuvre les cartes et différents périphériques. Plus d'une quarantaine d'exemples et de montages permettent de découvrir la richesse de CircuitPython. Toutefois l'auteur s'est imposé une limite pour ne pas décourager les novices : le code de chaque projet ne dépasse jamais la centaine de lignes. Pour ce qui est du matériel, là aussi la simplicité domine : aucun programmateur, un simple PC suffit ; aucun soudage grâce au câblage sur platine d'essai. Les cartes d'extension FeatherWing à enficher sur la Feather nRF52840 Sense permettent de démultiplier ses fonctions : matrice de LED, enregistreur de données, écran à encre électronique, écran OLED, écran TFT, commande de moteurs, audio, relais…
Toutes les étapes (assemblage des différents composants, installation des bibliothèques requises, programmation, tests…) sont expliquées en détail. Le code des différents exemples et projets est disponible sur Github. Le résultat de chaque projet est même présenté sur de courtes vidéos disponibles sur YouTube.
À la fin de sa lecture, le nouveau Pythonien pourra facilement approfondir les notions abordées et donner vie à ses propres projets grâce aux outils qu'il aura essayés.
Ce livre s'adresse aux lycéens et étudiants ainsi qu'à toute la communauté des makers.
Chaîne YouTube de l'auteur :
YouTube (Michaël Bottin)
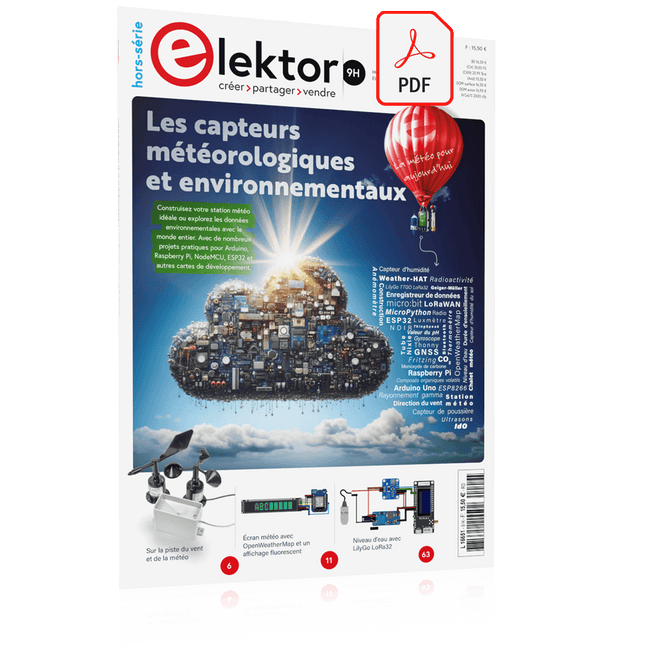
Construisez votre station météo idéale ou explorez les données environnementales avec le monde entier. Avec de nombreux projets pratiques pour Arduino, Raspberry Pi, NodeMCU, ESP32 et autres cartes de développement.
Les stations météo jouissent d’une grande popularité depuis des décennies. Tous les magazines d’électronique, qu’ils soient récents ou non, ont publié et publient régulièrement des articles sur la construction d’une station météo. Au fil des années, elles sont devenues de plus en plus sophistiquées et peuvent aujourd’hui être entièrement intégrées dans la maison intelligente. Ceci implique toutefois souvent une fidélité à un fabricant de produits de marque (coûteux) pour tous les composants.
Cependant, avec votre propre station météo, vous pouvez facilement suivre le rythme et même capturer des relevés que les appareils commerciaux ne peuvent pas réaliser. Le plaisir ne manque pas : vous développerez de manière ludique vos connaissances en électronique, en cartes de développement de microcontrôleurs modernes et en langages de programmation. Pour moins de dix euros, vous pouvez collecter des données environnementales initiales et étendre votre système au fur et à mesure que votre intérêt grandit.
Dans ce numéro
Sur la route du vent et de la météo
Écran météo OpenWeatherMap à affichage fluorescent
Les composés organiques volatils dans l‘air que nous respirons
Travailler avec les capteurs MQ : mesurer le monoxyde de carbone
Détecteur de CO2 avec connexion IdO vers ThingSpeak
Un arrosage automatique pour vos plantes
Un climat intérieur sain : la température et l‘humidité de l‘air sont importants
Thermomètre avec tubes Nixie
Une maison météo rétro pour toute la famille
Mesurez la pression atmosphérique et la température avec précision
Un détecteur de coups de soleil
Capteur maison pour la durée d‘ensoleillement
Le smartphone l‘indique : brouillard ou bonne visibilité ?
Détecter les tremblements de terre
Les niveaux des cours d‘eau et des réservoirs
Évaluer la valeur du pH de l’eau
Détecter les rayonnements radioactifs
Avec le GPS, vous savez où se trouve votre capteur
Enregistrer les fichiers journaux avec horodatage sur des cartes SD
LoRaWAN, The Things Network et ThingSpeak
Exploiter la passerelle LoRaWAN pour le TTN
Affichage géant à led avec prévisions météo
Elektor GREEN and GOLD members can download their digital edition here.
Not a member yet? Click here.
The ESP-BLASTA Mini ESP32 Rocket Drone That Flies 100 km/h+
Wireless Workshop (1)Radio Modules Unlocked: 433 MHz CC1101 Sub-GHz Transceiver
AM TransmitterWith Square/Sine Wave Generator on Raspberry Pi Pico
STM32Cube Innovation ChallengeCompete with Your Best STM32C5 Design
CoffeeCallerHow a Long Hallway Led to a Custom Mesh-Networked PCB
AudiotronicsTotal Harmonic Distortion
Elektor at 65Projects from Septembers and Octobers Past
Bluetooth Channel Sounding for Asset TrackingCentimeter-Level Precision Ranging for Next-Generation IoT
2026: An AI OdysseyQuantum Computing Is Not the Next GPU
Protecting the Cloud Demands Security at the Edge
First Experiences with the HackRF ProPractical Tests with the New SDR Hardware
Modem Upgrade from GPRS/2G to LTE/4GUsing a Wireless Alarm Control Panel as an Example
Loop Antenna with RF BricksPart 1: A DIY Shortwave Antenna with Adjustable Directivity
Internet Radio to AM ConverterUsing an ESP32-S3 as Transmitter
Err-lectronics
mioty — An OverviewFraunhofer’s Approach to LPWAN
Workbench WisdomPractical Tips from Experts
Walter, the Compact IoT ModulePart 2: Accessing Weather and Data Services
Open-Source-Code mit Arduino IDE und PlatformIO
Autonomes Fahren: GPS, Accelerometer, Gyroskop
PS3-Controller
Mikrocontroller wie der Arduino und Einplatinenrechner wie der Raspberry Pi haben sich zu beliebten Komponenten entwickelt. Dritter im Bunde ist der ESP32 der Firma Espressif. Mikrocontroller dieser Baureihe zeichnen sich durch eine Vielzahl implementierter Funktionen aus, die bei einem Arduino konventioneller Prägung mit einem Atmel-AVR-Mikrocontroller erst mit weiterer Hardware möglich sind. Prominentes Beispiel sind hier die WiFi- und Bluetooth-Funktionalitäten. Gegenüber einem Raspberry Pi zeichnen sie sich durch einen deutlich geringeren Preis aus.
Allgemeine Informationen für die Realisierung eines Roboterauto-Projekts mit dem ESP32 sind leicht zu finden. Dabei handelt es sich aber oft nur um Ausführungen zu einem Teilaspekt, ohne inhaltliche oder funktionale Abstimmung. So ist nicht nur die Beschaffung der benötigten Informationen mühselig und zeitaufwändig, sie kann auch außerordentlich fehlerträchtig sein.
Ansatzpunkt dieses Buches ist, diese Lücke zu schließen. Es geht auf verschiedene Möglichkeiten eines Chassis ein, vermittelt nötige Kenntnisse und führt schrittweise von einer einfachen Motorsteuerung zu einem komplexen sensor- und sprachgesteuerten Roboterauto. Hacks rund um GPS und eine PlayStation 3 runden die Sache ab.
Inhalt
Bei der Reihenfolge der Kapitel wurde versucht – beginnend bei der Darstellung von grundlegenden Informationen – über die Lösung einfacher Aufgaben zu etwas anspruchsvolleren Techniken zu führen.
Der Mikrocontroller ESP32
Die Software erstellen
Die Stromversorgung
Rund um die Hardware
Das Chassis
Der Gleichstrommotor
Kabellose Steuerung über WiFi
Mit Sensoren Hindernisse erkennen
Eine eigene Roboterauto-App
Servo und Lichtsensor
GPS
Accelerometer / Gyroskop
PS3-Controller
Roboterauto-App
Hinweis zur Software
Die Dateien haben das Suffix (.cpp). Grund ist die Entwicklung mit PlatformIO. Mit Copy & Paste sollten sie auch in der Arduino-IDE verwendet werden können.
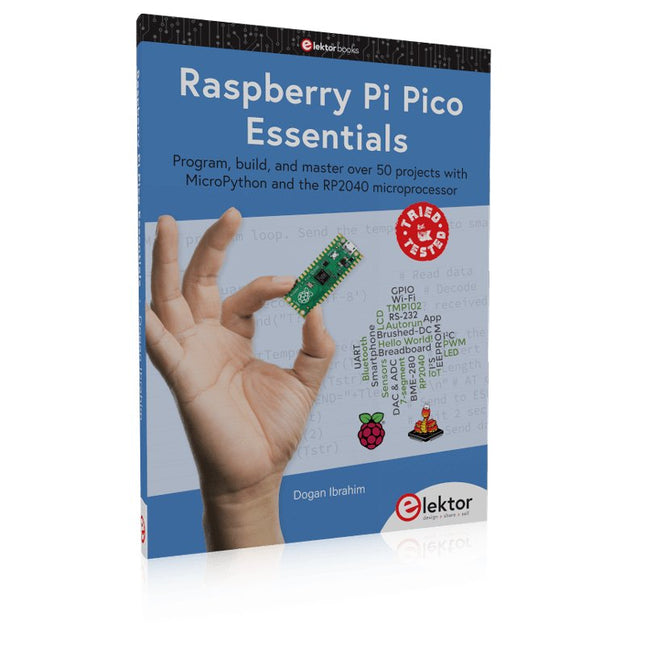
Program, build, and master over 50 projects with MicroPython and the RP2040 microprocessor The Raspberry Pi Pico is a high-performance microcontroller module designed especially for physical computing. Microcontrollers differ from single-board computers, like the Raspberry Pi 4, in not having an operating system. The Raspberry Pi Pico can be programmed to run a single task very efficiently within real-time control and monitoring applications requiring speed. The ‘Pico’ as we call it, is based on the fast, efficient, and low-cost dual-core ARM Cortex-M0+ RP2040 microcontroller chip running at up to 133 MHz and sporting 264 KB of SRAM, and 2 MB of Flash memory. Besides its large memory, the Pico has even more attractive features including a vast number of GPIO pins, and popular interface modules like ADC, SPI, I²C, UART, and PWM. To cap it all, the chip offers fast and accurate timing modules, a hardware debug interface, and an internal temperature sensor. The Raspberry Pi Pico is easily programmed using popular high-level languages such as MicroPython and or C/C++. This book is an introduction to using the Raspberry Pi Pico microcontroller in conjunction with the MicroPython programming language. The Thonny development environment (IDE) is used in all the projects described. There are over 50 working and tested projects in the book, covering the following topics: Installing the MicroPython on Raspberry Pi Pico using a Raspberry Pi or a PC Timer interrupts and external interrupts Analogue-to-digital converter (ADC) projects Using the internal temperature sensor and external temperature sensor chips Datalogging projects PWM, UART, I²C, and SPI projects Using Wi-Fi and apps to communicate with smartphones Using Bluetooth and apps to communicate with smartphones Digital-to-analogue converter (DAC) projects All projects given in the book have been fully tested and are working. Only basic programming and electronics experience is required to follow the projects. Brief descriptions, block diagrams, detailed circuit diagrams, and full MicroPython program listings are given for all projects described. Readers can find the program listings on the Elektor web page created to support the book.
OFFRE SPÉCIALE : Commandez le HackRF Pro maintenant et recevez gratuitement le nouvel e-book « SDR with HackRF One & HackRF Pro » d’une valeur de 20 € !
Le HackRF Pro est la toute dernière radio logicielle (Software Defined Radio, SDR) de Great Scott Gadgets et le puissant successeur du légendaire HackRF One. Avec une plage de fréquences allant de 100 kHz à 6 GHz, il couvre un spectre immense pour l'émission et la réception de signaux radio.
Conçu comme une plateforme matérielle open-source, le HackRF Pro est l'outil idéal pour l'analyse et le développement des technologies sans fil modernes. Il peut être utilisé de manière flexible comme périphérique USB ou programmé pour un fonctionnement autonome.
Spécifications
Fréquence : 100 kHz à 6 GHz
Réglable de 0 Hz à 7,1 GHz
Émetteur-récepteur semi-duplex
Jusqu'à 20 millions d'échantillons par seconde
Échantillonnage en quadrature 8 bits (8 bits I et 8 bits Q)
Compatible avec GNU Radio, SDR# et autres
Gain RX et TX et filtre de bande de base configurables par logiciel
Alimentation du port RF contrôlée par logiciel (50 mA à 3,3 V)
Connecteur RF SMA
Entrée et sortie d'horloge SMA pour la synchronisation et le déclenchement
Boutons pratiques pour la programmation
Connecteurs internes pour Extension
USB 2.0 haute vitesse avec connecteur USB-C
Alimentation par USB
Matériel open source
Par rapport à son prédécesseur, HackRF Pro offre une variété de fonctionnalités nouvelles, notamment :
Plage de fréquences de fonctionnement étendue
Performances RF améliorées avec une réponse en fréquence plus linéaire
Connecteur USB-C
Oscillateur à cristal TCXO intégré pour une stabilité de synchronisation supérieure
Mise à niveau logique d'un CPLD vers un FPGA écoénergétique
Élimination du pic de tension continue
Mode de précision étendue avec échantillons 16 bits pour les faibles fréquences d'échantillonnage (ENOB typique : 9-11)
Mode de demi-précision avec échantillons 4 bits jusqu'à 40 Méch./s
Davantage de RAM et de mémoire flash pour un firmware personnalisé
Blindage installé autour de la section radio
Entrées et sorties de déclenchement accessibles via des connecteurs d'horloge
Découpe dans le circuit imprimé offrant de l'espace pour de futurs ajouts
Consommation électrique améliorée Gestion
Protection renforcée des ports RF
Possibilité de désactiver matériellement le mode d'émission
Compatibilité totale : Grâce à son architecture éprouvée, les logiciels existants pour le HackRF One peuvent également être utilisés directement avec le HackRF Pro. Le HackRF Pro offre une compatibilité descendante transparente tout en offrant des performances nettement améliorées.
Remarque : L'antenne n'est sont pas inclus. Nous recommandons l'antenne ANT500 pour une mise en service optimale.
Inclus
HackRF Pro SDR avec boîtier en plastique
Nouvel e-book : SDR with HackRF One & HackRF Pro (prix normal : 20 €)
Téléchargements
Documentation
GitHub
AI Projects for the Raspberry Pi with the AI HAT+
Edge AI is transforming everyday devices by putting intelligence where it matters most: directly inside the hardware. With on-device inference, a camera can recognize a visitor instantly, a phone can translate speech without streaming audio to the cloud, and a wearable can detect anomalies in real time—fast, private, and reliable even when the network disappears.
This book is your practical guide to building exactly those kinds of systems with the Raspberry Pi AI HAT+ and the Hailo-8L accelerator. You’ll start with clear foundations: core AI and machine-learning concepts, how neural networks work, and what truly distinguishes Edge AI from cloud AI—plus an honest look at ethical considerations and future impacts.
Then it’s straight to hands-on physical computing. Step by step, you’ll set up Raspberry Pi OS, power and cooling, and develop in Python using the Thonny IDE. You’ll learn GPIO basics with lights and servos, mount the AI HAT+ hardware, install and verify the Hailo software stack, and connect the right camera—official modules or USB webcams, even multiple cameras.
From your first pipeline to real projects, you’ll run person detection, pose estimation, segmentation, and depth estimation, then level up with YOLO object detection: smart alerts, guest counters, and custom extensions. You’ll even connect vision to motion by combining gesture recognition with servo-driven mechanisms, including a robotic arm.
With troubleshooting tips, hardware essentials, and a practical Python refresher, this book turns Edge AI from buzzword into buildable reality.