Découvrez une créativité sans limite avec le kit de capteurs universels, conçu pour Raspberry Pi, Pico W, Arduino et ESP32. Ce kit polyvalent est compatible avec les plateformes de développement les plus populaires, notamment Arduino Uno R4 Minima/WiFi, Uno R3, Mega 2560, Raspberry Pi 5, 4, 3B+, 3B, Zero, Pico W et ESP32.
Avec plus de 35 capteurs, actionneurs et écrans, il est idéal pour des projets allant de la surveillance environnementale et de la domotique à la robotique et aux jeux interactifs. Des tutoriels pas à pas en C/C++, Python et MicroPython guident les créateurs débutants comme expérimentés à travers 169 projets passionnants.
Caractéristiques
Large compatibilité : Prise en charge complète d'Arduino (Uno R3, Uno R4 Minima/WiFi, Mega 2560), Raspberry Pi (5, 4, 3B+, 3B, Zero, Pico W) et ESP32, offrant une grande flexibilité sur de nombreuses plateformes de développement. Instructions pour la construction de 169 projets incluses.
Composants complets : Plus de 35 capteurs, actionneurs et modules d'affichage adaptés à divers projets tels que la surveillance environnementale, la domotique, la robotique et les contrôleurs de jeux interactifs.
Tutoriels détaillés : Des tutoriels clairs et détaillés couvrent Arduino, Raspberry Pi, Pico W, ESP32 et chaque composant inclus. Des tutoriels sont disponibles en C/C++, Python et MicroPython, s'adressant aussi bien aux débutants qu'aux créateurs expérimentés.
Adapté à tous les niveaux : Propose des projets structurés conçus pour guider les utilisateurs de manière fluide, du niveau débutant au niveau avancé en électronique et en programmation, améliorant ainsi leur créativité et leur expertise technique.
Inclus
Plaque d'expérimentation
Module bouton
Module capacitif d'humidité du sol
Module capteur de flamme
Module capteur de gaz/fumée (MQ2)
Gyroscope et Module accéléromètre (MPU6050)
Module capteur à effet Hall
Module capteur de vitesse infrarouge
Module capteur d'évitement d'obstacles IR
Module joystick
Module convertisseur ADC/DAC PCF8591
Module photorésistance
Module de mouvement PIR (HC-SR501)
Module potentiomètre
Module oxymètre de pouls et capteur de fréquence cardiaque (MAX30102)
Module de détection de gouttes de pluie
Module horloge temps réel (DS1302)
Module codeur rotatif
Module capteur de température (DS18B20)
Module capteur de température et d'humidité (DHT11)
Température, humidité et Capteur de pression (BMP280)
Capteur de distance Micro-LIDAR à temps de vol (VL53L0X)
Module de capteur tactile
Module de capteur à ultrasons (HC-SR04)
Module de capteur de vibrations (SW-420)
Module de capteur de niveau d'eau
I²C LCD 1602
Module d'affichage OLED (SSD1306)
Module LED RVB
Module de feux de signalisation
Module relais 5 V
Pompe centrifuge
Module de commande de moteur L9110
Module d'avertisseur passif
Servomoteur (SG90)
TT Moteur
Module ESP8266
Module Bluetooth JDY-31
Module d'alimentation
Documentation
Tutoriel en ligne
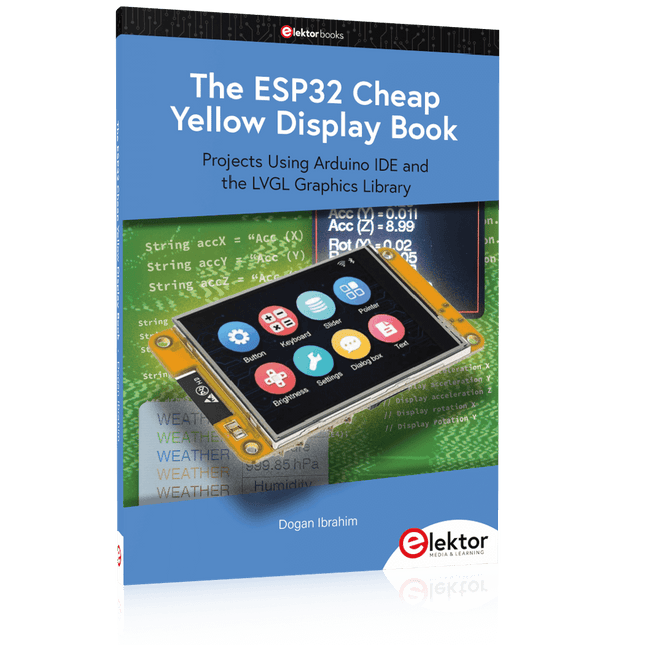
Projects Using Arduino IDE and the LVGL Graphics Library
The ESP32 is probably one of the most popular microcontrollers used by many people, including students, hobbyists, and professional engineers. Its low cost, coupled with rich features makes it a popular device to use in many projects. Recently, a board called the ESP32 Cheap Yellow Display (CYD for short) is available from its manufacturers. The board includes a standard ESP32 microcontroller together with a 320x240 pixel TFT display. Additionally, the board provides several connectors for interfaces such as GPIO, serial port (TX/RX), power and Ground. The inclusion of a TFT display is a real advantage as it enables users to design complex graphics-based projects without resorting to an external LCD or graphics displays.
The book describes the basic hardware of the ESP32 CYD board and provides details of its on-board connectors. Many basic, simple, and intermediate-level projects are given in the book based on the ESP32 CYD, using the highly popular Arduino IDE 2.0 integrated development environment. The use of both the basic graphics functions and the use of the popular LVGL graphics library are discussed in the book and projects are given that use both types of approaches.
All the projects given in the book have been tested and are working. The block diagram, circuit diagram, and the complete program listings and program descriptions of all the projects are given with explanations. Readers can use the LVGL graphics library to design highly popular eye-catching full-color graphics projects using widgets such as buttons, labels, calendars, keypads, keyboards, message boxes, spinboxes, sliders, charts, tables, menus, bars, switches, drop-down lists, animations, and many more widgets.
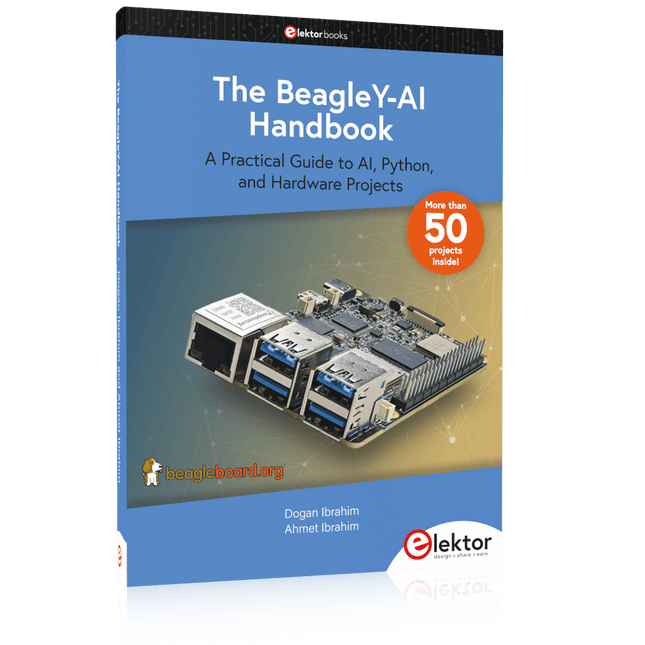
A Practical Guide to AI, Python, and Hardware Projects
Welcome to your BeagleY-AI journey! This compact, powerful, and affordable single-board computer is perfect for developers and hobbyists. With its dedicated 4 TOPS AI co-processor and a 1.4 GHz Quad-core Cortex-A53 CPU, the BeagleY-AI is equipped to handle both AI applications and real-time I/O tasks. Powered by the Texas Instruments AM67A processor, it offers DSPs, a 3D graphics unit, and video accelerators.
Inside this handbook, you‘ll find over 50 hands-on projects that cover a wide range of topics—from basic circuits with LEDs and sensors to an AI-driven project. Each project is written in Python 3 and includes detailed explanations and full program listings to guide you. Whether you‘re a beginner or more advanced, you can follow these projects as they are or modify them to fit your own creative ideas.
Here’s a glimpse of some exciting projects included in this handbook:
Morse Code Exerciser with LED or BuzzerType a message and watch it come to life as an LED or buzzer translates your text into Morse code.
Ultrasonic Distance MeasurementUse an ultrasonic sensor to measure distances and display the result in real time.
Environmental Data Display & VisualizationCollect temperature, pressure, and humidity readings from the BME280 sensor, and display or plot them on a graphical interface.
SPI – Voltmeter with ADCLearn how to measure voltage using an external ADC and display the results on your BeagleY-AI.
GPS Coordinates DisplayTrack your location with a GPS module and view geographic coordinates on your screen.
BeagleY-AI and Raspberry Pi 4 CommunicationDiscover how to make your BeagleY-AI and Raspberry Pi communicate over a serial link and exchange data.
AI-Driven Object Detection with TensorFlow LiteSet up and run an object detection model using TensorFlow Lite on the BeagleY-AI platform, with complete hardware and software details provided.
Einführung in die SPS-Programmierung mit dem Open-Source-Projekt auf dem Raspberry Pi und Modbus-Beispiele mit dem Arduino Uno und ESP8266
Die SPS-Programmierung ist heute in der Industrie und in der Hausautomation sehr weit verbreitet. In diesem Buch beschreibt der Autor, wie der Raspberry Pi 4 als SPS eingesetzt werden kann. Angefangen mit der Softwareinstallation auf dem Raspberry Pi und dem SPS-Editor auf dem PC geht es nach einer Beschreibung der Hardware an das Programmieren.
Es folgen interessante Beispiele nach IEC 61131-3 in den verschiedenen Programmiersprachen. Ausführlich wird auch erklärt, wie der SPS-Editor benutzt wird und wie die Programme auf den Raspberry Pi geladen und ausgeführt werden. Angefangen mit der Programmierung mit KOP (Kontaktplan) über ST (Structured Control Language) bis zu AS (Special Function Chart) werden alle IEC-Sprachen mit Beispielen behandelt. Diese können auf der Website des Autors heruntergeladen werden.
Auch die Vernetzung kommt nicht zu kurz. Der Arduino Uno und der ESP8266 werden als ModbusRTU- bzw. ModbusTCP-Module programmiert, um Zugriff auf externe Peripherie zu erhalten. Damit ist es möglich, Sensoren einzulesen und Verbraucher zu schalten. Interessant dürften auch E/A-Schaltungen sein, die dem 24V-Industriestandard entsprechen.
Befehlsübersichten für ST und KOP runden das Buch ab.
Nach dem Durcharbeiten des Buches ist der Leser in der Lage, eigene SPS-Steuerungen mit dem Raspberry Pi zu verwirklichen.
Elektor GREEN en GOLD leden kunnen deze uitgave hier downloaden.
Nog geen lid? Klik hier om een lidmaatschap af te sluiten.
PIO programmeren op de Raspberry Pi PicoNegen instructies, veel mogelijkheden
AI buiten de browser brengenAI-CLI's gebruiken voor het coderen, compileren en valideren van embedded projecten
De Scrutiny DebuggerDebuggen, visualiseren en testen van code in Embedded C/C++
Sigfox breakout board (1)Een zelfgebouwde radio BoB
Low-Noise voeding (2)Constructie, montage en praktische implementatie
Eenvoudige signaalgenerator met de RP2040Analoge en digitale signalen voor ongeveer €10
De toekomst van slimme huizen verkennen met Matter en Edge AIBieden de nieuwste updates van Matter en de opkomst van Edge AI technici eindelijk de tools om de intelligente, slimme huizen te bouwen die gebruikers zijn beloofd?
Differentiële druksensorenVoorspellend onderhoud in HVAC-systemen
Security by designTechnische basisprincipes beperken storingen
Embedded security is niet langer optioneel
CRA en PQC herzien prioriteiten voor embedded securityWaarom zelfs kleine IoT- en industriële bedrijven een upgradeplan nodig hebben
embedded world 2026Een interview met Benedikt Weyerer, Executive Director embedded world
Praktijkervaring met I3CGebruik van hardware van ST en Microchip
Het BLEnky-projectSnelle prototyping voor Bluetooth Low Energy toepassingen
Pulsbreedtemodulatievan een eenvoudige aan/uit-thermostaat naar een rimpelloos DC-signaal
AudiotronicaOorstrelende elektronica voor zelfbouw
Uit het leven gegrepenRead the f...ing manual!
ESP32 audio transceiver board (Deel 4)Afstemmen van de kloksignalen en een bekabelde versie
2026: An AI OdysseyDe kater van Vibe-Coding in 2025
Symmetrische DC-belastingStatische of dynamische en symmetrische gelijkstroombelasting
Gezichten tellen met MaixCAMEen eenvoudige methode om de omvang van het publiek vast te leggen
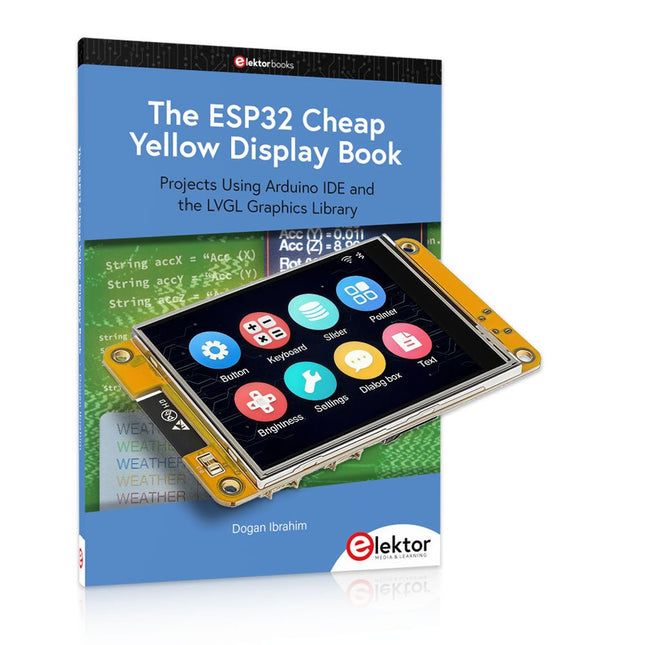
Plus de 40 projets ESP32 entièrement testés utilisant l'IDE Arduino et la bibliothèque graphique LVGL
Cette offre groupée comprend l'ESP32 Cheap Yellow Display (CYD), une carte de développement compacte combinant un microcontrôleur ESP32 standard et un écran couleur TFT de 320 x 240 pixels. La carte dispose également de plusieurs connecteurs pour les GPIO, la communication série (TX/RX), l'alimentation et la masse. L'écran intégré est un atout majeur : il permet aux utilisateurs de créer des projets graphiques complexes sans écran LCD ni écran externe.
Le livre d'accompagnement présente en détail le matériel et les connecteurs intégrés de la carte CYD. Il propose une gamme de projets de niveau débutant à intermédiaire, développés avec l'IDE Arduino 2.0. Les fonctions graphiques de base et la puissante bibliothèque graphique LVGL sont abordées, avec des projets pratiques illustrant chaque approche.
Tous les projets inclus ont été entièrement testés et sont prêts à l'emploi. Le livre fournit des schémas fonctionnels, des schémas de circuits, des listes de codes complètes et des explications étape par étape. Avec la bibliothèque LVGL, les lecteurs peuvent créer des interfaces graphiques modernes et en couleur à l'aide de widgets tels que des boutons, des étiquettes, des curseurs, des calendriers, des claviers, des graphiques, des tableaux, des menus, des animations, etc.
ESP32 Cheap Yellow Display Board
Cette carte de développement (également connue sous le nom de « Cheap Yellow Display ») est alimentée par l'ESP-WROOM-32, un MCU double cœur avec des capacités Wi-Fi et Bluetooth intégrées. Il fonctionne à une fréquence principale allant jusqu'à 240 MHz, avec 520 Ko de SRAM, 448 Ko de ROM et une mémoire Flash de 4 Mo. La carte dispose d'un écran de 2,8 pouces avec une résolution de 240 x 320 et un toucher résistif.
De plus, la carte comprend un circuit de contrôle du rétroéclairage, un circuit de contrôle tactile, un circuit de commande de haut-parleur, un circuit photosensible et un circuit de contrôle LED RVB. Il fournit également un emplacement pour carte TF, une interface série, une interface de capteur de température et d'humidité DHT11 et des ports IO supplémentaires.
Le module prend en charge le développement dans Arduino IDE, ESP-IDE, MicroPython et Mixly.
Applications
Transmission d'images pour les appareils Smart Home
Surveillance sans fil
Agriculture intelligente
Reconnaissance sans fil QR
Signal du système de positionnement sans fil
Et d'autres applications IoT
Spécifications
Microcontrôleur
ESP-WROOM-32 (MCU double cœur avec Wi-Fi et Bluetooth intégrés)
Fréquence
Jusqu'à 240 MHz (la puissance de calcul peut atteindre 600 DMIPS)
SRAM
520 Ko
ROM
448 Ko
Flash
4 Mo
Tension de fonctionnement
5 V
Consommation électrique
env. 115 mA
Écran
Écran TFT couleur de 2,8 pouces (240 x 320)
Toucher
Toucher résistif
Puce du pilote
ILI9341
Dimensions
50 x 86 mm
Poids
50 g
Téléchargements
GitHub
Cette offre groupée contient :
The ESP32 Cheap Yellow Display Book (prix normal : 35 €)
ESP32 Cheap Yellow Display Board (prix normal : 25 €)
1x Carte de développement ESP32 avec écran de 2,8 pouces et boîtier en acrylique
1x Stylet tactile
1x Câble de connexion
1x Câble USB
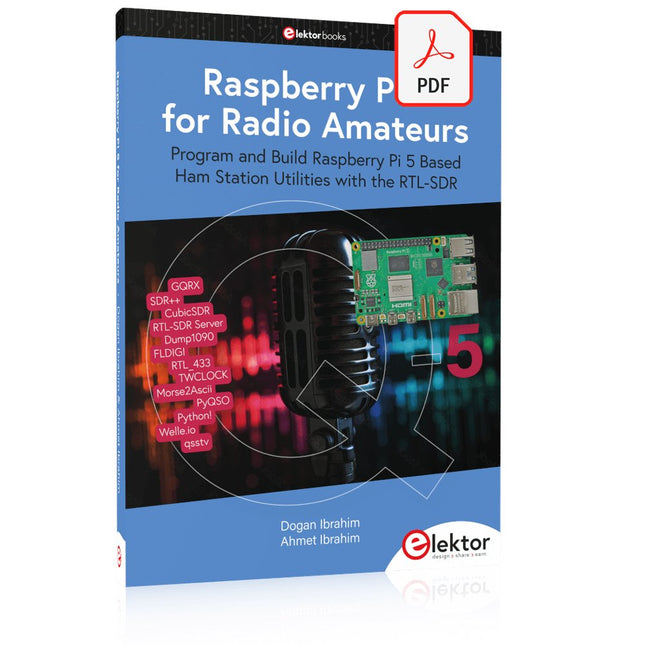
Program and Build Raspberry Pi 5 Based Ham Station Utilities with the RTL-SDR
The RTL-SDR devices (V3 and V4) have gained popularity among radio amateurs because of their very low cost and rich features. A basic system may consist of a USB based RTL-SDR device (dongle) with a suitable antenna, a Raspberry Pi 5 computer, a USB based external audio input-output adapter, and software installed on the Raspberry Pi 5 computer. With such a modest setup, it is possible to receive signals from around 24 MHz to over 1.7 GHz.
This book is aimed at amateur radio enthusiasts and electronic engineering students, as well as at anyone interested in learning to use the Raspberry Pi 5 to build electronic projects. The book is suitable for both beginners through experienced readers. Some knowledge of the Python programming language is required to understand and eventually modify the projects given in the book. A block diagram, a circuit diagram, and a complete Python program listing is given for each project, alongside a comprehensive description.
The following popular RTL-SDR programs are discussed in detail, aided by step-by-step installation guides for practical use on a Raspberry Pi 5:
SimpleFM
GQRX
SDR++
CubicSDR
RTL-SDR Server
Dump1090
FLDIGI
Quick
RTL_433
aldo
xcwcp
GPredict
TWCLOCK
CQRLOG
klog
Morse2Ascii
PyQSO
Welle.io
Ham Clock
CHIRP
xastir
qsstv
flrig
XyGrib
FreeDV
Qtel (EchoLink)
XDX (DX-Cluster)
WSJT-X
The application of the Python programming language on the latest Raspberry Pi 5 platform precludes the use of the programs in the book from working on older versions of Raspberry Pi computers.
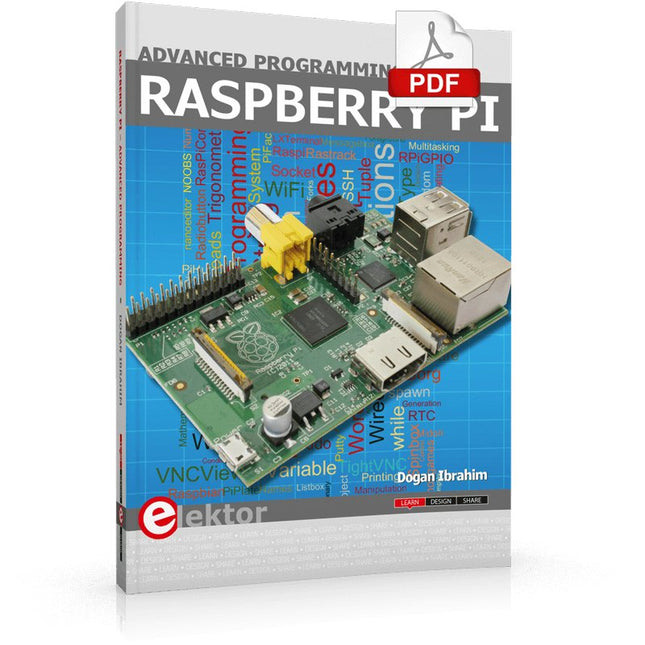
This book is about advanced programming of the Raspberry Pi computer using the Python programming language. The book explains in simple terms and with examples:
How to configure the Raspberry Pi computer;
How to install and use the Linux operating system and the desktop;
How to write advanced programs using the Python programming language;
How to use graphics in our programs;
How to develop hardware based projects using the Raspberry Pi.
The book starts with an introduction to the Raspberry Pi computer and covers the topics of purchasing all the necessary accessories and installing and operating the Linux operating system in command mode. The network interface of the RPi is explained in simple steps, demonstrating how the computer can be accessed remotely from a desktop or a laptop computer.
The remaining parts of the book cover the Python programming language in detail, including advanced topics such as operating system calls, multitasking, interprocess synchronization and interprocess communication techniques. The important topic of network programming using UDP and TCP protocols is described with working examples. The Tkinter graphical user interface module (GUI) is described in detail with example widgets and programs.
The last part of the book includes hardware projects based on using the advanced programming topics such as multitasking and interprocess communication techniques. All the projects given in the book have been fully tested and are working. Complete program listings of all projects are provided with detailed explanations.
Learning Embedded Systems with STM32 Nucleo Boards
Programming compact electronic systems is now easier to get started with than ever before. Affordable development boards, powerful software tools, and readily available documentation make it possible to turn an idea into a working prototype in very little time. MicroPython plays an important role in this development by offering a readable, interactive way to control microcontrollers while still providing direct access to their hardware features.
This book explores embedded programming with MicroPython using an STM32-based Nucleo board. It shows how a microcontroller continuously interacts with its environment by reading inputs, processing information, and controlling outputs. Step by step, you will learn to flash LEDs, measure analog signals, work with sensors, control actuators, and exchange data with other devices. The built-in REPL makes it easy to test instructions immediately, inspect results, and learn through experimentation.
Although microcontroller boards differ in size, speed, memory, and peripherals, the fundamental concepts remain largely the same. Digital input and output, analog conversion, timers, PWM, interrupts, and serial communication are the essential building blocks of embedded applications.
By concentrating on these transferable principles, the book provides a foundation that remains useful when moving to other boards, processors, or development environments.
It is intended both for newcomers and for programmers who want to expand into embedded systems. MicroPython offers a practical route into this field, combining quick results with a clear understanding of how software and hardware work together.
Open-Source-Code mit Arduino IDE und PlatformIO
Autonomes Fahren: GPS, Accelerometer, Gyroskop
PS3-Controller
Mikrocontroller wie der Arduino und Einplatinenrechner wie der Raspberry Pi haben sich zu beliebten Komponenten entwickelt. Dritter im Bunde ist der ESP32 der Firma Espressif. Mikrocontroller dieser Baureihe zeichnen sich durch eine Vielzahl implementierter Funktionen aus, die bei einem Arduino konventioneller Prägung mit einem Atmel-AVR-Mikrocontroller erst mit weiterer Hardware möglich sind. Prominentes Beispiel sind hier die WiFi- und Bluetooth-Funktionalitäten. Gegenüber einem Raspberry Pi zeichnen sie sich durch einen deutlich geringeren Preis aus.
Allgemeine Informationen für die Realisierung eines Roboterauto-Projekts mit dem ESP32 sind leicht zu finden. Dabei handelt es sich aber oft nur um Ausführungen zu einem Teilaspekt, ohne inhaltliche oder funktionale Abstimmung. So ist nicht nur die Beschaffung der benötigten Informationen mühselig und zeitaufwändig, sie kann auch außerordentlich fehlerträchtig sein.
Ansatzpunkt dieses Buches ist, diese Lücke zu schließen. Es geht auf verschiedene Möglichkeiten eines Chassis ein, vermittelt nötige Kenntnisse und führt schrittweise von einer einfachen Motorsteuerung zu einem komplexen sensor- und sprachgesteuerten Roboterauto. Hacks rund um GPS und eine PlayStation 3 runden die Sache ab.
Inhalt
Bei der Reihenfolge der Kapitel wurde versucht – beginnend bei der Darstellung von grundlegenden Informationen – über die Lösung einfacher Aufgaben zu etwas anspruchsvolleren Techniken zu führen.
Der Mikrocontroller ESP32
Die Software erstellen
Die Stromversorgung
Rund um die Hardware
Das Chassis
Der Gleichstrommotor
Kabellose Steuerung über WiFi
Mit Sensoren Hindernisse erkennen
Eine eigene Roboterauto-App
Servo und Lichtsensor
GPS
Accelerometer / Gyroskop
PS3-Controller
Roboterauto-App
Hinweis zur Software
Die Dateien haben das Suffix (.cpp). Grund ist die Entwicklung mit PlatformIO. Mit Copy & Paste sollten sie auch in der Arduino-IDE verwendet werden können.
Diese Ausgabe steht allen GOLD- und GREEN-Mitgliedern auf der ElektorMagazine-Website zum Download bereit!
Sie sind noch kein Mitglied? Hier klicken!
PIO-Programmierung des Raspberry Pi PicoNeun Befehle, viele Möglichkeiten
KI aus dem Browser befreienSo nutzen Sie KI-CLIs zum Programmieren, Kompilieren und Validieren von Embedded-Projekten
Der Scrutiny DebuggerDebuggen, Visualisieren und Testen von Embedded-C/C++ Code
Sigfox-Breakout-Board (Teil 1)Ein selbst gebautes Funk-BoB
Rauscharmes Labor-Netzteil (Teil 2)Konstruktion, Montage und praktische Implementierung
Einfacher Signalgenerator mit dem RP2040Analoge und digitale Signale für rund 10 Euro
Matter und Edge-KI für die Smart Homes der ZukunftBieten die neuesten Updates von Matter und der Aufstieg der Edge-KI Entwicklern endlich die Werkzeuge, um das versprochene intelligente und vernetzte Smart Home zu schaffen?
Die SMU für alleSiglent bringt die SMM3000X-Serie auf den Markt
DifferenzdrucksensorenVorausschauende Wartung in HLK-Systemen
Security by DesignSchadensbegrenzung durch Entwicklungsprinzipien
Embedded Security ist nicht mehr optional
CRA und PQC setzen neue Prioritäten für Embedded-SicherheitWarum auch kleine IoT- und Industrie-Unternehmen einen Upgrade-Plan benötigen
embedded world 2026Interview mit Benedikt Weyerer, Executive Director der embedded world
I3C in der PraxisMit Hardware von ST und Microchip
Das BLEnky-ProjektSchnelles Prototyping für Bluetooth-Low-Energy-Anwendungen
PulsbreitensteuerungVom einfachen Thermostat bis zum geglätteten Analogsignal
AudiotronicsKlangvolle Elektronik zum Selberbauen
ESP32-Audio-Transceiver-Board (Teil 4)Taktsynchronisation – und eine kabelgebundene Option
2026: Eine KI-OdysseeDer Vibe-Coding-Kater von 2025
Symmetrische DC-LastGleichstromlast, statisch oder dynamisch und symmetrisch
Gesichter zählen mit MaixCAMEine einfache Methode zur Erfassung von Publikumsgrößen