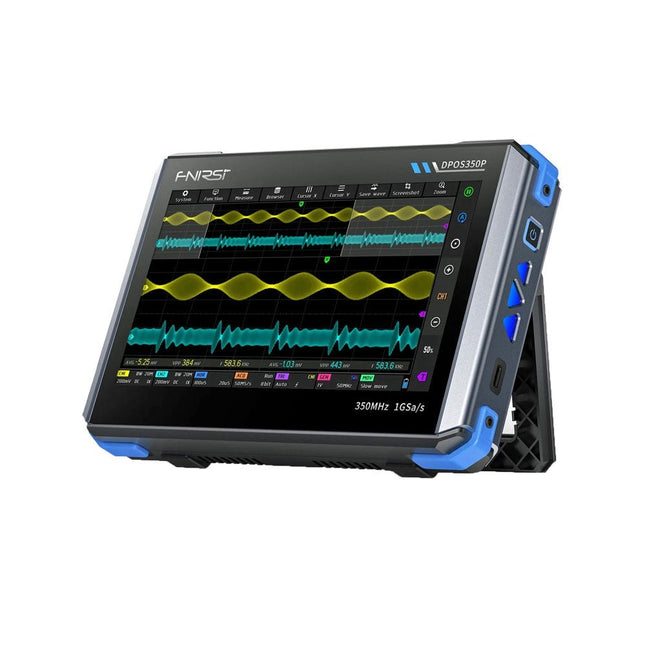
2 canaux • 350 MHz • 1 Géch/s • 50000 wfm/s • Écran tactile de 7 pouces
Le FNIRSI DPOS350P est un appareil 4-en-1 élégant et puissant sous forme de tablette ! Cet appareil compact et portable offre des fonctionnalités avancées : il combine un oscilloscope à 2 canaux (350 MHz), un générateur de signaux (50 MHz), un analyseur de réponse en fréquence (50 MHz) et un analyseur de spectre (200 kHz–350 MHz), le tout dans un seul appareil.
Que vous soyez en R&D, en dépannage ou en tests sur le terrain, le DPOS350P vous offre les outils nécessaires pour mesurer, générer, analyser et visualiser des signaux électroniques avec précision et clarté. Son écran tactile haute résolution réactif et ses commandes intuitives rendent l'analyse des signaux rapide, flexible et efficace.
Caractéristiques
Intégration multifonction puissante
Oscilloscope 2 canaux 350 MHz avec échantillonnage en temps réel de 1 Géch/s
Générateur de signaux 50 MHz avec 14 formes d'onde standard et personnalisées
Analyseur de spectre (200 kHz–350 MHz) : Parfait pour les interférences électromagnétiques, RF et Tests HF
Analyseur de réponse en fréquence (ARF) jusqu'à 50 MHz
Capture de forme d'onde haute performance
Fréquence de rafraîchissement de 50000 wfm/s pour une clarté du signal en temps réel
Bande passante de 350 MHz (mode monocanal)
Détecte les anomalies rares et à faible probabilité
Affichage net et Fonctionnement fluide
Écran tactile IPS 7" (résolution 1024 x 600)
Basculement entre l'affichage des niveaux de gris et de la température de couleur
Facilité d'utilisation dans divers environnements de test
Fiable, protégé et charge rapide
Protection haute tension jusqu'à 400 V
Charge rapide avec QC 18 W (charge complète en 2 heures)
Conçu pour un fonctionnement stable à long terme
Stockage et exportation des données
Enregistrement jusqu'à 500 enregistrements de formes d'onde + 90 captures d'écran
Exportation USB pour faciliter la création de rapports et l'analyse hors ligne
Spécifications
Général
Écran
7 pouces (IPS plein angle de vision)
Résolution
1024 x 600 pixels
Mode interaction
Écran tactile capacitif
Consommation totale
10 W
Configuration à la mise sous tension
5 préréglages
Chargement
QC 18 W, 12 V/1,5 A (USB-C)
Batterie
Batterie au lithium 3,7 V, 8000 mAh
Autonomie de la batterie
Environ 3 heures en fonctionnement, 5 heures en veille
Dissipation thermique
Refroidissement par air
Interface d'extension
Port de données USB
Arrêt automatique
15 à 60 minutes / arrêt
Mise à jour du micrologiciel
Prise en charge de la mise à niveau des images ISO
Langues
Anglais / Portugais / Russe / Chinois
Dimensions
190 x 128 x 37 mm
Oscilloscope
Voies analogiques
2
Bande passante analogique
350 MHz
Temps de montée
1 ns
Fréquence d'échantillonnage en temps réel
1 Géch/s
Profondeur mémoire
60 Kpts
Impédance d'entrée
1 MΩ / 14PF
Plage de base de temps
5 ns ~ 50 s
Base de temps de défilement
50 ms ~ 50 s
Sensibilité verticale
2 mV ~ 20 V (1X)
Plage verticale
16 mV ~ 160 V (1X)
Précision CC
±2%
Temps Précision
±0,01%
Couplage d'entrée
CC / CA
Atténuation de la sonde
1X / 10X / 100X
Limite de bande passante matérielle
150 Mbit/s / 20 Mbit/s
Mode haute résolution
8 bits ~ 16 bits
Mesures de paramètres
12 types
Mesure du curseur
Temps, période, fréquence, niveau, tension
Détection du déclencheur
Déclenchement numérique
Canal de déclenchement
CH1 / CH2
Mode de déclenchement
Auto / Simple / Normal
Front de déclenchement
Rising edge / Falling edge
Suppression du déclencheur
L1 ~ L3
Niveau de déclenchement
Manuel / automatique 10% ~ 90%
Stockage de captures d'écran
90 images
Stockage de formes d'onde
500 groupes
Grille d'arrière-plan
Afficher / Masquer
Mouvement de la forme d'onde
Réglage grossier / réglage fin
Protection contre les surtensions
Tension de tenue 400 V
Luminosité de la forme d'onde
Réglable
Affichage FFT simple
Oui
Fluorescence numérique
Oui
Affichage de la température de couleur
Oui
Mode X-Y
Oui
Base de temps ZOOM
Oui
Réglage automatique par simple pression sur une touche
Oui
Remise à zéro par simple pression sur une touche
Oui
Navigateur de données
Oui
Générateur de signaux
Types de formes d'onde
14 fonctions standard + forme d'onde capturée
Fréquence
0 à 50 MHz (onde sinusoïdale uniquement, autres formes d'onde jusqu'à 10M/5M/3M)
Amplitude
0 à 5 VPP
Décalage
-2,5 V à +2,5 V
Utilité Cycle
0,1~99,9%
Résolution en fréquence
1 Hz
Résolution en amplitude
1 mV
Résolution du décalage
1 mV
Résolution du rapport cyclique
0,1%
Forme d'onde capturée personnalisable
500 groupes
Analyseur de réponse en fréquence (ARF)
Fréquence du signal d'excitation
100 Hz ~ 50 MHz
Amplitude du signal d'excitation
0~5 VPP
Décalage du signal d'excitation
-2,5 V ~ +2,5 V
Nombre de fréquences d'excitation
20~500
Mesure du curseur
Fréquence / gain / Phase
Mode de fonctionnement
Simple / cyclique
Calibrage du système
Oui
Analyseur de spectre
Méthode de conversion
FFT
Longueur FFT
4K ~ 32K
Gamme de fréquences
200 KHz ~ 350 MHz
Plage de niveaux
-60 dBmV ~ +260 dBmV
Mesure du curseur
Fréquence / amplitude
Paramètre de marquage
Harmoniques d'énergie maximale
Graphique en cascade
Oui
Graphique en cascade 3D
Oui
Ajustement automatique
Oui
Calibrage du système
Oui
Inclus
1x FNIRSI DPOS350P (4-en-1)
2x Sondes de 350 MHz
1x Chargeur rapide QC 18 W (UE)
1x Câble de données USB
1x Pince crocodile
1x Sac de rangement
1x Manuel
Téléchargements
Manual
Firmware
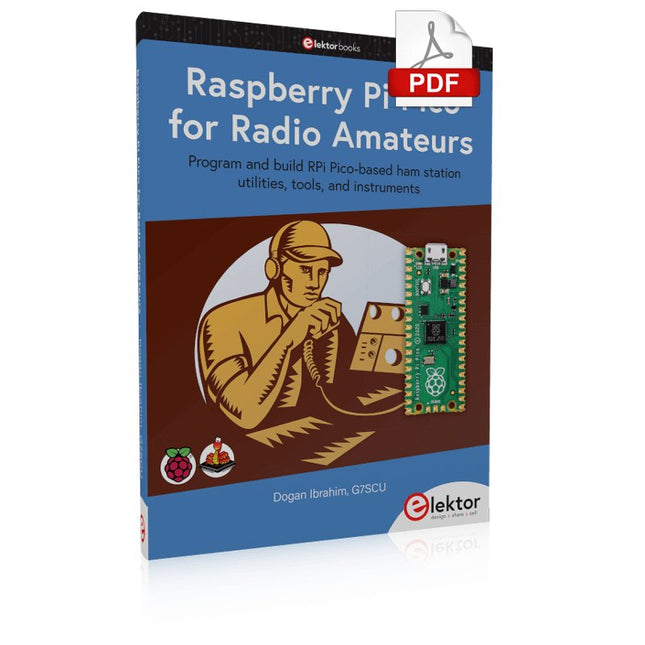
Program and build RPi Pico-based ham station utilities, tools, and instruments
Although much classical HF and mobile equipment is still in use by large numbers of amateurs, the use of computers and digital techniques has now become very popular among amateur radio operators. Nowadays, anyone can purchase a €5 Raspberry Pi Pico microcontroller board and develop many amateur radio projects using the “Pico” and some external components. This book is aimed at amateur radio enthusiasts, Electronic Engineering students, and anyone interested in learning to use the Raspberry Pi Pico to shape their electronic projects. The book is suitable for beginners in electronics as well as for those with wide experience.
Step-by-step installation of the MicroPython programming environment is described. Some knowledge of the Python programming language is helpful to be able to comprehend and modify the projects given in the book. The book introduces the Raspberry Pi Pico and gives examples of many general-purpose, software-only projects that familiarize the reader with the Python programming language. In addition to the software-only projects tailored to the amateur radio operator, Chapter 6 in particular presents over 36 hardware-based projects for “hams”, including:
Station mains power on/off control
Radio station clock
GPS based station geographical coordinates
Radio station temperature and humidity
Various waveform generation methods using software and hardware (DDS)
Frequency counter
Voltmeter / ammeter / ohmmeter / capacitance meter
RF meter and RF attenuators
Morse code exercisers
RadioStation Click board
Raspberry Pi Pico based FM radio
Using Bluetooth and Wi-Fi with Raspberry Pi Pico
Radio station security with RFID
Audio amplifier module with rotary encoder volume control
Morse decoder
Using the FS1000A TX-RX modules to communicate with Arduino
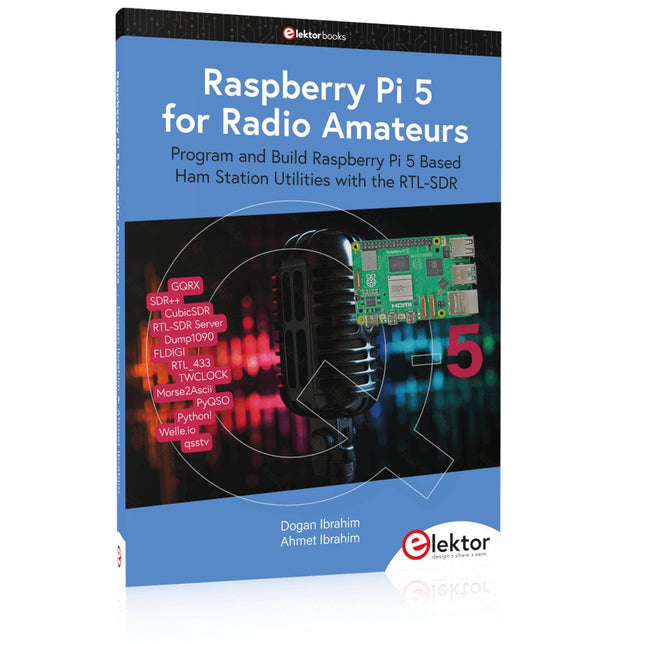
Program and Build Raspberry Pi 5 Based Ham Station Utilities with the RTL-SDR
The RTL-SDR devices (V3 and V4) have gained popularity among radio amateurs because of their very low cost and rich features. A basic system may consist of a USB based RTL-SDR device (dongle) with a suitable antenna, a Raspberry Pi 5 computer, a USB based external audio input-output adapter, and software installed on the Raspberry Pi 5 computer. With such a modest setup, it is possible to receive signals from around 24 MHz to over 1.7 GHz.
This book is aimed at amateur radio enthusiasts and electronic engineering students, as well as at anyone interested in learning to use the Raspberry Pi 5 to build electronic projects. The book is suitable for both beginners through experienced readers. Some knowledge of the Python programming language is required to understand and eventually modify the projects given in the book. A block diagram, a circuit diagram, and a complete Python program listing is given for each project, alongside a comprehensive description.
The following popular RTL-SDR programs are discussed in detail, aided by step-by-step installation guides for practical use on a Raspberry Pi 5:
SimpleFM
GQRX
SDR++
CubicSDR
RTL-SDR Server
Dump1090
FLDIGI
Quick
RTL_433
aldo
xcwcp
GPredict
TWCLOCK
CQRLOG
klog
Morse2Ascii
PyQSO
Welle.io
Ham Clock
CHIRP
xastir
qsstv
flrig
XyGrib
FreeDV
Qtel (EchoLink)
XDX (DX-Cluster)
WSJT-X
The application of the Python programming language on the latest Raspberry Pi 5 platform precludes the use of the programs in the book from working on older versions of Raspberry Pi computers.
Open-Source-Code mit Arduino IDE und PlatformIO
Autonomes Fahren: GPS, Accelerometer, Gyroskop
PS3-Controller
Mikrocontroller wie der Arduino und Einplatinenrechner wie der Raspberry Pi haben sich zu beliebten Komponenten entwickelt. Dritter im Bunde ist der ESP32 der Firma Espressif. Mikrocontroller dieser Baureihe zeichnen sich durch eine Vielzahl implementierter Funktionen aus, die bei einem Arduino konventioneller Prägung mit einem Atmel-AVR-Mikrocontroller erst mit weiterer Hardware möglich sind. Prominentes Beispiel sind hier die WiFi- und Bluetooth-Funktionalitäten. Gegenüber einem Raspberry Pi zeichnen sie sich durch einen deutlich geringeren Preis aus.
Allgemeine Informationen für die Realisierung eines Roboterauto-Projekts mit dem ESP32 sind leicht zu finden. Dabei handelt es sich aber oft nur um Ausführungen zu einem Teilaspekt, ohne inhaltliche oder funktionale Abstimmung. So ist nicht nur die Beschaffung der benötigten Informationen mühselig und zeitaufwändig, sie kann auch außerordentlich fehlerträchtig sein.
Ansatzpunkt dieses Buches ist, diese Lücke zu schließen. Es geht auf verschiedene Möglichkeiten eines Chassis ein, vermittelt nötige Kenntnisse und führt schrittweise von einer einfachen Motorsteuerung zu einem komplexen sensor- und sprachgesteuerten Roboterauto. Hacks rund um GPS und eine PlayStation 3 runden die Sache ab.
Inhalt
Bei der Reihenfolge der Kapitel wurde versucht – beginnend bei der Darstellung von grundlegenden Informationen – über die Lösung einfacher Aufgaben zu etwas anspruchsvolleren Techniken zu führen.
Der Mikrocontroller ESP32
Die Software erstellen
Die Stromversorgung
Rund um die Hardware
Das Chassis
Der Gleichstrommotor
Kabellose Steuerung über WiFi
Mit Sensoren Hindernisse erkennen
Eine eigene Roboterauto-App
Servo und Lichtsensor
GPS
Accelerometer / Gyroskop
PS3-Controller
Roboterauto-App
Hinweis zur Software
Die Dateien haben das Suffix (.cpp). Grund ist die Entwicklung mit PlatformIO. Mit Copy & Paste sollten sie auch in der Arduino-IDE verwendet werden können.
Praktischer Einstieg mit Arduino, GnuRadio und FPGA
Das Thema „Software Defined Radio“ ist facettenreich: Neben der Schaltungstechnik ist auch eine Einarbeitung in die Programmierung von Hardware und PC wichtig. Ein schrittweises Vorgehen erleichtert Ihnen den Einstieg. Mit dem im Buch vorgestellten modularen „RF Bricks“-Konzept werden Sie zum Architekten Ihrer Signalkette. Auf einem Chassis angeordnet gewährleisten die Module einen soliden und gut abgeschirmten Aufbau, den Sie einfach verändern und mit eigenen Ideen anreichern können.
Der skalierbare Aufbau bildet Ihr Blockschaltbild auch mechanisch ab – die so gewonnene Übersicht kann in der Aus- und Weiterbildung nützlich sein. Ein Arduino in Ihrem Chassis kommuniziert nach einigen Anpassungen mit üblichen SDR-Programmen, z. B. SDRCPP, GQRX und CubicSDR auf einer Linux-Plattform. Damit können Sie Ihren Empfänger direkt per Mausklick abstimmen.
Wenn Sie Blockschaltbilder mögen, ist GnuRadio ein natürlicher Partner der „RF Bricks“. Mit einem selbst programmierten Python-Block gelingt Ihnen in GnuRadio die Fernsteuerung Ihres Empfängers. Im GnuRadio-Universum können Sie Ihre GUI stufenweise ausbauen, behalten dabei aber immer volle Kontrolle über die inneren Abläufe des Programms.
Mit einem FPGA können zeitaufwändige Operationen auch direkt in die Hardware verlagert werden. Sie bauen stufenweise einen Doppelsuperhet auf und entwickeln die Filterkoeffizienten für FIR-Filter mit Scilab. Das in VHDL realisierte Weaver-Schema rundet diesen Empfänger ab, der mit hoher Empfindlichkeit und Dynamik aufwarten kann.
Mit dem gewonnen Überblick und Ihrer neuen Hardware können Sie die einzelnen Aspekte des Themenkomplexes SDR beliebig weiter vertiefen.
Downloads
Software
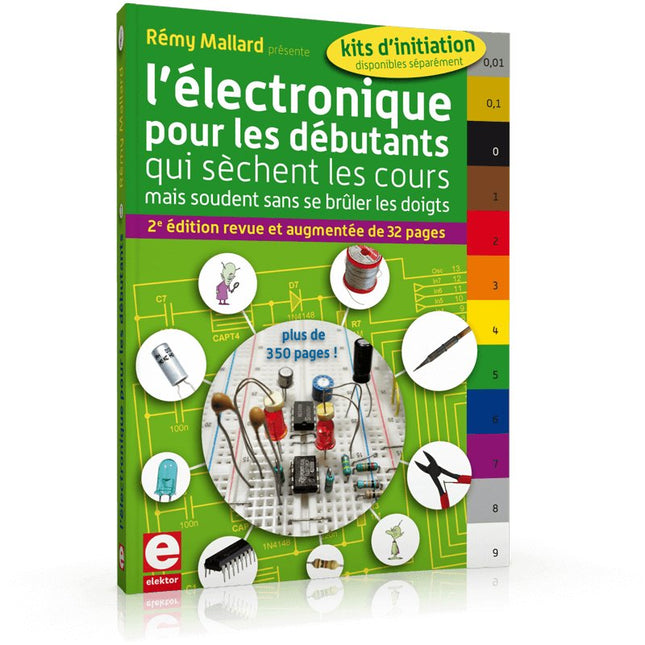
... qui sèchent les cours mais soudent sans se brûler les doigts
Par où commencer pour débuter en électronique ? Vais-je m'égarer en explorant l'internet ? Il regorge de schémas, mais sont-ils fiables ? Me faut-il un livre avec des montages simples ou plutôt un livre sur les composants ?
Après trente ans de pratique, l'auteur de ce livre, resté l'éternel débutant qui réalisait lui-même son premier montage des l'âge de dix ans, partage ici sa soif toujours vive d'apprendre. Fin pédagogue, il guide les débutants et répond aux questions que trop de livres laissent en suspens : « Quel type de fer à souder acheter ? »... « Un multimètre à 5 € peut-il suffire ? »... « Un oscilloscope est-il indispensable ? »... « Peut-on installer son montage dans une boîte à cigares ? »...
Rémy Mallard démystifie l'électronique en n'utilisant que ce qu'il vous faut de théorie pour aborder joyeusement la pratique sans risque de faire de grosses bêtises. Vous apprendrez à identifier les composants et leur rôle (résistances, condensateurs, bobines, diodes, transistors, relais, commutateurs...) mais aussi à les récupérer, les tester et les ranger. Bientôt vous saurez lire un schéma, choisir vos outils et mettre en boîte vos montages. Rémy connaît toutes les astuces et vous révèle les pratiques à éviter.
La matière de cet ouvrage, ce sont des montages simples et ludiques, réalisables sur des plaques d'expérimentation sans soudure: sirène, orgue, chenillard lumineux, interrupteur photosensible, thermomètre, alarme, générateur de picotements, indicateur de niveau de liquide, clignotant à vitesse variable selon la lumière ambiante, indicateur à fenêtre programmable, minuterie avec préavis d'extinction, chenillard de style K2000 (lumineux et sonore), gradateur de lumière à commande infrarouge...
Vous commencerez par le code des couleurs et finirez par programmer des PIC !
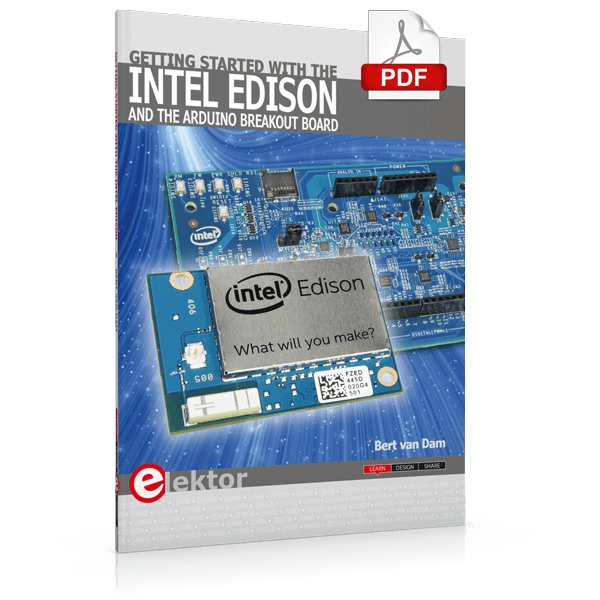
The Internet of Things is rapidly gaining interest, and that has fueled the development of the Edison. A tiny computer, the size of a postage stamp, with a lot of power and built-in wireless communication capabilities.
In this eBook we will help you get up-to-speed with the Edison, by installing the software both on the Edison as well as on your Windows PC. We will use the Edison Arduino break-out board because it is easy to work with. We will discuss Linux, Arduino C++ and Python, and show examples of how the Edison can interface with other hardware. We will use Wi-Fi and Bluetooth to set up wireless connections, and show you a trick to program sketches over Wi-Fi.
Once you have completed this book your Edison will be up and running with the latest software version, and you will have sufficient knowledge of both hardware and software to start making your own applications. You will even be able to program the Edison over USB and wireless both in Arduino C++ and Python.
This is not a projects eBook, but a toolbox that will allow you to explore the wonderful world of the Intel Edison!
Analogue Electronics and Microcontrollers Projects
Hobbyist electronics can be a fun way to learn new skills that can be helpful to your career. Those who understand the basics of electronics can design their own circuits and projects. However, before you run, you need to learn to walk.
It all starts with analogue electronics. You should be familiar with the simple components and circuits and understand their basic behaviors and the issues you may encounter. The best way to do this is through real experiments. Theory alone is not enough. This book offers a large number of practical entry-level circuits, with which everyone can gain the basic experience.
Through the widespread introduction of microcontrollers, a new chapter in electronics has begun. Microcontrollers are now performing more and more tasks that were originally solved using discrete components and conventional ICs. Starting out has become easier and easier thanks to platforms including Bascom, Arduino, micro:bit. The book introduces numerous manageable microcontroller applications. It?s now a case of less soldering and more programming.
A Practical Guide to Tube Electronics
Vacuum tubes continue to exert a special fascination. Their long-lasting operation, robustness, and characteristic behavior fundamentally distinguish them from modern semiconductor technology. Despite their age, tubes are by no means merely historical components; they are still used today in audio technology, measurement technology, and especially in hobbyist applications.
This book is aimed at electronics enthusiasts and hobbyists who want to not only learn about and understand vacuum tubes in theory, but also use them in practice. It conveys the fundamentals of tube technology, explains the different designs and designations, shows typical circuits, and addresses power supplies, measurements, and safety-related aspects. The focus is on practical explanations and realistic examples from the workshop. Numerous tips help you avoid typical mistakes, build circuits, and understand tube devices and their construction. Basic knowledge of electronics is assumed.
Vacuum Tubes: A Practical Guide to Tube Electronics offers an accessible and thorough introduction to tube technology – factual, comprehensible, and with a clear focus on practical applications.
Construisez votre propre émetteur radio vintage
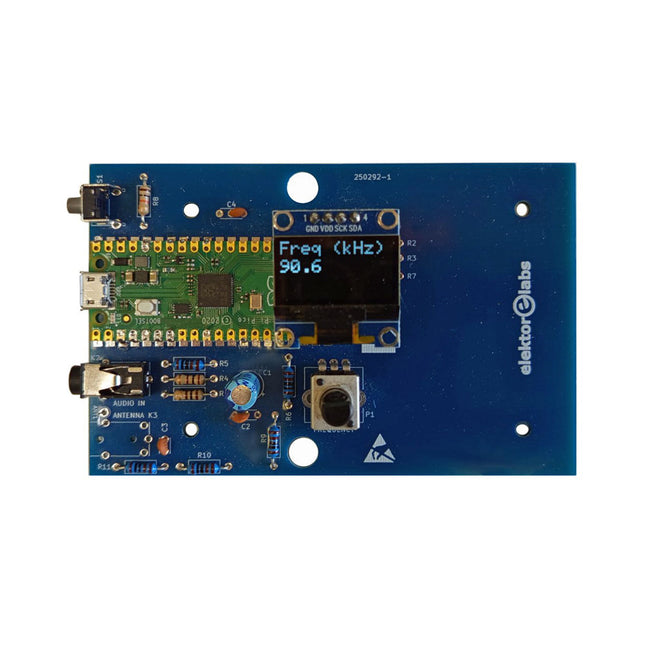
Le kit émetteur AM Elektor permet de diffuser de l’audio vers des récepteurs radio AM vintage. Basé sur un module microcontrôleur Raspberry Pi Pico, l’émetteur AM peut transmettre sur 32 fréquences dans la bande AM, de 500 kHz jusqu’à 1,6 MHz en 32 pas d’environ 35 kHz.
La fréquence est sélectionnée à l’aide d’un potentiomètre et affichée sur un écran OLED de 0,96". Un bouton-poussoir permet de basculer le mode d’émission entre Marche et Arrêt. La portée de l’émetteur dépend de l’antenne. L’antenne intégrée offre une portée de quelques centimètres, nécessitant de placer l’émetteur AM à proximité ou à l’intérieur de la radio. Une antenne boucle externe (non incluse) peut être connectée pour augmenter la portée.
Le kit émetteur AM Elektor est livré en kit de pièces que vous devez souder vous-même sur la carte.
Caractéristiques
La carte est compatible avec un boîtier Hammond 1593N (non inclus).Une alimentation 5 VDC avec connecteur micro-USB (par exemple, un ancien chargeur de téléphone) est nécessaire pour alimenter le kit (non incluse). Consommation de courant : 100 mA.
Le logiciel Arduino (nécessitant le package RP2040 Boards d’Earle Philhower) pour le kit émetteur AM Elektor ainsi que plus d’informations sont disponibles sur la page Elektor Labs de ce projet.
Liste des composants
Résistances
R1, R4 = 100 Ω
R2, R3, R8 = 10 kΩ
R5, R6, R9, R10, R11 = 1 kΩ
R7 = optionnelle (non incluse)
P1 = potentiomètre 100 kΩ, linéaire
Condensateurs
C1 = 22 µF 16V
C2, C4 = 10 nF
C3 = 150 pF
Divers
K1 = barrette 4×1 broches
K2, K3 = prise 3,5 mm
Raspberry Pi Pico
Bouton-poussoir, montage en angle
Afficheur OLED I²C monochrome 0,96"
PCB 150292-1
An Introduction to Circuit Simulation
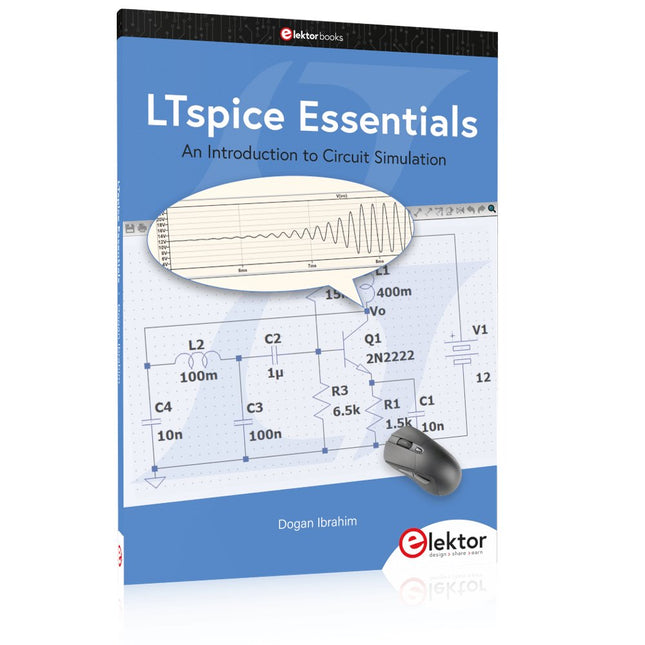
LTspice, developed by Analog Devices, is a powerful, fast, and free SPICE simulator, schematic capture, and waveform viewer with a large database of components supported by SPICE models from all over the world. Drawing a schematic in LTspice is easy and fast. Thanks to its powerful graphing features, you can visualize the voltages and currents in a circuit, and also the power consumption of its components and much more.
This book is about learning to design and simulate electronic circuits using LTspice. Among others, the following topics are treated:
DC and AC circuits
Signal diodes and Zener diodes
Transistor circuits including oscillators
Thyristor/SCR, diac, and triac circuits
Operational amplifier circuits including oscillators
The 555 timer IC
Filters
Voltage regulators
Optocouplers
Waveform generation
Digital logic simulation including the 74HC family
SPICE modeling LTspice is a powerful electronic circuit simulation tool with many features and possibilities. Covering them all in detail is not possible in a book of this size. Therefore, this book presents the most common topics like DC and AC circuit analysis, parameter sweeping, transfer functions, oscillators, graphing, etc. Although this book is an introduction to LTspice, it covers most topics of interest to people engaged in electronic circuit simulation.
The book is aimed at electronic/electrical engineers, students, teachers, and hobbyists. Many tested simulation examples are given in the book. Readers do not need to have any computer programming skills, but it will help if they are familiar with basic electronic circuit design and operation principles. Readers who want to dive deeper can find many detailed tutorials, articles, videos, design files, and SPICE circuit models on the Internet.
All the simulation examples used in the book are available as files at the webpage of this book. Readers can use these example circuits for learning or modify them for their own applications.