Der simpel „Stromversorgung“ genannte Schaltungsteil wird sowohl bei der Entwicklung als auch bei der Reparatur von Elektronik enorm unterschätzt. Dabei ist die Vielfalt bei Netzteilen oder neudeutsch „PSU“ enorm. Es gibt sie in den unterschiedlichsten Ausführungen: mit Gleich- oder Wechselspannung, als Generator, Akku oder Batterie, als Solar-Panel, extern oder eingebaut, linear oder „geschaltet“ – um nur einige zu nennen. Auch die Leistungsbereiche sind enorm: von Nano-Ampere bis Kilo-Ampere – dasselbe gilt für Spannungen. Bei der konkreten Umsetzung kann man zwischen ICs oder diskreten Bauteilen, zwischen fertigem Gerät bzw. Modul oder der Realisation aus selbstverlöteten Bauteilen wählen.
Dieses Special deckt die wichtigsten Merkmale und Gestaltungsaspekte von Stromversorgungen ab.
Inhalt
Grundlagen
BatteriemanagementWas man beim Einsatz von (Lithium-)Akkus beachten muss.
Festspannungsnetzgerät mit LinearreglerDas beste Ergebnis gleich nach den Batterien.
Lichtenergie sammelnWie man ein Solarmodul für ein Energy-Harvesting-Projekt verwenden kann.
Netzbetriebene VersorgungsgeräteBasis-schaltungen und Tipps für Transformatoren, Gleichrichtung, Siebung und Stabilisierung.
SanftanlaufDer hohe Einschaltstrompuls sollte vermieden werden.
Steuerbare GleichrichterEinige Vorschläge um die Verlustleistung im Längsregler möglichst gering zu halten.
Komponenten
Arbeitsblatt: Spannungsreglerserie LM117 / LM217 / LM317
Supercaps
Reviews
Labornetzteil-Kit Joy-iT RD6006
Elektronische Last Siglent SDL1020X-E
Projekte
Balkon-KraftwerkSelbst installiert = schnell amortisiert!
DIY-LiPo-Supercharger-KitVom Prototyp zum Massenmarkt.
Doppelanoden-MOSFET-ThyristorSchneller und effizienter als herkömmliche SCRs.
Batterie-EntsafterNicht wegwerfen, ausquetschen!
Hochspannungsnetzteil mit KennlinienschreiberSpannungen bis 400 V einstellen und Kennlinien für Röhren und Transistoren erstellen.
HochspannungsnetzteilFür RIAA-Röhrenvorverstärker und andere Anwendungen.
MicroSupplyEine Laborstromversorgung für universelle Anwendungen.
Phantom-Speisung mit geschalteten KondensatorenSpannungsverdreifachung mit zwei ICs.
Das SMPS800RE Schaltnetzteil für den Elektor Fortissimo-100Zuverlässig, leicht und erschwinglich.
SoftstartSchont das Netzgerät und die Last.
UniLab 2Geschaltetes Labornetzteil 0…30 V/3 A
Tipps
Softstart für Step-Down-Schaltregler
Stromabschaltung mit minimalen Verlusten
Powerbank-Geheimnisse
Künstliche Masse
Akku-Erfrischer
Akkupack-Entlader
Parallelschaltung von Spannungsreglern
A Project-Based Introduction to Microcontrollers and Drone Control
A Practical Introduction to Embedded Systems with the ESP32
This book is intended for readers who are new to embedded systems and looking for a structured, example-driven way to begin. If you’ve explored general-purpose electronics or Arduino-based resources but found them too broad or lacking in practical application, this guide offers a more focused alternative.
With a small, affordable set of components – such as LEDs, sensors, an OLED screen and a motion sensor – you’ll build and work with the same hardware setup throughout the book. This allows you to focus on learning and experimenting without constant reconfiguration.
Topics include:
Understanding and programming the ESP32 microcontroller
Using the Arduino IDE to write and deploy code
Exploring cyber-physical systems, culminating in basic drone control
No prior experience with Arduino or embedded development is required. Each section includes hands-on examples and mini-projects designed to reinforce core concepts and encourage deeper exploration. By the end, you’ll be equipped not only to reproduce the book’s examples, but also to extend them toward your own ideas and applications.
Whether your interest is in learning embedded programming, building interactive systems, or exploring educational drone control, this book provides a clear and practical path to getting started.
Build your textbook weather station or conduct environmental research together with the whole world. With many practical projects for Arduino, Raspberry Pi, NodeMCU, ESP32, and other development boards.
Weather stations have enjoyed great popularity for decades. Every current and even every long discontinued electronics magazine has regularly featured articles on building your own weather station. Over the years, they have become increasingly sophisticated and can now be fully integrated into an automated home — although this often requires loyalty to an (expensive) brand manufacturer across all components.
With your own weather and environmental data, you can keep up and measure things that no commercial station can. It’s also fun: expand your knowledge of electronics, current microcontroller development boards and programming languages in a fun and meaningful way. For less than 10 euros you can get started and record your first environmental data — with time and growing interest, you will continue to expand your system.
In this Edition
Which Microcontroller Fits My Project?
The Right Development Environment
Tracking Wind and Weather
Weather Display with OpenWeatherMap and Vacuum Fluorescent Display
Volatile Organic Compounds in the Air We Breathe
Working with MQ Sensors: Measuring Carbon Monoxide — Odorless but Toxic
CO2 Traffic Light with ThingSpeak IoT Connection
An Automatic Plant Watering System
Good Indoor Climate: Temperature and Humidity are Important criteria
Classy Thermometer with Vintage Tube Technology
Nostalgic Weather House for the Whole Family
Measuring Air Pressure and Temperature Accurately
Sunburn Warning Device
DIY Sensor for Sunshine Duration
Simple Smartphone Says: Fog or Clear View?
Identifying Earthquakes
Liquid Level Measurement for Vessels and Reservoirs
Water pH Value Measurement
Detecting Radioactive Radiation
GPS: Sensor Location Service Across the Globe
Saving and Timestamping Log Files on SD Cards
LoRaWAN, The Things Network, and ThingSpeak
Operating a LoRaWAN Gateway for TTN
Defying "Wind and Weather"
Mega Display with Weather Forecasz
Le téléchargement intégral de ce numéro est disponible pour nos membres GOLD et GREEN sur le site Elektor Magazine !
Pas encore membre ? Cliquez ici.
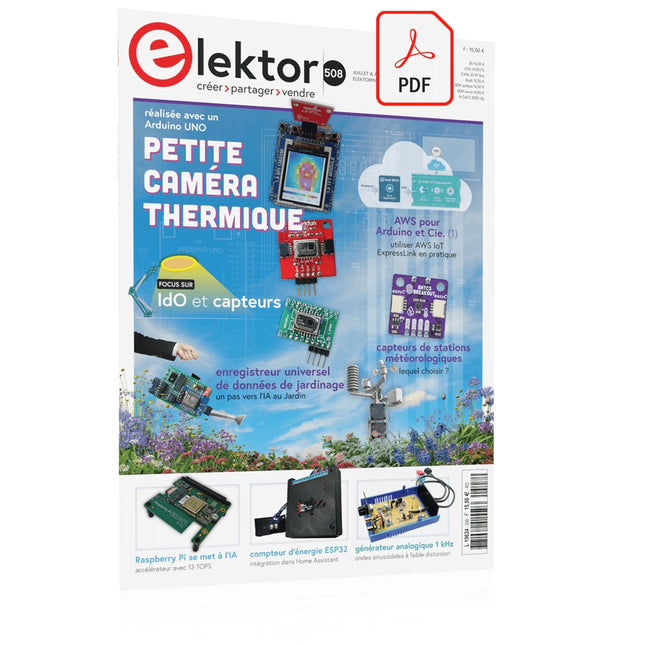
petite caméra thermiqueréalisée avec un Arduino UNO
mise à jour du projet #3 : compteur d'énergie basé sur l'ESP32intégration et test avec Home Assistant
2024 : l'odyssée de l'IAaméliorer la détection d'objets : intégration de techniques avancées
Raspberry Pi se met à l'IAun nouveau kit comprenant un accélérateur IA matériel et un adaptateur M.2 HAT+
capteurs de stations météorologiqueslequel choisir ?
Relevé des compteurs d'eau basé sur l'IA (1)intégrez votre ancien compteur dans l'IdO !
une alarme GSMun module GSM protège votre garage à distance
optimisation et contrôle des appareils Thread à faible consommation d'énergiefaible consommation... peu d’effort ?
sur le vifmontrez-moi là où ça fait mâle
chambre à brouillard à faire soi-mêmevisualiser les rayonnements invisibles
SparkFun Thing Plus Mattercarte de développement IdO polyvalente basée sur Matter
Rétroéquipement IoTAdaptation des machines à interface RS232 à l'industrie 4.0
ajouter l’IoT grâce aux microcontrôleurs 8 bits
la technologie au service du développement durableles avancées technologiques favorisent une utilisation plus efficace de l’énergie dans de nombreuses applications
AWS pour Arduino et Cie. (1)utiliser AWS IoT ExpressLink en pratique
détecteur de flux d'air Arduinoaucun capteur externe n'est nécessaire !
détecteur de fuite d'eauconnecté à l’Arduino Cloud
le quartzdrôle de composant, la série
enregistreur universel de données de jardinageun pas vers l’Intelligence Artificielle au Jardin.
un générateur analogique 1 kHzondes sinusoïdales à faible distorsion
Miletus : utiliser les applications Web hors ligneaccès aux fonctions de l’appareil et du système
de la 4G à la 5Gest-ce une étape si facile à franchir ?
démarrer en électronique…connexions symétriques
Measuring Does Not Have to be Expensive
Low-Cost Audio TesterUsing PC-Based Software and a USB Audio Interface
AC Grid Frequency MeterMonitor Mains Frequency and Voltage
A Modest Inductance MeterAn Affordable Solution for Your Workbench
Acoustic Wave HoveringA Look at the Makerfabs Acoustic Levitation Kit
Starting Out in ElectronicsRectifiers E-FFWD: Looking Ahead Again!
Get Started With Your OscilloscopeFind Your Way Through the Knobs and Buttons
Raspberry Pi Pico Makes an MSF-SDRDecode a Time Signal with a Pi Pico SDR
Moisture Sensors for Watering SystemsAutomatic Watering
Disruption in Test and Measurement EquipmentInnovation from the Smaller Players Infographics 7-8/2022
Inspiration, That’s What It’s All AboutInterview with Entrepreneur Walter Arkesteijn, InnoFaith Beauty Sciences Minimizing EMC Interference from Storage Chokes
GUIs with Python (Part 5)Tic-Tac-Toe
Reed RelaysPeculiar Parts, the series Simple Analog ESR Meter With Moving-Coil Meter Precision
Sigfox CO2 Traffic LightNo Wi-Fi Network Needed!
Women in Tech“It's All About Merit Until Merit Has Tits”
Low-Budget Tablet Oscilloscope ADS1013DGood Value for Money?
Smart Plug TeardownWhich Ones Are Hacker-Friendly?
Skin Impedance and Skin CapacitanceSmall Experiments
From Life’s ExperienceNo Local Business
Pokit Meter ReviewA Swiss army knife of test gear
HexadokuThe Original Elektorized Sudoku
Open-Source-Code mit Arduino IDE und PlatformIO
Autonomes Fahren: GPS, Accelerometer, Gyroskop
PS3-Controller
Mikrocontroller wie der Arduino und Einplatinenrechner wie der Raspberry Pi haben sich zu beliebten Komponenten entwickelt. Dritter im Bunde ist der ESP32 der Firma Espressif. Mikrocontroller dieser Baureihe zeichnen sich durch eine Vielzahl implementierter Funktionen aus, die bei einem Arduino konventioneller Prägung mit einem Atmel-AVR-Mikrocontroller erst mit weiterer Hardware möglich sind. Prominentes Beispiel sind hier die WiFi- und Bluetooth-Funktionalitäten. Gegenüber einem Raspberry Pi zeichnen sie sich durch einen deutlich geringeren Preis aus.
Allgemeine Informationen für die Realisierung eines Roboterauto-Projekts mit dem ESP32 sind leicht zu finden. Dabei handelt es sich aber oft nur um Ausführungen zu einem Teilaspekt, ohne inhaltliche oder funktionale Abstimmung. So ist nicht nur die Beschaffung der benötigten Informationen mühselig und zeitaufwändig, sie kann auch außerordentlich fehlerträchtig sein.
Ansatzpunkt dieses Buches ist, diese Lücke zu schließen. Es geht auf verschiedene Möglichkeiten eines Chassis ein, vermittelt nötige Kenntnisse und führt schrittweise von einer einfachen Motorsteuerung zu einem komplexen sensor- und sprachgesteuerten Roboterauto. Hacks rund um GPS und eine PlayStation 3 runden die Sache ab.
Inhalt
Bei der Reihenfolge der Kapitel wurde versucht – beginnend bei der Darstellung von grundlegenden Informationen – über die Lösung einfacher Aufgaben zu etwas anspruchsvolleren Techniken zu führen.
Der Mikrocontroller ESP32
Die Software erstellen
Die Stromversorgung
Rund um die Hardware
Das Chassis
Der Gleichstrommotor
Kabellose Steuerung über WiFi
Mit Sensoren Hindernisse erkennen
Eine eigene Roboterauto-App
Servo und Lichtsensor
GPS
Accelerometer / Gyroskop
PS3-Controller
Roboterauto-App
Hinweis zur Software
Die Dateien haben das Suffix (.cpp). Grund ist die Entwicklung mit PlatformIO. Mit Copy & Paste sollten sie auch in der Arduino-IDE verwendet werden können.
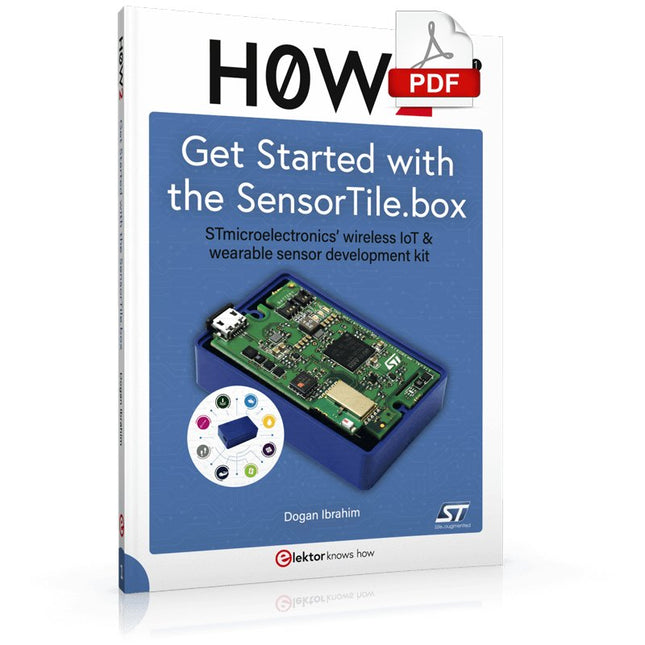
STmicroelectronics’ wireless IoT & wearable sensor development kit
‘SensorTile.box’ is a portable multi-sensor circuit board housed in a plastic box and developed by STMicroelectronics. It is equipped with a high-performance 32-bit ARM Cortex-M4 processor with DSP and FPU, and various sensor modules, such as accelerometer, gyroscope, temperature sensor, humidity sensor, atmospheric pressure sensor, microphone, and so on. SensorTile.box is ready to use with wireless IoT and Bluetooth connectivity that can easily be used with an iOS or Android compatible smartphone, regardless of the level of expertise of the users. SensorTile.box is shipped with a long-life battery and all the user has to do is connect the battery to the circuit to start using the box.
The SensorTile.box can be operated in three modes: Basic mode, Expert mode, and Pro mode. Basic mode is the easiest way of using the box since it is pre-loaded with demo apps and all the user has to do is choose the required apps and display or plot the measured data on a smartphone using an app called STE BLE Sensor. In Expert mode users can develop simple apps using a graphical wizard provided with the STE BLE Sensor. Pro mode is the most complex mode allowing users to develop programs and upload them to the SensorTile.box.
This book is an introduction to the SensorTile.box and includes the following:
Brief specifications of the SensorTile.box; description of how to install the STE BLE Sensor app on an iOS or Android compatible smartphone required to communicate with the box.
Operation of the SensorTile.box in Basic mode is described in detail by going through all of the pre-loaded demo apps, explaining how to run these apps through a smartphone.
An introduction to the Expert mode with many example apps developed and explained in detail enabling users to develop their own apps in this mode. Again, the STE BLE Sensor app is used on the smartphone to communicate with the SensorTile.box and to run the developed apps.
The book then describes in detail how to upload the sensor data to the cloud. This is an important topic since it allows the sensor measurements to be accessed from anywhere with an Internet connection, at any time.
Finally, Pro mode is described in detail where more experienced people can use the SensorTile.box to develop, debug, and test their own apps using the STM32 open development environment (STM32 ODE). The Chapter explains how to upload the developed firmware to the SensorTile.box using several methods. Additionally, the installation and use of the Unicleo-GUI package is described with reference to the SensorTile.box. This PC software package enables all of the SensorTile.box sensor measurements to be displayed or plotted in real time on the PC.
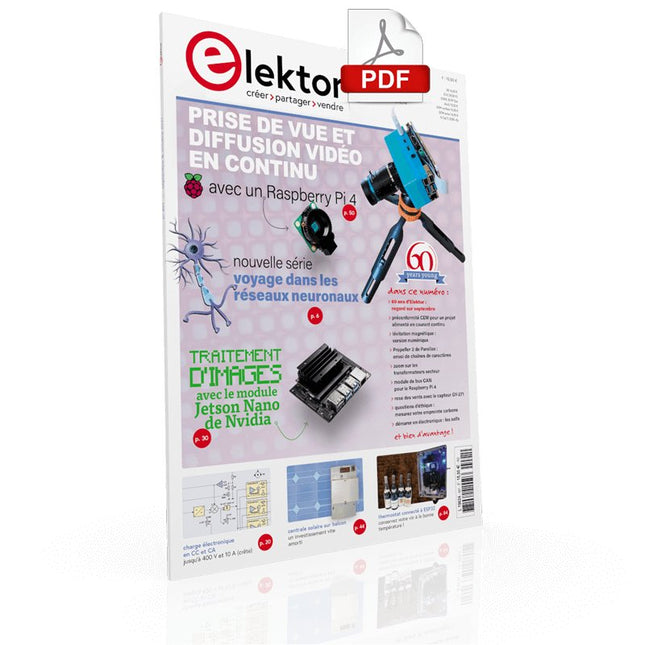
VOYAGE DANS LES RÉSEAUX NEURONAUX (1ÈRE PARTIE)Les neurones artificielsTEST DE PRÉCONFORMITÉ CEM POUR UN PROJET ALIMENTÉ EN COURANT CONTINUPartie 1 : RSIL double continuCHARGE ÉLECTRONIQUE EN CC ET CAJusqu'à 400 V et 10 A (crête)DÉMARRER EN ÉLECTRONIQUE (9)N'ayez pas peur du choc... un peu de « self control » suffit !TRAITEMENT D'IMAGES AVEC LE MODULE JETSON NANO DE NVIDIA (1ÈRE PARTIE)Matériel et logicielZOOM SUR LES TRANSFORMATEURS SECTEURComportement transitoire à l'allumage et l'extinction« YES WE CAN » AVEC PICAN 3Module de bus CAN pour le Raspberry Pi 4CENTRALE SOLAIRE SUR BALCONUn investissement vite amortiPRISE DE VUE ET DIFFUSION VIDÉO EN CONTINU AVEC UN RASPBERRY PI 4La caméra Raspberry Pi HQ en actionUTILISATION D'ÉCRANS DANS LES PROJETS RASPBERRY PIExtrait : écrans à diodes électroluminescentes organiques (OLED)PROPELLER 2 DE PARALLAX (4)Envoi de chaînes de caractères60 ANS D'ELEKTORRegard sur septembreDANS L'ANTRE DE…Menno van der Veen et de ses tubes amplificateursCIRCUITS HYBRIDESROSE DES VENTS AVEC LE CAPTEUR GY-271Ou pourquoi il faut faire des huit pour calibrer un capteurMESUREZ VOTRE EMPREINTEÉlectronique et émissions de gaz à effet de serreTHERMOSTAT CONNECTÉ À ESP32Conservez votre vin à la bonne température !LÉVITATION MAGNÉTIQUE, VERSION NUMÉRIQUEComparateur analogique remplacé par un ESP32 PicoULTIMATE ARDUINO UNO HARDWARE MANUAL - FR TRANSLATIONExtrait : chargeur d'amorçage du microcontrôleur principalMICROPYTHON POUR L'ESP32 ET SES COPAINSPartie 2 : piloter facilement les écrans matricielsCARTE MADMACHINE SWIFTIOUn langage récent pour du matériel tout nouveauSUR LE VIFPassions incertainesHEXADOKUCasse-tête pour elektorniciens
DIY LiPo Supercharger KitFrom Handcrafted to Mass Market
Elektor @ 60Reflections on Six Decades of Electronics
Siglent Bench Multimeter SDM3045X
DC Current-Sense ClampHall Sensor + Ferrite Core + Arduino
Soldering Station 2021Easy to build!
Hands On the Parallax Propeller 2Part 2: The Development Environment and Code
Wi-Fi for LoRa SwitchIntegrated in Home Assistant with ESPHome
Do Not Fear the Cellular Module!
Tracking Time with ESP32 and TogglWorking with the M5Stack
Get to Know the Raspberry Pi Pico Board and RP2040
MicroPython for MicrocontrollersSmall-Format Screens
12-to-200-V DC/DC Converter for Valve Amplifiers
Heat SeekerThe Seek Shot Pro Thermal Imaging Camera
Object-Oriented Programming: A Short Primer Using C++
HomeLab ToursHome Lab and an Analogue Synthesiser by Kurt Diedrich
Java on the Raspberry PiPart 1: GPIOs
DIP SwitchesPeculiar Parts, the series
Project 2.0Corrections, Updates and Readers’ Letters
Whose Product Is It Anyway?Right to Repair Gains Momentum
From Life's ExperienceThe Great Book of Blunders
Micro-ProfessorLearning Assembly Language on a Z80
Starting out in ElectronicsEasier Than Imagined! Even When It Is About Capacitors
HexadokuThe Original Elektorized Sudoku
Le téléchargement intégral de ce numéro est disponible pour nos membres GOLD et GREEN sur le site Elektor Magazine !
Pas encore membre ? Cliquez ici.
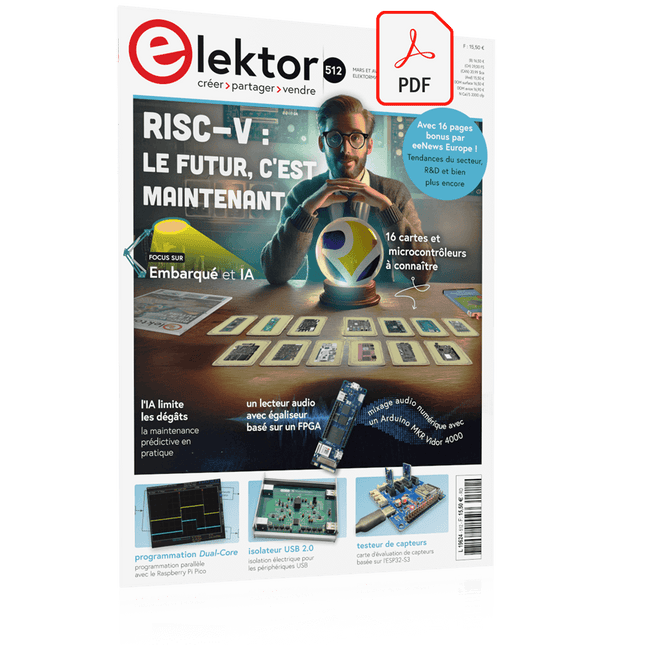
L'architecture de processeur open-source RISC-V16 cartes et MCU à connaître
un lecteur audio avec égaliseur basé sur un FPGAMixage audio numérique avec un Arduino MKR Vidor 4000
tête laser pour l’horloge de sable basé sur Raspberry Pi PicoDessiner avec la lumière
participez au concours STM32 Edge AI
système de contrôle environnemental multi-capteurs pour les plantesMesure sans fil de l'approvisionnement en eau et de la luminosité
porte automatique contrôlée par l'IA et MaixduinoReconnaissance faciale avec une caméra
l’électronique embarquée en 2024L’IA va redéfinir l’industrie
Calcul en mémoire basé sur la charge chez EnCharge AI
des opérations d'IA avec 10 fois moins d'énergie et des coûts divisés par 20
Une carte pour le développement et l’entraînement des modèles ML d’analyse des vibrations
Elektor Mini-WheelieKit robot gyropode (robot autostabilisé)
MCUViewerMCUViewer outil de débogage open source multiplateforme
isolateur USB 2.0Isolation éléctrique pour les périphériques USB
anticipation et actionApplication pratique de la maintenance prédictive
SPoE – compatibilité électromagnétiquePaire unique avec Power-over-Ethernet à travers les yeux d'EMC
rétro-techCréer un monde nouveau avec la télévision couleur
surveillance ECGavec des modules Hexabitz et STM32CubeMonitor
la bataille pour l’IA en périphérie
HaLow atteint une distance Wifi record de 16 km à 900 MHz
première puce embarquée CHERI RISC-V et programme d'accès anticipé
la détection des incendies de forêt de troisième génération utilise des liaisons satellites
sur le vifDélices et supplices du choix
démarrer en électronique......Filtrage et contrôle de la tonalité
Kit d'horloge quasi-analogiqueNouvelle version d'un classique d'Elektor
une approche modulaire de test des capteursCarte de test de capteurs basée sur l'ESP32-S3
2025 : une odyssée de l'IAL'essor des modèles de fondation et leur impact sur l'accessibilité de l'IA
Synthétiseur MIDI autonome Raspberry Pi (1)Préparation d'une plateforme pour des expériences d’IA en périphérie
projet 2.0Corrections, mises à jour et courrier des lecteurs
Le RISC-V AI, un processeur à tout faire : CPU, GPU, DSP, FPGA
paroles de PDG : fraîcheur, silence et finesse
programmation Dual-Core avec le Raspberry Pi PicoLe monde de la programmation parallèle
Kick off with the MAX1000 and VHDPlus
Ready to Master FPGA Programming? In this guide, we’re diving into the world of Field Programmable Gate Arrays (FPGAs) – a configurable integrated circuit that can be programmed after manufacturing. Imagine bringing your ideas to life, from simple projects to complete microcontroller systems!
Meet the MAX1000: a compact and budget-friendly FPGA development board packed with features like memory, user LEDs, push-buttons, and flexible I/O ports. It’s the ideal starting point for anyone wanting to learn about FPGAs and Hardware Description Languages (HDLs).
In this book, you’ll get hands-on with the VHDPlus programming language – a simpler version of VHDL. We’ll work on practical projects using the MAX1000, helping you gain the skills and confidence to unleash your creativity.
Get ready for an exciting journey! You’ll explore a variety of projects that highlight the true power of FPGAs. Let’s turn your ideas into reality and embark on your FPGA adventure – your journey starts now!
Exciting Projects You’ll Find in This Book
Arduino-Driven BCD to 7-Segment Display Decoder
Use an Arduino Uno R4 to supply BCD data to the decoder, counting from 0 to 9 with a one-second delay
Multiplexed 4-Digit Event Counter
Create an event counter that displays the total count on a 4-digit display, incrementing with each button press
PWM Waveform with Fixed Duty Cycle
Generate a PWM waveform at 1 kHz with a fixed duty cycle of 50%
Ultrasonic Distance Measurement
Measure distances using an ultrasonic sensor, displaying the results on a 4-digit 7-segment LED
Electronic Lock
Build a simple electronic lock using combinational logic gates with push buttons and an LED output
Temperature Sensor
Monitor ambient temperature with a TMP36 sensor and display the readings on a 7-segment LED
Téléchargements
Software
An 8-in-1 test & measurement instrument for the electronics workbench
A well-equipped electronics lab is crammed with power supplies, measuring devices, test equipment and signal generators. Wouldn‘t it be better to have one compact device for almost all tasks? Based on the Arduino, a PC interface is to be developed that’s as versatile as possible for measurement and control. It simply hangs on a USB cable and – depending on the software – forms the measuring head of a digital voltmeter or PC oscilloscope, a signal generator, an adjustable voltage source, a frequency counter, an ohmmeter, a capacitance meter, a characteristic curve recorder, and much more.
The circuits and methods collected here are not only relevant for exactly these tasks in the "MSR" electronics lab, but many details can also be used within completely different contexts.