
Résultats de la recherche pour "franzis OR iot OR bluething OR board"
-

Paggen Werkzeugtechnik SMD Starter I – Ligne de production pour prototypes
La ligne de production de prototype SMD Starter I se compose de l'imprimante de pochoir TSD240, du dispositif de placement CMS PlaceMAN et du four de refusion 3LHR10. Imprimante de pochoir SD240 (+ Raclette métallique 155 mm) Dimensions du pochoir : max. 175 x 255 mm Dimensions de la carte de circuit imprimé : max. 180 x 240 mm Dimensions : 410 x 270 x 110 mm Poids : 6,7 kg Comprend une raclette métallique de 155 mm Comprend 8 aimants pour maintenir la carte de circuit imprimé, dont 6 avec vis M3 Dispositif manuel de placement CMS PlaceMAN pour composants standard incl. pompe à vide (sans alimentateurs, caméra, moniteur et distributeur) Équipé d'un bras de placement à mouvement fluide, d'une tête de placement à fonctionnement d'une main, de rotation de l'axe Z et d'une coupure automatique du vide, avec porte-carte de circuit imprimé, unité d'aspiration et 2 aiguilles de placement avec ventouses en caoutchouc. Capacité des alimentateurs (non inclus) 2x cassette d'alimentation pour rouleaux de 10 x 8 mm à gauche 4x cassette d'alimentation pour alimentateurs de tiges pour 5 tiges chacun D'autres systèmes d'alimentation sont possibles dans la zone d'assemblage, par exemple le système enfichable à alimentation par bande Dimensions Unité de base (LxlxH) : 765 x 390 x 210 mm Avec cassette d'alimentation pour rouleaux de 10 x 8 mm (LxlxH) : 765 x 390 x 210 mm Avec cassette d'alimentation pour rouleaux de 10 x 8 mm et cassette d'alimentation pour alimentateur de tiges (LxlxH) : 765 x 430 x 210 mm (la hauteur peut varier en fonction de la longueur des tiges) Avec cassette d'alimentation pour rouleaux de 10 x 8 mm incl. support pour 10 rouleaux et cassette d'alimentation pour alimentateur de tiges (LxlxH) : 765 x 430 x 210 mm (la hauteur peut varier en fonction de la longueur des tiges) Spécifications Poids de l'unité de base : environ 6 kg Déplacement des axes (x, y, z) : 470 x 230 x 15 mm Zone de travail maximale : 380 x 240 mm Dimensions maximales de la carte de circuit imprimé : 230 x 360 mm Alimentation électrique : 230/12 V, 800 mA Alimentation de la pompe à vide : 230 V, 6 W Four de refusion 3LHR10 (programmable pour la soudure sans plomb avec tiroir manuel et contrôle par tablette) Four de refusion avec chauffage IR et convection. La convection à air chaud forcé garantit un profil de température uniforme dans la chambre. Après avoir ouvert manuellement la porte, les ventilateurs s'allument et la carte de circuit imprimé soudée est refroidie rapidement. Four de refusion compact avec porte manuelle Prêt pour l'industrie 4.0, communication Bluetooth + tablette Chauffage IR + convection Application Android pour se connecter à une tablette ou un smartphone 100 programmes utilisateur différents Contenu de la livraison : 3LHR10, tablette avec application, couverture de protection pour la tablette, 4 porte-cartes de circuit imprimé, thermocouple externe, manuel sur la tablette Application Connectez le four à l'alimentation électrique et raccordez le système d'extraction en option (3LFE10S) au conduit d'évacuation d'air. Lors de la première mise en marche, le four recherchera une tablette ou un smartphone. Lorsque les deux sont connectés à l'application Android, choisissez la programmation du four. Ici, la température programmable et le temps de préchauffage, ainsi que la température et d'autres données, doivent être définis. Enregistrez-vous avec la tablette pour utiliser toutes les fonctionnalités du logiciel. Si le four est déjà programmé, l'utilisateur peut contrôler le fonctionnement avec les boutons et l'écran sur le panneau avant. Lorsque le processus de refusion est terminé, un signal sonore retentit. Un signal s'affiche également sur la tablette/smartphone. Le tiroir doit maintenant être ouvert manuellement. L'application Android affiche l'état du processus, le temps et la température, ou d'autres informations. Spécifications Alimentation électrique : 230 V, 50 Hz Puissance maximale : 3100 W Températures : 50-260°C Dimensions : 510 x 370 x 340 mm Poids maximal : 16 kg Dimensions de la grille : 350 x 220 mm Dimensions maximales de la carte de circuit imprimé : 300 x 200 mm Hauteur maximale des composants sur la carte de circuit imprimé : 50 mm en haut, 30 mm en bas Contenu de la livraison Imprimante de pochoir TSD240 Dispositif de placement CMS PlaceMAN Four de refusion 3LHR10
€ 6.549,00
Meilleur prix
-

Sensepeek Sensepeek 6003 PCBite Kit incl. 4x sonde SQ10 et fils de test
Les sondes PCBite mains libres de la série SQ de Sensepeek sont isolées, fournies avec des supports de câble à code couleur et ont un point de gravité plus bas, ce qui les rend encore plus stables que les sondes originales de la série SP. Toutes les caractéristiques appréciées de la mesure mains libres, de l'aiguille de test à ressort interchangeable à pas fin et du design minimaliste sont maintenues pour rendre obsolètes les sondes de taille traditionnelle et les sondes à main. Caractéristiques Toutes les sondes mains libres de Sensepeek facilitent les mesures instantanées ou les longues sessions de déclenchement. Plus besoin de souder des fils pour connecter votre sonde ou d'outils compliqués pour l'installer, il suffit de positionner l'aiguille de la sonde sur n'importe quel point de test ou composant sur le trajet du signal et de relâcher. Il suffit de positionner l'aiguille de la sonde sur n'importe quel point de test ou composant sur le trajet du signal et de la relâcher. La conception minimaliste et l'aiguille de test à ressort permettent de mesurer simultanément des composants à pas fin et des signaux proches. La longueur et le poids des sondes SQ sont parfaitement équilibrés pour être utilisés avec les supports de circuits imprimés et la plaque de base inclus, ce qui est indispensable pour la fonction mains libres. Le support de sonde est doté d'un puissant aimant à la base, comme pour toutes les sondes et tous les supports PCBite, ce qui facilite le positionnement et le repositionnement de la sonde. Les sondes de la série SQ peuvent être utilisées à la main sans le porte-sonde car elles ont une poignée isolée, mais leur plein potentiel est utilisé lors des mesures en mode mains libres. Une face de la plaque de base incluse est mate et l'autre est polie miroir. La surface polie miroir permet de voir facilement les composants sur la face inférieure du circuit imprimé. Pour une protection accrue pendant les mesures, le couvercle isolant fourni peut être monté sur l'une des surfaces. Included 4x Supports de circuits imprimés PCBite 1x Jeu de rondelles d'isolation jaunes pour les supports de circuits imprimés 1x Grand support de base (A4) 1x Couvercle d'isolation pour le support de base (A4) 1x Tissu en microfibre 4x Sondes SQ10 et aiguilles de test à pointe (noires) 2x Fils de test banane à dupont (rouge/noir) 5x Fils de test Dupont à Dupont 1x Jeu de porte-câbles (4 couleurs) 4x Aiguilles de test supplémentaires Downloads Guide de l'utilisateur (kit PCBite) Guide de l'utilisateur (sondes SQ10)
€ 178,80
-

Elektor Mei/Juni 2026 (NL)
Elektor GREEN en GOLD leden kunnen deze uitgave hier downloaden. Nog geen lid? Klik hier om een lidmaatschap af te sluiten. PbMonitor v2.0 updateBatterijbewaking met verbeterd analoog ontwerp Audio latency-metingEen tool om fouten en latency in audiotransmissie te checken Blokgolf versus Bode-diagramDe prestaties van een audioapparaat controleren embedded world 2026 Slim programmeren met AIAI in softwareontwikkeling voor elektronica-ontwikkelaars QA403-audioanalysatorBetaalbare precisie voor audioprofessionals en hobbyisten EasyGimbalAutonome cameratracking met AI, stappenmotoren en servomotoren Sigfox breakoutboard (2)Berichten verzenden CircuitbeschermingOverpanningspieken beheersen met TVS-diodes Nieuwe methoden voor het testen van batterijenEen nieuw tijdperk van diagnostiek AudiotronicaEen eerste voorversterker CANopenTermEen open-source tool die CAN toegankelijk maakt voor makers en technici Stabilisatie van operationele versterkersFeedbackinstabiliteit voorkomen Err-lectronicsCorrecties, updates en lezersbrieven SignaalconditioneringTips en tricks om spanningsbereiken aan te passen TDR-opzetstuk voor oscilloscopenLengte, kortsluiting, mismatch: kabels meten met behulp van reflecties! Uit het leven gegrepenLED it be Luidsprekeroscillator en resonantietesterEen volledig experimenteel project voor uw luidsprekers Visies van de Elektor-community op testen en meten ESP32 Audio tranceiver board (Deel 5)Audioverwerking en afstandsbediening 2026: Een AI-OdysseeAI heeft een contextprobleem Batterijopslag voor balkon-zonnepanelenKleine batterijen, grote impact
€ 15,95
-

Elektor Digital Diagnostic du véhicule avec OBD II (E-book)
Diagnostic du véhicule avec OBD II (E-book)
€ 34,80
Membres : € 31,32
-
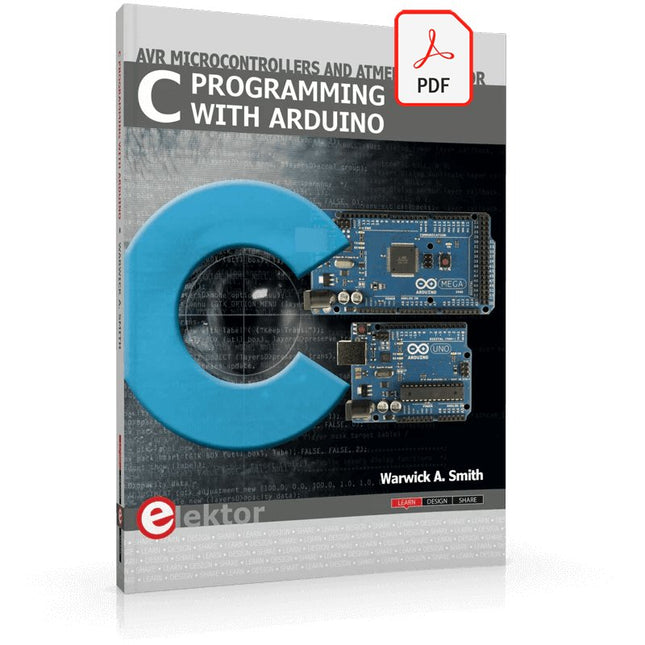
Elektor Digital C Programming with Arduino (E-book)
Technology is constantly changing. New microcontrollers become available every year. The one thing that has stayed the same is the C programming language used to program these microcontrollers. If you would like to learn this standard language to program microcontrollers, then this book is for you! Arduino is the hardware platform used to teach the C programming language as Arduino boards are available worldwide and contain the popular AVR microcontrollers from Atmel. Atmel Studio is used as the development environment for writing C programs for AVR microcontrollers. It is a full-featured integrated development environment (IDE) that uses the GCC C software tools for AVR microcontrollers and is free to download. At a glance: Start learning to program from the very first chapter No programming experience is necessary Learn by doing – type and run the example programs A fun way to learn the C programming language Ideal for electronic hobbyists, students and engineers wanting to learn the C programming language in an embedded environment on AVR microcontrollers Use the free full-featured Atmel Studio IDE software for Windows Write C programs for 8-bit AVR microcontrollers as found on the Arduino Uno and MEGA boards Example code runs on Arduino Uno and Arduino MEGA 2560 boards and can be adapted to run on other AVR microcontrollers or boards Use the AVR Dragon programmer/debugger in conjunction with Atmel Studio to debug C programs
€ 39,95
Membres : € 35,96
-

Elektor Digital ESP32 & ESP8266 Compilatie (NL) | E-book
De ESP8266 van Espressif is een Wi-Fi microchip met volledige TCP/IP stack en functionaliteit van een microcontroller. Het heeft indruk gemaakt in de maker community met zijn lage prijs. Maar veel ontwikkelaars waren ontevreden over het hoge stroomverbruik van de ESP8266. De ESP32, uitgerust met een ULP (Ultra Low Power) coprocessor, biedt hiervoor een oplossing. Dit e-book bevat een aantal projecten met ESP32 & ESP8266 en een interview met de CEO Teo Swee Ann van Espressif. Artikelen Lichtkrant met ESP-12F, 512 LED’s via WiFi aansturen VFD-klok met ESP32, met nauwkeurige internettijd Zuinige ESP32, de programmering van de ULP-coprocessor DCF77-emulator met ESP8266, internettijd vervangt draadloze tijd WiFi desktop-thermostaat, flexibele en programmeerbare temperatuurregeling Timers voor de WiFi desktop-thermostaat, zeven kanalen met atoomprecisie Zwitsers zakmes voor microcontrollers, PlatformIO als universeel programmeertool ESP8266 USB-programmeer-adapter voor de Espressif-modules ESP-01 en ESP-012 De ESP8266 op het Android I/O-board, zelf nieuwe firmware flashen Weerdisplay, actuele weersinformatie op een kleuren-LCD GoNotify, een flexibele IoT sensor-interface. Join the bubble! CV-monitor met ESP8266, domotica voor de overgang naar duurzame energie MicroPython en het pyboard, van een knipperende LED naar … een knipperende LED aan een webserver De grote broer van de ESP8266, de eerste stappen met de ESP32 en de Arduino-IDE RGBDigit klok, een kleurrijk 7-segment-display voor uw data WLAN voor microcontrollers, besturen met de ESP8266 De terugkeer van de Wi-Fi-besturingskaart, apparatuur bedienen met uw smartphone Compact en autonoom WLAN, handig gebruik van de ESP8266 zonder MCU
€ 9,95
Membres : € 8,96
-
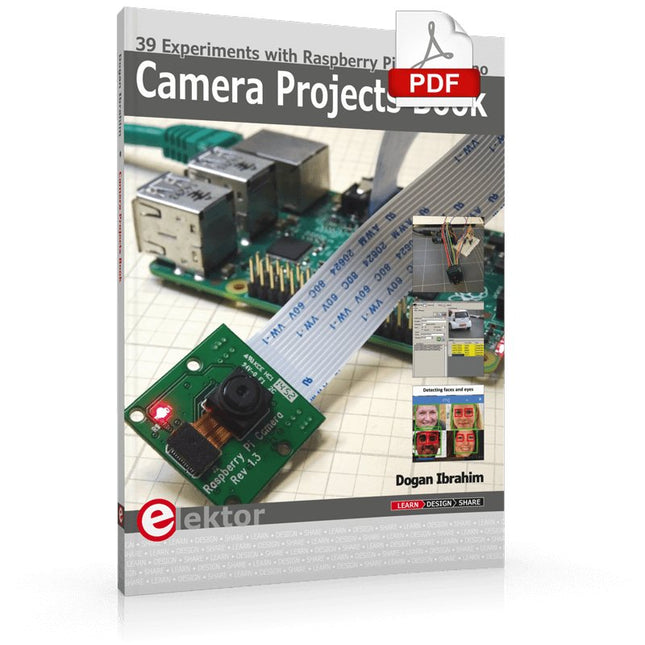
Elektor Digital Camera Projects Book (E-book)
39 Experiments with Raspberry Pi and Arduino This book is about Raspberry Pi 3 and Arduino camera projects. The book explains in simple terms and with tested and working example projects, how to configure and use a Raspberry Pi camera and USB based webcam in camera-based projects using a Raspberry Pi. Example projects are given to capture images, create timelapse photography, record video, use the camera and Raspberry Pi in security and surveillance applications, post images to Twitter, record wildlife, stream live video to YouTube, use a night camera, send pictures to smartphones, face and eye detection, colour and shape recognition, number plate recognition, barcode recognition and many more. Installation and use of popular image processing libraries and software including OpenCV, SimpleCV, and OpenALPR are explained in detail using a Raspberry Pi. The book also explains in detail how to use a camera on an Arduino development board to capture images and then save them on a microSD card. All projects given in this book have been fully tested and are working. Program listings for all Raspberry Pi and Arduino projects used in this book are available for download on the Elektor website.
€ 29,95
Membres : € 26,96
-
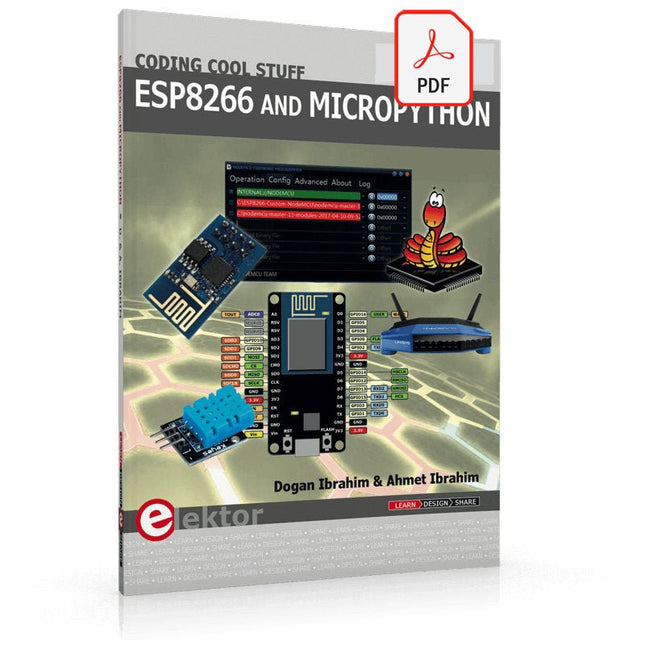
Elektor Digital ESP8266 and MicroPython (E-book)
Recently, the development of a tiny chip called the ESP8266 has made it possible to interface any type of microcontroller to a Wi-Fi AP. The ESP8266 is a low-cost tiny Wi-Fi chip having fully built-in TCP/IP stack and a 32-bit microcontroller unit. This chip, produced by Shanghai based Chinese manufacturer Espressif System, is IEEE 802.11 b/g/n Wi-Fi compatible with on-chip program and data memory, and general purpose input-output ports. Several manufacturers have incorporated the ESP8266 chip in their hardware products (e.g. ESP-xx, NodeMCU etc) and offer these products as a means of connecting a microcontroller system such as the Android, PIC microcontroller or others to a Wi-Fi. The ESP8266 is a low-power chip and costs only a few Dollars. ESP8266 and MicroPython – Coding Cool Stuff is an introduction to the ESP8266 chip and describes the features of this chip and shows how various firmware and programming languages such as the MicroPython can be uploaded to the chip. The main aim of the book is to teach the readers how to use the MicroPython programming language on ESP8266 based hardware, especially on the NodeMCU. Several interesting and useful projects are given in the e-book (pdf) to show how to use the MicroPython in NodeMCU type ESP8266 hardware: Project “What shall I wear today?”: You will be developing a weather information system using a NodeMCU development board together with a Text-to-Speech processor module. Project “The Temperature and Humidity on the Cloud”: You will be developing a system that will get the ambient temperature and humidity using a sensor and then store this data on the cloud so that it can be accessed from anywhere. Project “Remote Web Based Control”: You will be developing a system that will remotely control two LEDs connected to a NodeMCU development board using an HTTP Web Server application.
€ 29,95
Membres : € 26,96
-
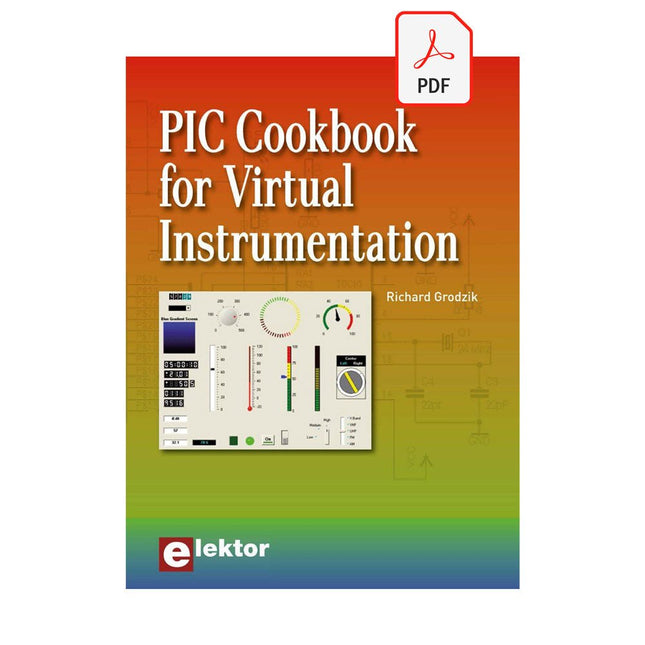
Elektor Digital PIC Cookbook for Virtual Instrumentation (E-book)
The software simulation of gauges, control-knobs, meters and indicators which behave just like real hardware components on a PC’s screen is known as virtual instrumentation. In this book, the Delphi program is used to create these mimics and PIC based external sensors are connected via a USB/RS232 converter communication link to a PC. Detailed case studies in this Book include a virtual compass displayed on the PC’s screen, a virtual digital storage oscilloscope, virtual -50 to +125 degree C thermometer, and FFT sound analyser, a joystick mouse and many examples detailing virtual instrumentation Delphi components. Arizona’s embedded microcontrollers – the PIC's are used in the projects and include PIC16F84A, PIC16C71, DSPIC30F6012A, PIC16F877, PIC12F629 and the PIC16F887. Much use is made of Microchip’s 44 pin development board (a virtual instrument ‘engine)’, equipped with a PIC16F887 with an onboard potentiometer in conjunction with the PIC’s ADC to simulate the generation of a variable voltage from a sensor/transducer, a UART to enable PC RS232 communications and a bank of 8 LED's to monitor received data is also equipped with an ISP connector to which the ‘PICKIT 2’ programmer may easily be connected. Full source code examples are provided both for several different PIC’s, both in assembler and C, together with the Pascal code for the Delphi programs which use different 3rd party Delphi virtual components.
€ 19,95
Membres : € 17,96
-

Arduino Câble USB-C officiel d'Arduino (2-en-1)
Maintenant, vous pouvez connecter vos cartes Arduino avec le câble USB officiel d'Arduino. Grâce à une connexion USB-C vers USB-C avec un adaptateur USB-A, ce câble USB de données peut facilement relier vos cartes Arduino à l'appareil de programmation de votre choix. Le câble USB d'Arduino possède une gaine tressée en nylon aux couleurs typiques d'Arduino, blanc et teal (bleu-vert). Les connecteurs ont une coque en aluminium qui protège votre câble tout en ayant un aspect élégant. Longueur : 100 cm Coque en aluminium avec logo Gaine tressée en nylon blanc et teal
€ 12,95
Membres : € 11,66
-

Sensepeek Kit Sensepeek 4012 PCBite avec 2 sondes SP10 pour DMM
PCBite est la solution complète pour gérer votre circuit imprimé pendant la phase de développement. Des aimants puissants associés à une plaque de base en acier inoxydable rendent le système flexible, mobile et convivial. Le support peut facilement être repositionné pour manipuler des circuits imprimés de différentes formes et tailles. Les sondes sont stables mais flexibles, conçues pour des mesures instantanées ou des opérations mains libres totales avec votre multimètre ou outil préféré. Inclus 4x support PCBite 2x fils de test banane vers DuPont rouge/noir 2x sonde SP10 avec tête de sonde rouge/noire et aiguilles de test à pointe pointue 2x aiguille de test à pointe de couronne supplémentaire 1x jeu de rondelles isolantes jaunes 1x grande plaque de base (A4) 1x chiffon en microfibre Téléchargements Mode d'emploi
€ 104,08
-
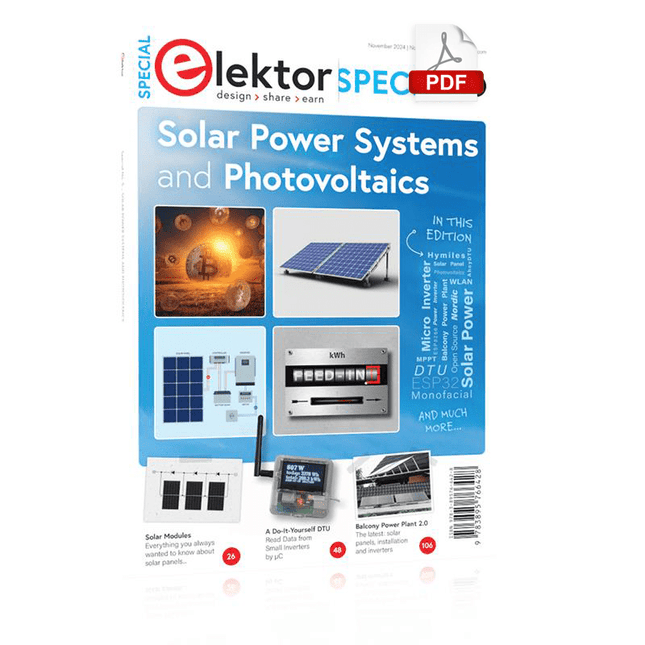
Elektor Digital Elektor Special: Solar Power Systems and Photovoltaics (PDF)
As demand for solar panel installation has risen sharply, especially for installations larger than balcony power plants, the order books of solar companies are full. If you ask for a quote today, you may have to wait a while, if your request isn't simply postponed indefinitely. Another consequence of the solar boom is that some companies are charging very high prices for installations. Yet there is an obvious and radical solution to the problem of excessive prices: Do it yourself, as the English say. The price of materials is currently affordable, and it's the ideal time for those who do the work themselves. They couldn't save more. Add to this the satisfaction of doing something useful, both economically and ecologically, and the pleasure of building yourself. In this special issue, you'll find a wide selection of Elektor assemblies, from solar panel controllers to solar water heaters and solar panel orientation systems. The issue also contains practical information on solar panel installation and the technology behind them. Finally, there are a number of articles on the subject of balcony power plants, from how to install them to how to connect them to the Internet... Contents BASICS Dimensioning Photovoltaic Panel ArraysAn introduction to photovoltaic energy and the commonest techniques,followed by simplified calculation models and setup guidelines. Light Sensor TechnologyMeasuring daylight using LEDs. Solar Power Made SimpleSolar charging with and without a controller. Cable Cross-sections and Energy Losses in Solar SystemsKey considerations on the minimum values to respect for electricalcurrent in solar panel cabling. Solar ModulesEverything you always wanted to know about solar panels... Ideal Diode ControllerDiode Circuits with Low Power Dissipation. TIPS Tracking for Solar Modules zBot Solar/Battery Power Supply Solar Cell Array Charger with Regulator Solar Cell Voltage Regulator Solar-Powered Night Light Alternative Solar Battery Charger PROJECTS Energy LoggerMeasuring and Recording Power Consumption. Tiny Solar SupplySunlight In, 3.3 V Out. A Do-It-Yourself DTURead Data from Small Inverters by μC. Solar ChargerPortable energy for people on the move. Solar Thermal Energy RegulatorMaximum power point tracking explored. 2-amp Maximum Power Tracking ChargerSolar Power To The Max. Computer-driven HeliostatFollow the sun or the stars. Garden LightingUsing solar cells. Solar Panel Voltage Converter for IoT DevicesYes we CAN exploit indoor lighting. Travel ChargerFree power in the mountains. Solar Cell Battery Charger/MonitorWith protection against deep discharge. Solar-powered Battery ChargerPIC12C671 avoids overcharging and deep charging. Converters for Photovoltaic PanelsContributed by TME (Transfer MultisortElektronik). Solar Charging RegulatorFor panels up to 53 watts. Solar-Powered ChargerFor lead-acid batteries. CAN Bus + Arduino for Solar PV Cell MonitoringDetect and locate serviceable panels in large arrays. Balcony Power Plant 2.0The latest: solar panels, installation and inverters
€ 14,95
Membres : € 13,46


