Praxisnahe Projekte, Profi-Tricks und eigene Anwendungen
Dieses Buch führt Sie Schritt für Schritt in die faszinierende Welt der State Machines ein und zeigt, wie Sie Hardware direkt und effizient ansteuern können – jenseits klassischer CPU-gesteuerter Ansätze.
In diesem Buch lernen Sie:
LEDs und NeoPixel kreativ steuern: Blinken, Dimmen, Farbwechsel und komplexe Animationen
Taster und Encoder zuverlässig auslesen und in Echtzeit in Ihre Projekte integrieren
Analoge Eingänge (ADC) nutzen und Signale digital steuern
Servos präzise ansteuern und Bewegungsabläufe automatisieren
SPI mit PIO umsetzen, um Displays, Sensoren und Module anzusteuern
Menüsysteme und Submenüs auf SPI-Displays realisieren, inklusive Navigation über mehrere Taster
PWM, Signalgenerierung und Frequenzsteuerung für akustische oder visuelle Effekte
Debugging-Strategien und Tipps, um Ihre PIO-Programme effizient zu entwickeln
Alle Beispiele sind praxisnah, sofort umsetzbar und zuverlässig. Mit klaren Anleitungen, Hintergrundwissen und fertigen Codebeispielen lernen Sie, die PIO-Fähigkeiten des Pico maximal zu nutzen – egal ob für Maker-Projekte, Prototypen oder professionelle Anwendungen.
Erleben Sie, wie Sie komplexe Hardwaresteuerung elegant mit dem Pico realisieren können – schneller, flexibler und leistungsfähiger als je zuvor.
This book covers a series of exciting and fun projects for the Arduino, such as a silent alarm, people sensor, light sensor, motor control, internet and wireless control (using a radio link). Contrary to many free projects on the internet all projects in this book have been extensively tested and are guaranteed to work!
You can use it as a projects book and build more than 45 projects for your own use. The clear explanations, schematics, and pictures of each project make this a fun activity. The pictures are taken of a working project, so you know for sure that they are correct.
You can combine the projects in this book to make your own projects. To facilitate this, clear explanations are provided on how the project works and why it has been designed the way it has That way you will learn a lot about the project and the parts used, knowledge that you can use in your own projects.
Apart from that, the book can be used as a reference guide. Using the index, you can easily locate projects that serve as examples for the C++ commands and Arduino functionality. Even after you’ve built all the projects in this book, it will still be a valuable reference guide to keep next to your PC.
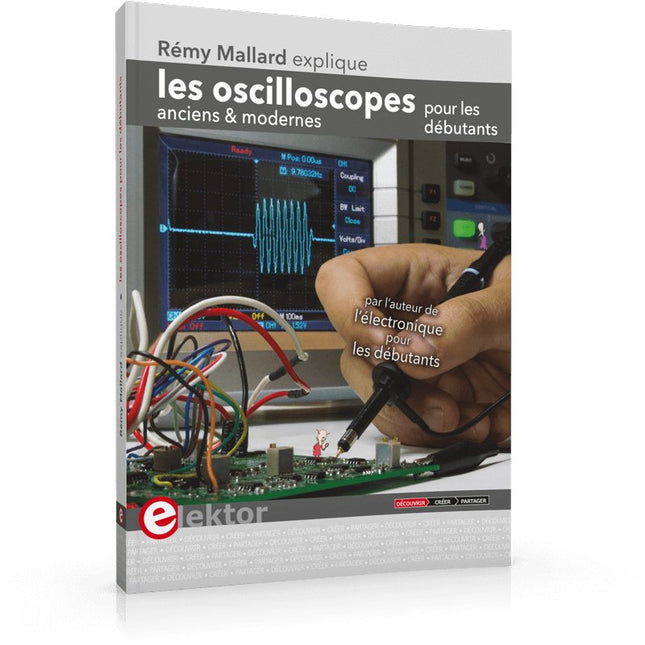
Ce qui se passe en électronique est par définition invisible à l'oeil nu. L'instrument qui permet précisément de rendre visibles les signaux électriques, celui par le truchement duquel les effets de l'électronique se manifestent à nous, c'est l'oscilloscope.
Hélas, quand on commence à faire de l'électronique, c'est souvent sans oscilloscope. Et l'on en est réduit à tâtonner, aussi bien physiquement que mentalement. Le jour où l'on goûte à la visualisation des signaux sur un écran, c'est une révélation. Plus personne ne souhaite se priver de cet enchantement. Pas de retour en arrière. En électronique, si l'on veut progresser dans le plaisir et dans la compréhension, il faut un oscillo.
Commence alors une période d'interrogation : comment choisir ? Et à peine cette question-là aura-t-elle trouvé sa réponse, il en viendra une ribambelle d'autres que l'on peut résumer en une seule : comment se servir de l'oscilloscope de telle sorte que ce qu'il affiche corresponde bien à la réalité des signaux ?
Dans ce livre, Rémy Mallard, répond clairement à ces questions. Il donne aussi de nombreuses informations pour aider son lecteur à élucider lui-même de nouveaux mystères qui ne manqueront pas de surgir. Ceux qui le connaissent déjà comme l'auteur d'un livre sur l'électronique dont le titre est un programme à lui tout seul : L'électronique pour les débutants qui sèchent les cours mais soudent sans se brûler les doigts, ainsi que d'un livre d'initiation à la programmation des microcontrôleurs PIC, savent qu'ils trouveront ici un ouvrage utile, qu'ils rouvriront souvent.
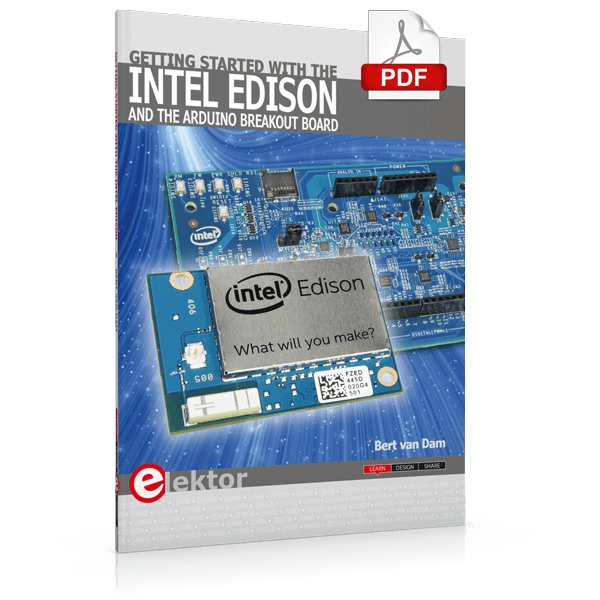
The Internet of Things is rapidly gaining interest, and that has fueled the development of the Edison. A tiny computer, the size of a postage stamp, with a lot of power and built-in wireless communication capabilities.
In this eBook we will help you get up-to-speed with the Edison, by installing the software both on the Edison as well as on your Windows PC. We will use the Edison Arduino break-out board because it is easy to work with. We will discuss Linux, Arduino C++ and Python, and show examples of how the Edison can interface with other hardware. We will use Wi-Fi and Bluetooth to set up wireless connections, and show you a trick to program sketches over Wi-Fi.
Once you have completed this book your Edison will be up and running with the latest software version, and you will have sufficient knowledge of both hardware and software to start making your own applications. You will even be able to program the Edison over USB and wireless both in Arduino C++ and Python.
This is not a projects eBook, but a toolbox that will allow you to explore the wonderful world of the Intel Edison!
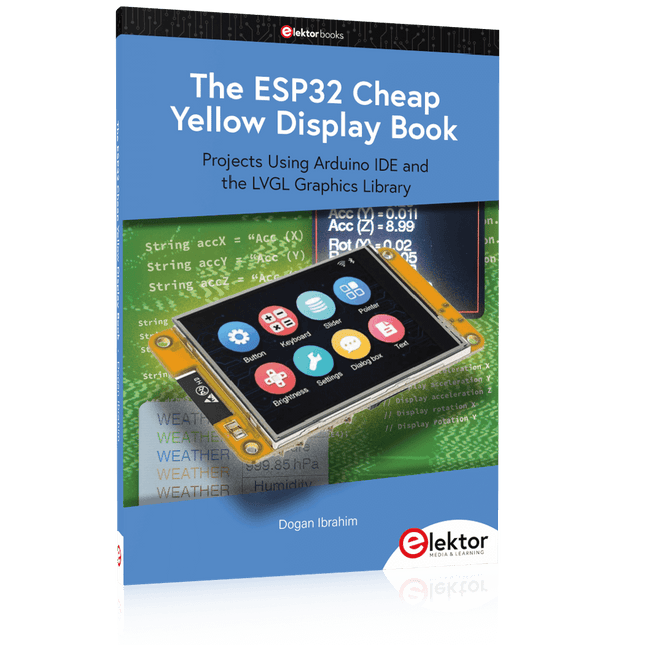
Projects Using Arduino IDE and the LVGL Graphics Library
The ESP32 is probably one of the most popular microcontrollers used by many people, including students, hobbyists, and professional engineers. Its low cost, coupled with rich features makes it a popular device to use in many projects. Recently, a board called the ESP32 Cheap Yellow Display (CYD for short) is available from its manufacturers. The board includes a standard ESP32 microcontroller together with a 320x240 pixel TFT display. Additionally, the board provides several connectors for interfaces such as GPIO, serial port (TX/RX), power and Ground. The inclusion of a TFT display is a real advantage as it enables users to design complex graphics-based projects without resorting to an external LCD or graphics displays.
The book describes the basic hardware of the ESP32 CYD board and provides details of its on-board connectors. Many basic, simple, and intermediate-level projects are given in the book based on the ESP32 CYD, using the highly popular Arduino IDE 2.0 integrated development environment. The use of both the basic graphics functions and the use of the popular LVGL graphics library are discussed in the book and projects are given that use both types of approaches.
All the projects given in the book have been tested and are working. The block diagram, circuit diagram, and the complete program listings and program descriptions of all the projects are given with explanations. Readers can use the LVGL graphics library to design highly popular eye-catching full-color graphics projects using widgets such as buttons, labels, calendars, keypads, keyboards, message boxes, spinboxes, sliders, charts, tables, menus, bars, switches, drop-down lists, animations, and many more widgets.
Open-Source-Code mit Arduino IDE und PlatformIO
Autonomes Fahren: GPS, Accelerometer, Gyroskop
PS3-Controller
Mikrocontroller wie der Arduino und Einplatinenrechner wie der Raspberry Pi haben sich zu beliebten Komponenten entwickelt. Dritter im Bunde ist der ESP32 der Firma Espressif. Mikrocontroller dieser Baureihe zeichnen sich durch eine Vielzahl implementierter Funktionen aus, die bei einem Arduino konventioneller Prägung mit einem Atmel-AVR-Mikrocontroller erst mit weiterer Hardware möglich sind. Prominentes Beispiel sind hier die WiFi- und Bluetooth-Funktionalitäten. Gegenüber einem Raspberry Pi zeichnen sie sich durch einen deutlich geringeren Preis aus.
Allgemeine Informationen für die Realisierung eines Roboterauto-Projekts mit dem ESP32 sind leicht zu finden. Dabei handelt es sich aber oft nur um Ausführungen zu einem Teilaspekt, ohne inhaltliche oder funktionale Abstimmung. So ist nicht nur die Beschaffung der benötigten Informationen mühselig und zeitaufwändig, sie kann auch außerordentlich fehlerträchtig sein.
Ansatzpunkt dieses Buches ist, diese Lücke zu schließen. Es geht auf verschiedene Möglichkeiten eines Chassis ein, vermittelt nötige Kenntnisse und führt schrittweise von einer einfachen Motorsteuerung zu einem komplexen sensor- und sprachgesteuerten Roboterauto. Hacks rund um GPS und eine PlayStation 3 runden die Sache ab.
Inhalt
Bei der Reihenfolge der Kapitel wurde versucht – beginnend bei der Darstellung von grundlegenden Informationen – über die Lösung einfacher Aufgaben zu etwas anspruchsvolleren Techniken zu führen.
Der Mikrocontroller ESP32
Die Software erstellen
Die Stromversorgung
Rund um die Hardware
Das Chassis
Der Gleichstrommotor
Kabellose Steuerung über WiFi
Mit Sensoren Hindernisse erkennen
Eine eigene Roboterauto-App
Servo und Lichtsensor
GPS
Accelerometer / Gyroskop
PS3-Controller
Roboterauto-App
Hinweis zur Software
Die Dateien haben das Suffix (.cpp). Grund ist die Entwicklung mit PlatformIO. Mit Copy & Paste sollten sie auch in der Arduino-IDE verwendet werden können.
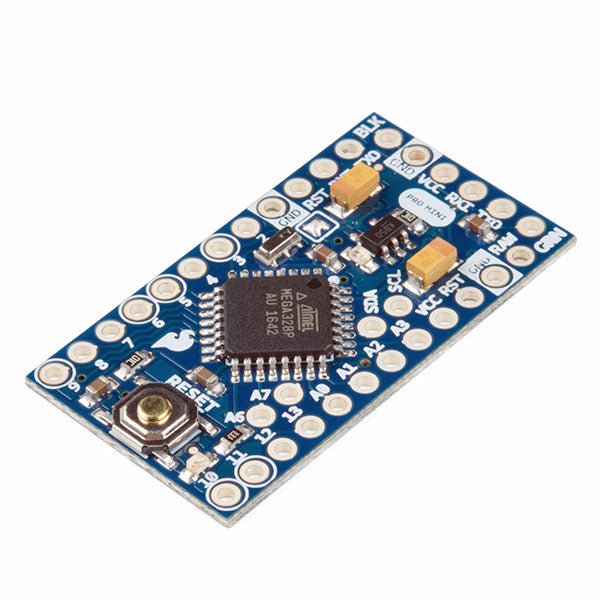
L'Arduino Pro Mini est une carte à microcontrôleur basée sur l' ATmega328P.
Elle dispose de 14 broches d'entrée/sortie numériques (dont 6 peuvent être utilisées comme sorties PWM), de 6 entrées analogiques, d'un résonateur embarqué, d'un bouton de réinitialisation et de trous pour monter des connecteurs. Un connecteur à six broches peut être connectée à un câble FTDI ou à une carte breakout de Sparkfun pour fournir une alimentation et une communication USB à la carte.
L'Arduino Pro Mini est destiné à des montages semi-permanents sur des dispositifs ou dans des expositions. La carte est livrée sans connecteurs, ce qui permet d'utiliser différents types de connecteurs ou de souder directement les fils. La disposition des broches est compatible avec celle de l'Arduino Mini.
Spécifications
Microcontrôleur
ATmega328P
Alimentation de la carte
5-12 V
Tension de fonctionnement du circuit
5 V
Broches E/S numériques
14
Broches PWM
6
UART
1
SPI
1
I²C
1
Broches d'entrée analogiques
6
Interruptions externes
2
Courant continu par broche d'E/S
40 mA
Mémoire flash
32 Ko dont 2 Ko utilisés par le bootloader
SRAM
2 Ko
EEPROM
1 KB
Fréquence d'horloge
16 MHz
Dimensions
18 x 33,3 mm
Téléchargements
Fichiers Eagle
Schémas
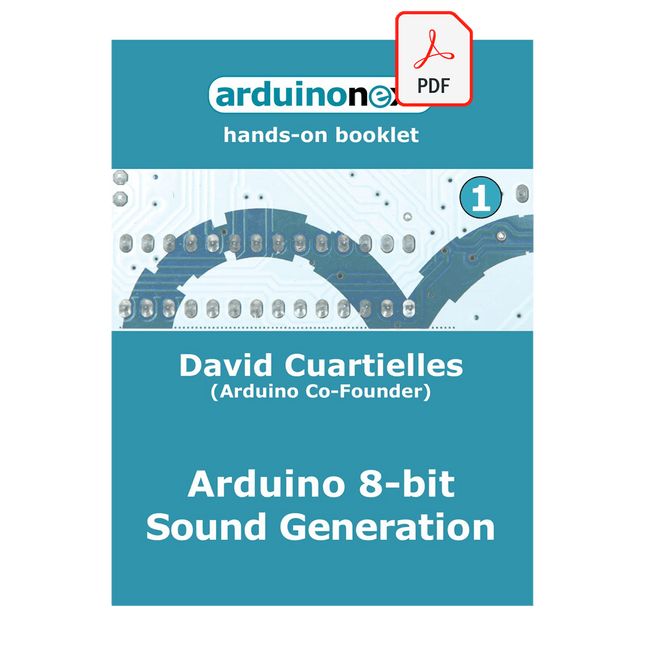
Arduinonext is an initiative powered by an electronics and microcontrollers specialist team aiming to help all those who are entering in the technology world, using the well-known Arduino platform to take the next step in electronics.
We strive to bring you the necessary knowledge and experience for developing your own electronics applications; interacting with environment; measuring physical parameters; processing them and performing the necessary control actions.
This is the first title in the 'Hands-On' series in which Arduino platform co-founder, David Cuartielles, introduces board programming, and demonstrates the making of an 8-bit Sound Generator.
Praktischer Einstieg mit Arduino, GnuRadio und FPGA
Das Thema „Software Defined Radio“ ist facettenreich: Neben der Schaltungstechnik ist auch eine Einarbeitung in die Programmierung von Hardware und PC wichtig. Ein schrittweises Vorgehen erleichtert Ihnen den Einstieg. Mit dem im Buch vorgestellten modularen „RF Bricks“-Konzept werden Sie zum Architekten Ihrer Signalkette. Auf einem Chassis angeordnet gewährleisten die Module einen soliden und gut abgeschirmten Aufbau, den Sie einfach verändern und mit eigenen Ideen anreichern können.
Der skalierbare Aufbau bildet Ihr Blockschaltbild auch mechanisch ab – die so gewonnene Übersicht kann in der Aus- und Weiterbildung nützlich sein. Ein Arduino in Ihrem Chassis kommuniziert nach einigen Anpassungen mit üblichen SDR-Programmen, z. B. SDRCPP, GQRX und CubicSDR auf einer Linux-Plattform. Damit können Sie Ihren Empfänger direkt per Mausklick abstimmen.
Wenn Sie Blockschaltbilder mögen, ist GnuRadio ein natürlicher Partner der „RF Bricks“. Mit einem selbst programmierten Python-Block gelingt Ihnen in GnuRadio die Fernsteuerung Ihres Empfängers. Im GnuRadio-Universum können Sie Ihre GUI stufenweise ausbauen, behalten dabei aber immer volle Kontrolle über die inneren Abläufe des Programms.
Mit einem FPGA können zeitaufwändige Operationen auch direkt in die Hardware verlagert werden. Sie bauen stufenweise einen Doppelsuperhet auf und entwickeln die Filterkoeffizienten für FIR-Filter mit Scilab. Das in VHDL realisierte Weaver-Schema rundet diesen Empfänger ab, der mit hoher Empfindlichkeit und Dynamik aufwarten kann.
Mit dem gewonnen Überblick und Ihrer neuen Hardware können Sie die einzelnen Aspekte des Themenkomplexes SDR beliebig weiter vertiefen.
Downloads
Software
AI in Practice
Dive into the fascinating world of robotics and automation!
This Elektor Special shows you how to build your own robots with creativity, a little know-how, and affordable technology. From your first DIY project with Arduino or Raspberry Pi to intelligent systems with AI – this issue makes modern robotics understandable and accessible.
Discover practical instructions, inspiring projects, and exciting insights into the maker scene. Learn how experimentation, community, and openness give rise to true innovation – and why robotics is so much more than just a technical hobby.
Contents
Imagination turns into reality
Arduino-controlled Drawing Robot
GalaxyRVR Mars Rover Kit for Arduino
YDLIDAR X4Pro Lidar
xHuskyLens AI Camera
DOF Robot Arm with Raspberry Pi Pico
Manufacturing Robots with Fischertechnik
Pneumatic Industrial Robot
Why Do We Keep Building Robot Dogs?
Elektor Mini-Wheelie
Robot Vehicles and Autonomous Driving
Le Joy-Pi Advanced est un dispositif compact et puissant qui vous permet de concrétiser vos projets rapidement et facilement. Que vous ayez déjà beaucoup d'expérience ou presque aucune, le Joy-Pi Advanced vous permet de libérer votre créativité. Grâce à sa compatibilité avec un large éventail de plates-formes, notamment Raspberry Pi, Raspberry Pi Pico, Arduino Nano, BBC micro:bit et NodeMCU ESP32, vous pouvez facilement et rapidement accéder à votre plate-forme préférée.
De plus, le Joy-Pi Advanced propose plus de 30 stations, de leçons et de modules, vous offrant une variété illimitée de façons de mener à bien vos projets. Grâce au centre d'apprentissage auto-développé, vous pouvez non seulement améliorer vos compétences, mais également créer de nouveaux projets. Le centre d'apprentissage propose une multitude d'informations et de tutoriels qui vous guideront pas à pas dans vos projets.
Le Joy-Pi Advanced est caractérisé en particulier par ses unités de commutation intelligentes, qui permettent une utilisation étendue des broches disponibles. Au total, trois unités de commutation sont intégrées, chacune équipée de 12 interrupteurs individuels qui offrent un contrôle précis des capteurs et des modules connectés. Ce système résout le problème bien connu de nombre limité de broches qui se produit avec les microcontrôleurs conventionnels. Les unités de commutation vous permettent de faire fonctionner un grand nombre de capteurs et de modules en parallèle en les allumant et en les éteignant individuellement. Cela simule une attribution de broches multiple, vous permettant d'exploiter toute la puissance de vos projets sans compromettre la fonctionnalité.
En combinant des cartes adaptatrices innovantes et l'emplacement pour micro:bit, vous pouvez obtenir une compatibilité transparente avec un large éventail de microcontrôleurs tels que Raspberry Pi Pico, NodeMCU ESP32, micro:bit et Arduino Nano. Les cartes adaptatrices spécialement développées sont conçues pour correspondre parfaitement au microcontrôleur respectif. En insérant le microcontrôleur sur la carte adaptatrice appropriée, puis en l'insérant dans l'emplacement pour micro:bit, le Joy-Pi Advanced devient rapidement et facilement compatible avec les différents microcontrôleurs. Cela permet une intégration transparente de votre plate-forme préférée et la possibilité de combiner les forces des différents microcontrôleurs dans vos projets. De cette manière, vous pouvez vous concentrer pleinement sur vos projets créatifs sans vous soucier de la compatibilité des différents microcontrôleurs. Le Joy-Pi Advanced simplifie le processus de développement et vous donne la possibilité de concevoir vos projets de manière flexible et individuelle.
Caractéristiques
Plateforme de développement hautement intégrée et centre d'apprentissage
Combinaison rapide, facile et sans fil de divers capteurs et actionneurs
Option d'installation pour Raspberry Pi 4
Compatible avec divers microcontrôleurs
Plate-forme d'apprentissage didactique auto-développée pour Raspberry Pi et Windows
Spécifications
Compatible avec
Raspberry Pi 4, Arduino Nano, NodeMCU ESP32, BBC micro:bit, Raspberry Pi Pico
Capteurs, actionneurs et composants installés
39
Plateforme d'apprentissage
Plus de 40 entrées dans la base de connaissances, 10 projets, 10 tâches d'apprentissage, 14 visions
Affichages
Affichage 7 segments, affichage 16x2, affichage TFT 1,8", affichage OLED 0,96", matrice RGB 8x8
Capteurs
DS18B20, capteur de choc, capteur à effet Hall, baromètre, capteur sonore, gyroscope, capteur PIR, barrière photoélectrique, NTC, capteur de lumière, 6 capteurs tactiles, capteur de couleur, capteur de distance ultrasonique, capteur de température et d'humidité DHT11
Contrôle
Joystick, 5 interrupteurs, potentiomètre, codeur rotatif, matrice de boutons 4x4, relais, ventilateur PWM
Moteurs
Interface de servo, interface de moteur pas à pas, moteur de vibration
Modules de mesure et de conversion
Convertisseur analogique-numérique, convertisseur de niveau, voltmètre, alimentation en tension variable
Autres composants
Horloge en temps réel RTC, buzzer, mémoire EEPROM, récepteur infrarouge, plaque d'essai, lecteur RFID
Cartes adaptatrices
Adaptateur pour NodeMCU ESP32, Arduino Nano et Raspberry Pi Pico, connecteurs de carte pour Raspberry Pi et cartes externes
Composants électroniques
Télécommande infrarouge, puce RFID, carte RFID, 6 pinces crocodile, lecteur de carte microSD, servo-moteur, moteur pas à pas, carte microSD de 32 Go
Composants
40 résistances, 3 LED vertes, 3 LED jaunes, 3 LED rouges, 1 transistor, 5 boutons, 1 potentiomètre, 2 condensateurs
Autres accessoires
Assortiment de vis, tournevis, sac de rangement pour accessoires, alimentation et câble d'alimentation, support de servo
Alimentation
Alimentation intégrée : 36 W, 12 V, 3 A Connecteur de boîtier : Fiche pour petit appareil C8
Sorties de tension
12 V, 5 V, 3,3 V, sortie de tension variable (2-11 V)
Bus de données et sorties de signal
I²C, SPI, convertisseur analogique-numérique
Pile (RTC)
CR2032
Dimensions
327 x 200 x 52 mm
Inclus
Raspberry Pi 4 (8 Go de RAM)
Téléchargements
Joy-Pi website
Datasheet
Manual
Cette compilation comprend des articles intégrés de l'actuel Elektor entre juillet 2012 et novembre 2014.
Les documents suivants sont inclus dans le numéro de document (PDF) avec la fonction de navigation disponible et les articles sont intéressants.