Build Your Own RISC-V ControllerFirst Steps with the NEORV32 RISC-V Softcore for Low-Cost FPGAs
How to Use Arduino’s Serial PlotterPlotting Graphs With Arduino Is Easy
CLUE from AdafruitA Smart Solution for IoT Projects
Buffer Board for the Raspberry Pi 400Protect the I/Os Raspberry Pi RP2040 Boards Aplenty
A Handbook on DIY Electronic Security and EspionageSRAM Heated or Deep-Frozen
Component IdentificationTips & Tricks, Best Practices and Other Useful Information DIY Touchless Light Switch
Starting out in ElectronicsMatching and Transforming
What’s New in Embedded Development?Rust and Keeping IoT Deployments Updated Infographics How the Industrial and Automotive Sectors Will Benefit from 5G
Moving Coil RelaysPeculiar Parts, the series
HomeLab ToursEverything Revolves Around the Tools...
Understanding the Neurons in Neural Networks (Part 4)Embedded Neurons
Magnetic Levitation the Very Easy WayThe Third and Most Compact Version
PLC Programming with the Raspberry Pi and the OpenPLC ProjectVisualization of PLC Programs with AdvancedHMI
From Life's ExperiencePack Up and Leave
Under Your RadarMicrocontrollers You Should Know About
Monitor and Debug Over the AirA Solution for Arduino, ESP32 and Co.
Portable Temperature- and Humidity-Measuring DeviceUsing Ready-Made Modules
Lithium Battery Pack RepairSave Money + More Power!
GUIs with PythonMeme-Generator
Three Questions to Build OnWhy, What, and Who?
HexadokuThe Original Elektorized Sudoku
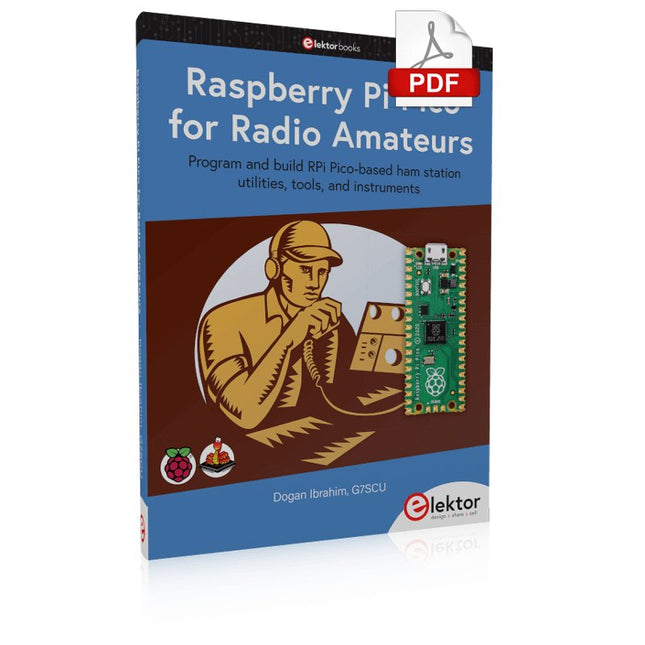
Program and build RPi Pico-based ham station utilities, tools, and instruments
Although much classical HF and mobile equipment is still in use by large numbers of amateurs, the use of computers and digital techniques has now become very popular among amateur radio operators. Nowadays, anyone can purchase a €5 Raspberry Pi Pico microcontroller board and develop many amateur radio projects using the “Pico” and some external components. This book is aimed at amateur radio enthusiasts, Electronic Engineering students, and anyone interested in learning to use the Raspberry Pi Pico to shape their electronic projects. The book is suitable for beginners in electronics as well as for those with wide experience.
Step-by-step installation of the MicroPython programming environment is described. Some knowledge of the Python programming language is helpful to be able to comprehend and modify the projects given in the book. The book introduces the Raspberry Pi Pico and gives examples of many general-purpose, software-only projects that familiarize the reader with the Python programming language. In addition to the software-only projects tailored to the amateur radio operator, Chapter 6 in particular presents over 36 hardware-based projects for “hams”, including:
Station mains power on/off control
Radio station clock
GPS based station geographical coordinates
Radio station temperature and humidity
Various waveform generation methods using software and hardware (DDS)
Frequency counter
Voltmeter / ammeter / ohmmeter / capacitance meter
RF meter and RF attenuators
Morse code exercisers
RadioStation Click board
Raspberry Pi Pico based FM radio
Using Bluetooth and Wi-Fi with Raspberry Pi Pico
Radio station security with RFID
Audio amplifier module with rotary encoder volume control
Morse decoder
Using the FS1000A TX-RX modules to communicate with Arduino
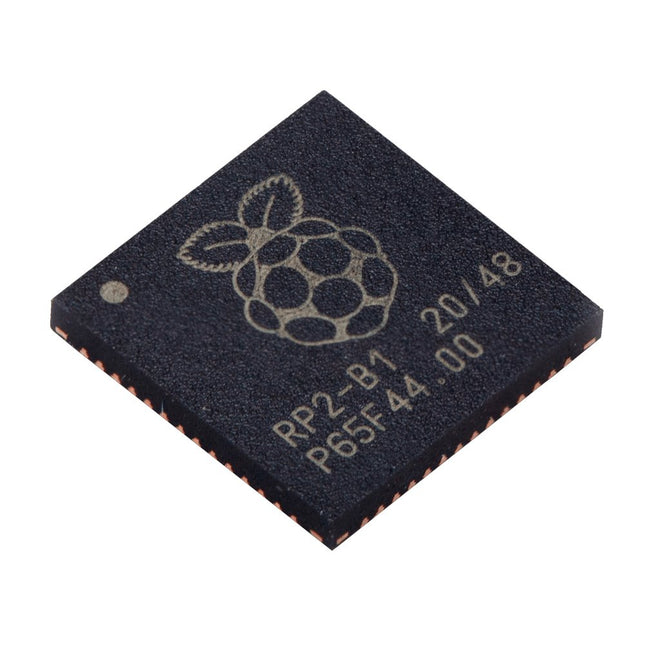
Caractéristiques techniques Dual ARM Cortex-M0+ @ 133 MHz 264 kB on-chip SRAM dans six blocs indépendants Prise en charge de jusqu'à 16 Mo de mémoire Flash hors puce via un bus QSPI dédié. Contrôleur DMA AHB crossbar entièrement connecté Périphériques interpolateurs et diviseurs d’entiers Régulateur LDO sur puce programmable pour générer la tension de base./li> 2x PLL sur puce pour générer les horloges USB et centrales 30x broches GPIO, dont 4 utilisables comme entrées analogiques Périphériques 2x UARTs 2x contrôleurs SPI 2x contrôleurs I²C 16x canaux PWM Contrôleur USB 1.1 et PHY, avec prise en charge de l'hôte et du dispositif 8x Machines d’état PIO Ce que vous recevrez 10x puces RP2040
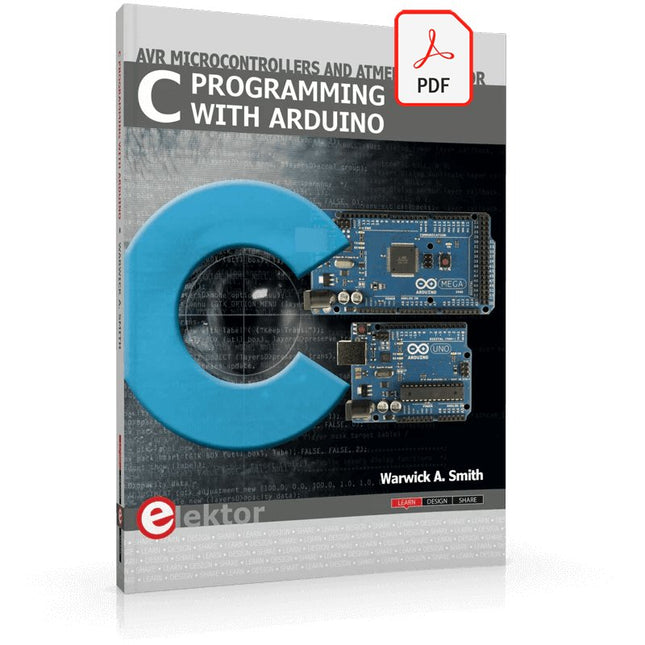
Technology is constantly changing. New microcontrollers become available every year. The one thing that has stayed the same is the C programming language used to program these microcontrollers. If you would like to learn this standard language to program microcontrollers, then this book is for you!
Arduino is the hardware platform used to teach the C programming language as Arduino boards are available worldwide and contain the popular AVR microcontrollers from Atmel.
Atmel Studio is used as the development environment for writing C programs for AVR microcontrollers. It is a full-featured integrated development environment (IDE) that uses the GCC C software tools for AVR microcontrollers and is free to download.
At a glance:
Start learning to program from the very first chapter
No programming experience is necessary
Learn by doing – type and run the example programs
A fun way to learn the C programming language
Ideal for electronic hobbyists, students and engineers wanting to learn the C programming language in an embedded environment on AVR microcontrollers
Use the free full-featured Atmel Studio IDE software for Windows
Write C programs for 8-bit AVR microcontrollers as found on the Arduino Uno and MEGA boards
Example code runs on Arduino Uno and Arduino MEGA 2560 boards and can be adapted to run on other AVR microcontrollers or boards
Use the AVR Dragon programmer/debugger in conjunction with Atmel Studio to debug C programs
Cette offre groupée pratique vous permet de créer de véritables applications d’IA en périphérie avec le Raspberry Pi
Raspberry Pi AI HAT+ (13 TOPS)
Le Raspberry Pi AI HAT+ est une carte d'extension conçue pour le Raspberry Pi 5, dotée d'un accélérateur Hailo AI intégré. Ce module complémentaire offre une approche rentable, efficace et accessible pour intégrer des capacités d'IA hautes performances, avec des applications couvrant le contrôle des processus, la sécurité, la domotique et la robotique.
L'AI HAT+ se connecte via l'interface PCIe Gen3 du Raspberry Pi 5. Lorsque le Raspberry Pi 5 exécute une version actuelle du système d'exploitation Raspberry Pi, il détecte automatiquement l'accélérateur Hailo intégré, rendant l'unité de traitement neuronal (NPU) disponible pour les tâches d'IA. De plus, les applications de caméra rpicam-apps incluses dans Raspberry Pi OS prennent en charge de manière transparente le module AI, en utilisant automatiquement le NPU pour les fonctions de post-traitement compatibles.
Raspberry Pi Camera Module 3
Le module Caméra Raspberry Pi 3 est un appareil photo compact de Raspberry Pi. Il est doté d'un capteur IMX708 de 12 mégapixels avec HDR et d'un autofocus à détection de phase. Le Camera Module 3 est disponible en version standard et en version grand angle, toutes deux avec ou sans filtre infrarouge.
Le Camera Module 3 peut être utilisé pour prendre des vidéos full HD ainsi que des photos, et dispose d'un mode HDR jusqu'à 3 mégapixels. Son fonctionnement est entièrement pris en charge par la bibliothèque libcamera, y compris la fonction d'autofocus rapide de Camera Module 3 : cela le rend facile à utiliser pour les débutants, tout en offrant beaucoup pour les utilisateurs avancés. Camera Module 3 est compatible avec tous les ordinateurs Raspberry Pi.
Livre : Edge AI Made Practical – AI Projects for the Raspberry Pi with the AI HAT+
L'intelligence artificielle embarquée (Edge AI) transforme les appareils du quotidien en intégrant l'intelligence là où elle est la plus utile : directement au cœur du matériel. Grâce à l'inférence embarquée, une caméra peut reconnaître instantanément un visiteur, un téléphone peut traduire la parole sans envoyer l'audio vers le cloud et un objet connecté peut détecter les anomalies en temps réel – rapidement, en toute confidentialité et de manière fiable, même en cas de perte de réseau.
Ce livre est votre guide pratique pour construire précisément ce type de systèmes avec le Raspberry Pi AI HAT+ et l'accélérateur Hailo-8L. Vous commencerez par des bases solides : les concepts fondamentaux de l'IA et de l'apprentissage automatique, le fonctionnement des réseaux neuronaux et ce qui distingue véritablement l'Edge AI de l'IA cloud – ainsi qu'une analyse franche des considérations éthiques et des impacts futurs.
Cette offre groupée contient :
Livre : Edge AI Made Practical
Raspberry Pi AI HAT+ (13 TOPS)
Raspberry Pi Camera Module 3
Refroidisseur actif pour Raspberry Pi 5
Câble d'écran FPC pour Raspberry Pi 5 (300 mm)
Kit de composants Elektor
Connecteur GPIO 40 broches
Module de feux de signalisation
LED rouge 5 V avec résistance intégrée
LED jaune 5 V avec résistance intégrée
LED verte 5 V avec résistance intégrée
LED bleue 5 V avec résistance intégrée
Plaque d'essai (400 points de connexion)
10 connecteurs Dupont Câbles (mâle-femelle)
Module de capteur DHT22
Servomoteur
Requis
Raspberry Pi 5
PIC und AVR verstehen
In diesem Buch werden wir uns ausschließlich mit 8-Bit-Mikrocontrollern beschäftigen, und zwar mit Mikrocontrollern der 8-Bit-PIC- und der 8-Bit-AVR-Mikrocontroller-Linien. Bei der PIC-Familie handelt es sich dabei um PIC10, PIC12, PIC16 und PIC18; bei der AVR-Familie um ATtiny, ATmega und ATxmega. Die vorgestellten 8-Bit-Chips sind für sehr viele Anwendungen vollkommen ausreichend und preislich auch attraktiv.
Durch die Lektüre des Buches erhalten Sie ein fundiertes Wissen über die genannten 8-Bit-Mikrocontroller, über ihre Architektur, ihre Pinbelegungen und über ihre Programmierung.
Weil wir uns in diesem Buch mit den Grundlagen der Architektur der PICs und AVRs vertraut machen möchten, werden wir auch für alle PIC- und AVR-Anwendungen Assembler einsetzen, denn die Assembler-Sprache erlaubt es, die Technik im Detail kennenzulernen. Wenn man wirklich wissen möchte, was sich im Mikrocontroller abspielt, greift man zu Assembler. Damit hat man die beste Gelegenheit, sehr nah an den Kern zu kommen. Und wenn man schon einen Mikrocontroller-Typ kennengelernt und verstanden hat, ist es bei dem nächsten deutlich einfacher, auch wenn er von einem anderen Hersteller kommt. Bei anderen Programmiersprachen bleibt die Technik immer ziemlich tief versteckt.
Die Assembler-Beispiele sind so einfach gestaltet, dass sie jeder mit den im Buch aufgezeigten Programmiertechniken erstellen kann. Weil es sich um einfache Beispiele handelt, werden wir sie alle auf einer universellen Lochrasterplatine realisieren. Manche sind auch auf einem Experimentier-Breadboard umsetzbar.
The Seeed Studio RF Explorer WSUB1G+ is a powerful, high-performance digital spectrum analyzer covering frequencies from 50 kHz to 1 GHz. The Slim model features a robust design, a more conveniently positioned USB connector on the side, and a larger internal battery capacity.
Caractéristiques
Internal LNA amplifier and selectable attenuator
Low frequency support from 50 KHz covering LF, MF, HF, VHF and UHF up to 960 Mhz
New HELP and SET buttons to improve user interface and configuration selection with 2-clicks
Wide band coverage to all popular sub-1 Ghz bands, including FM, TV and DTV, ISM, RFID, GSM, etc.
Ideal choice for HAM bands from 160 m to 33 cm
Pocket size and light weight
Solid metal case
Spectrum Analyzer mode with Peak Max and Hold, Normal, Overwrite and Averaging modes
High capacity internal Lithium battery for 20hs+ of continuous run, rechargeable by USB
Multi-platform Windows/Linux/MacOS Open Source software and API libraries
Can be extended with internal Expansion Modules for additional band and functionality
Spécifications
Frequency band: 0.05 MHz – 960 MHz
Frequency span: 0.1 MHz – 960 MHz
Internal selectable LNA 25 dB gain
Internal selectable Attenuator 30 dB
Graphics LCD 128 x 64 pixels, great visibility outdoors
Support included for Windows, Linux and MacOS X
Backlight for great visibility indoor
Internal Lithium Ion 1800 mA/h rechargeable battery
Standard SMA 50 Ω connector
Wideband 144/433 MHz dual band telescopic antenna included
UHF 400-900 MHz rubber duck articulated antenna included
Amplitude resolution: 0.5 dBm
Dynamic range: -125 dBm to 10 dBm
Absolute Max input power: +30 dBm
Average noise level (typical LNA): -125 dBm
Frequency stability and accuracy (typical): ±10 ppm
Amplitude stability and accuracy (typical): ±2 dBm
Frequency resolution: 1 kHz
Resolution bandwidth (RBW): Automatic 2.6 kHz to 600 kHz
Inclus
1x Seeed Studio RF Explorer WSUB1G+ Slim Spectrum Analyzer
1x Mini USB cable
1x Dual band 144/430 MHz Telescopic antenna
1x UHF 400-900 Mhz antenna
1x EVA case
Home Information SystemUsing Windows on a Raspberry Pi
Starting with Node-REDAn open-source visual block-based programming tool
Elektor Summer GiveAway
Simple Function Generator: With Reverse-Order Signal Creation
GreatScott! Builds a LoRa Alarm System
Review: Joy-iT RD6006 Benchtop Power Supply Kit
Review: The GreatFET One Interface Board
Small Circuits Revival – XXLEscaped from the Suggestions Box
Poorest Man's External 2.4 GHz Wi-Fi Antenna
Simple On-Off Temperature Controller with Raspberry Pi HAT
How to Take (Successful) Photos of ElectronicsShowing your projects in their best light
Review: The I2CDriver Tool
Review: JOY-iT Joy-View Portable Touchscreen
LED Booster for MicrocontrollersWith just one component
Experimental Ultrasonic Clothes Washer
Review: The Joy-iT JDS2915 Signal GeneratorA 2-Channel Signal Generator and Frequency Counter
Traffic Lights Programmed in PIC Assembly Code
E-E-E-ternal Blinker
Experimental Hall Sensor
Tracing Shorts with the Milli-Ohm or ESR Meter
Review: Elektor SDR Hands-on Kit
Elektor Labs Pipeline
Elektor KickstarterWell, you get the idea.
Do You Really Need All That Stuff???This is where I spend many hours working on electronics projects
Homelab Tours: The Kinetic Clock MakerStargate jigsawed!
Hello, World! We’re Elektor, and We’re Social
M4 + 2x A7 + GPU: An Unbalanced Dream TeamLatest STM32MP1-SoCs can tackle demanding applications
Test Rig for 16F18877 & Similar Big PICs
Inter-Microcontroller Traffic with the SPI Bus and ATmega328p
Six Shades of LF/AF OSC (and the Miller’s Tale)
BBC micro:bit Absolute Minimalist Oscilloscope with LED Display
‘Knight Rider’ LED Chaser with the ESP32
LW/MW AM Signal Generator with ATtiny13
Absolute Minimalist Dip Meter
Photovoltaic Regulator UpdateNew function for measuring battery temperature
Wireless SignallingTransmitting switching signals over LPR
Ultrasonic Reverse Parking Aid with Arduino Uno
Distortion Pedal with Op Amp and Space Charge Tubes
Electronics Workspace Essentials
Hexadoku
Artificial Intelligence for Beginners (2)Neural networks with Linux and Python
Elektor GREEN en GOLD leden kunnen deze uitgave hier downloaden.
Nog geen lid? Klik hier om een lidmaatschap af te sluiten.
Audio DSP FX Processor Boarddeel 1: eigenschappen en ontwerp
50 jaar Elektor in het Engels
KiCad 8belangrijkste nieuwe en vernieuwde functies
Elektor @ elektronica 2024electronica Fast Forward 2024, Experts on Stage, Influencer Forums, Live Elektor Lab Talk Shows en meer
Elektor MultiCalculator KitArduino-gebaseerde DHZ-calculator voor elektronici
Goedkope GNSS RTK-systemenmet centimeter-nauwkeurigheid
Printlayout en veiligheidtips voor een veilig en duurzaam ontwerp van uw printen
Opamp-testervoor audio en andere toepassingen
Project-update #4: ESP32-gebaseerde energiemeterenergiemonitoring met MQTT
Real-time spectrumanalyzer met golfgeleider-technologie en multi-interface PC’sAaronia introduceert nieuw productsegment en presenteert eerste prototypes op electronica in München
SMT-spoelenspoelen en ferrieten – selectie gemakkelijk gemaakt
EMC-conformiteit bereiken met EMI-afscherming
De perfecte tool voor elke elektronicaliefhebbereindeloze mogelijkheden met Red Pitaya en 1.000+ Click Boards™
HDI in het middeneen nieuwe kosteneffectieve PCB-poolingservice voor kleine BGA’s
Uitdagingen van DFM-analyse voor flex- en rigid-flex-ontwerpen
Open source-toolsantennesimulator, componentenbeheer, rekenmachine en meer
Elektor infographicprototyping en productie
Uit het leven gegrepenmicrotechnofobie
3D-kerstboomdriedimensionale print met een goedkope 32 bit-microcontroller
Alle begin......houdt nog lang niet op(amp)!
Autonome sensor-node (project-update #1)RTC en voedingsschakelaar
2024: een AI-odysseeeen terugblik op de toekomst
LED-displays met de MAX7219aan de slag met een grandioze chip
Project 2.0correcties, updates en brieven van lezers
Vibrotactiele handschoenendoorbraak voor Parkinson-patiënten
Elektor GREEN en GOLD leden kunnen deze uitgave hier downloaden.
Nog geen lid? Klik hier om een lidmaatschap af te sluiten.
USB-meetadaptertest stroom en signaalkwaliteit van USB-poorten
4...20 mA stroom-uitgang voor Arduino Unobetrouwbare, EMI-ongevoelige current loop-interface
Automatische stofzuigerschakelaarhoud uw werkplek schoon
DDS-generator met ATtiny
Opamp-tester v2nieuwe print – nu ook voor SMD’s
550-mW audio ‘Lamp-Amp’voor die warme buizenklank
Zekeringbewakerhoud zekeringen in de gaten met een knipper-LED
Hoogwaardige RIAA-voorversterkerhaal het beste uit uw vinylplaten!
Kalibratie voor draaitafelsArduino-gebaseerde 100/120Hz-stroboscoop
Elektor Classics: Video-versterker
Dimmer met IR-afstandsbedieningcomfortabel en elegant staande halogeen- of LED-lampen regelen
Het gebruik van switch…case bij strings in C++/Arduino IDE
Magneetzoekermet een eenvoudige Hall-effect-sensor
Raspberry Pi: slimme aan/uit-knopeen oplossing voor de Raspberry Pi tot aan model 4
Professionele tipsvan makers voor makers
Praktische projecten met de 555-timerDC-motorbesturing en snelle reactie-uitdaging
Eenvoudige ‘aan-verklikker’spaar energie met een simpele schakeling
Powerpacks parallelschakelendrie dagen ononderbroken stroom
VFO tot 15 MHzimplementatie met Raspberry Pi Pico
Vioolstemmer met ATtiny202
Elektor Classics: Video-ingangsversterker voor zwart/wit-TV
Capaciteitsmeter20 pF tot 600 nF
Quasi-analoog uurwerk Mk IItwee LED-ringen – voor uren en minuten
Niets is onmogelijk(met hulp van het Arduino-ecosysteem)
Neon dobbelsteen
Elektor Classics: RTTY-afstemhulp
Inspirerende hardware-ontwerpen voor uw ESP’s
Elektor Classics: 3 A voeding
RGB-LED’s met geïntegreerde stuurkringlicht met precisie: ICLED’s zetten de standaard
Experiment: een mixed-signal Theremin?moderne time-of-flight sensoren plus de tijdloze analoge XR2206
ESP32 audio-transceiver (deel 1)SD-kaart WAV-speler demo
Elektor infographicschakelingen en schakelingontwerp 2025
Kleine audiomixereenvoudig, veelzijdig en schaalbaar
Slimme timer voor trapverlichtingbespaar op uw energierekening!
Maak uw rolluiken slimmerVelux-hardware besturen met een ESP32 en MQTT
Solid-state voetenwarmercomfortabel en energiezuinig
Is de M5Stamp Fly-quadcopter de nieuwe Tello?
Vergroot het WiFi-bereik van de ESP32-C3 SuperMinieenvoudige en effectieve antennemodificatie
ZD-8968 hetelucht-soldeerstationbudgetvriendelijk werkpaard of gebakken lucht?
Parkeersensor-testervind defecten in het PDC-systeem van een auto
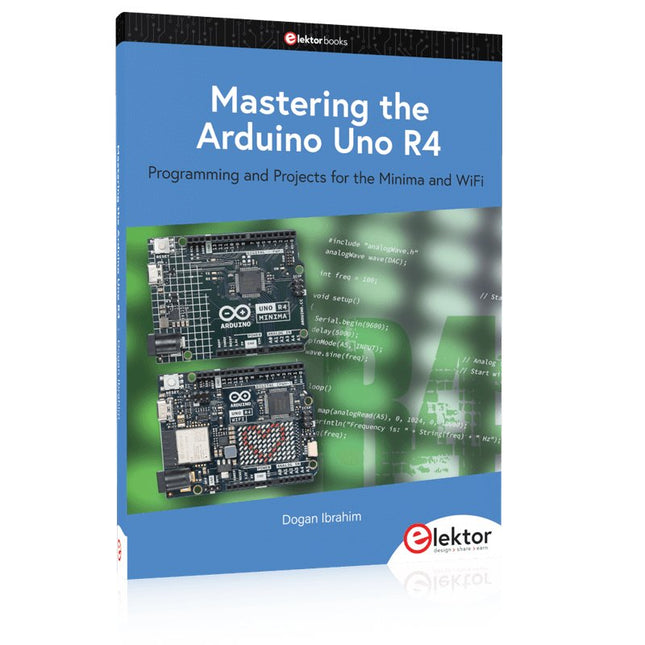
Programming and Projects for the Minima and WiFi
Based on the low-cost 8-bit ATmega328P processor, the Arduino Uno R3 board is likely to score as the most popular Arduino family member, and this workhorse has been with us for many years. Eleven years later, the long-overdue successor, the Arduino Uno R4, was released. It is built around a 48 MHz, 32-bit Arm Cortex-M4 microcontroller and provides significantly expanded SRAM and Flash memory. Additionally, a higher-precision ADC and a new DAC are added to the design. The Uno R4 board also supports the CAN Bus with an interface.
Two versions of the board are available: Uno R4 Minima, and Uno R4 WiFi. This book is about using these new boards to develop many different and interesting projects with just a handful of parts and external modules. All projects described in the book have been fully tested on the Uno R4 Minima or the Uno R4 WiFi board, as appropriate.
The project topics include the reading, control, and driving of many components and modules in the kit as well as on the relevant Uno R4 board, including
LEDs
7-segment displays (using timer interrupts)
LCDs
Sensors
RFID Reader
4x4 Keypad
Real-time clock (RTC)
Joystick
8×8 LED matrix
Motors
DAC (Digital-to-analog converter)
LED matrix
WiFi connectivity
Serial UART
CAN bus
Infrared controller and receiver
Simulators
… all in creative and educational ways with the project operation and associated software explained in great detail.
L’OWON SDS1102 est un oscilloscope numérique de table abordable qui combine de solides performances avec des fonctions de mesure essentielles. Cet oscilloscope à 2 canaux offre une bande passante de 100 MHz, une fréquence d’échantillonnage de 1 GS/s, un écran LCD de 7 pouces et une profondeur mémoire de 10 kpts, ce qui en fait un choix pratique pour les tests électroniques quotidiens, le dépannage et l’enseignement.
Le SDS1102 dispose d’un système de déclenchement simplifié avec déclenchement sur niveau et sur front, ce qui facilite la capture et l’analyse des signaux courants. Il est conçu pour les applications qui ne nécessitent pas une grande profondeur mémoire ni des fonctions de déclenchement avancées, et offre une solution simple et économique pour l’analyse de signaux de base.
Caractéristiques
Bande passante : 100 MHz
2 voies
Taux d'échantillonnage : 1 GS/s
Boîtier ultra-fin
Écran LCD haute résolution de 7 pouces
Prise en charge de SCPI et LabVIEW
Spécifications
Bande passante
100 MHz
Échelle horizontale (s/div)
5 ns/div - 1000 s/div
Canal
2
Sensibilité verticale
5 mV/div - 5 V/div (en entrée)
Précision du Gain DC
3%
Résolution Verticale(A/D)
8 bits (2 canaux simultanément)
Entrée
Impédance d'entrée
1 MΩ, 10 pF
Couplage d'entrée
AC, DC, GND
Tension d'entrée maximale
±400 V, CATI, CATII
Sondes passives
х1; х10
Facteur d'atténuation de la sonde
х1; х10; х100; х1000
Système de déclenchement
Mode de déclenchement
Auto, Normal, Single
Type de déclenchement
Edge, Video
Source de déclenchement Edge
CH1, CH2
Video Trigger
Type d'échantillonnage
Real-time
Taux d'échantillonnage
1 GS/s
Taux d'échantillonnage Equivalent
No
Longueur d'onde
10K pts
Interpolation
sin(x)/x
Measurement and Mathematical Treatment System
Mesure automatique
Vpp, Vavg, RMS, Frequency, Period, Vmax, Vmin, Vtop, Vbase, Width, Overshoot, Pre-shoot Rise time, Fall time, +Width, -Width, +Duty, -Duty, Delay A→B, Delay A→B, area, cycle area
Fonctions mathématiques
Addition, Soustraction, Multiplication, Division, FFT
Caractéristiques générales
Type d'affichage
7" color LCD
Résolution d'affichage
800 x 480
Puissance
100-240 V, 45-440 Hz, <15 W
Dimensions
301 x 70 x 152 mm
Poids
1,1 kg
Inclus
1x OWON SDS1102 Oscilloscope
2x Sondes d'oscilloscope
1x Réglage de la sonde
1x Cordon d'alimentation secteur
1x Câble USB
1x CD-Rom
1x Guide rapide
Télechargements
Quick Guide
Manual
PC Software
SCPI Commands